Do you have a question about the Zippity WASHINGTON VINYL PICKET FENCE and is the answer not in the manual?
| Material | Vinyl |
|---|---|
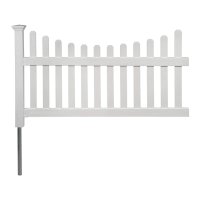
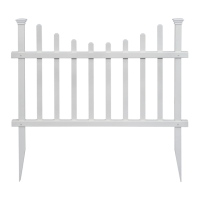
| Style | Picket |
| Color | White |
| Length | 6 feet |
| Post Included | Yes |
| UV Protection | Yes |
| Warranty | Limited Lifetime |
| Height | 36 inches |
Critical safety and assembly guidelines, including surface protection and avoiding excessive force.
Contact information for missing/damaged parts, assembly help, and return procedures.
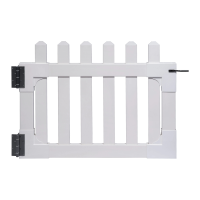
Pressure fitting rail end caps onto the ends of the top and bottom rails.
Sliding the posts into the routed holes of the horizontal rails.
Aligning pre-drilled holes and screwing the top/bottom rails to the posts.
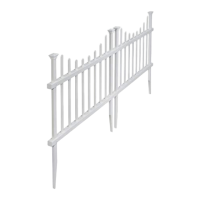
Inserting numbered pickets into rails to create a scallop pattern and locking them.
Repeating the frame and picket assembly process for the second fence panel.
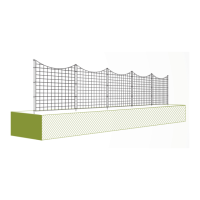
Moving the assembled fence unit to its final installation location.
Attempting to push the fence posts into the ground, with options for hard soil.
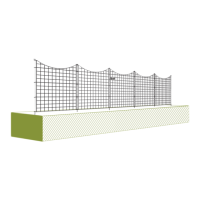
Using joiner clips and screws to fasten multiple fence panels together.
Pushing the post caps over the tops of the posts to complete the fence assembly.