5
Installation
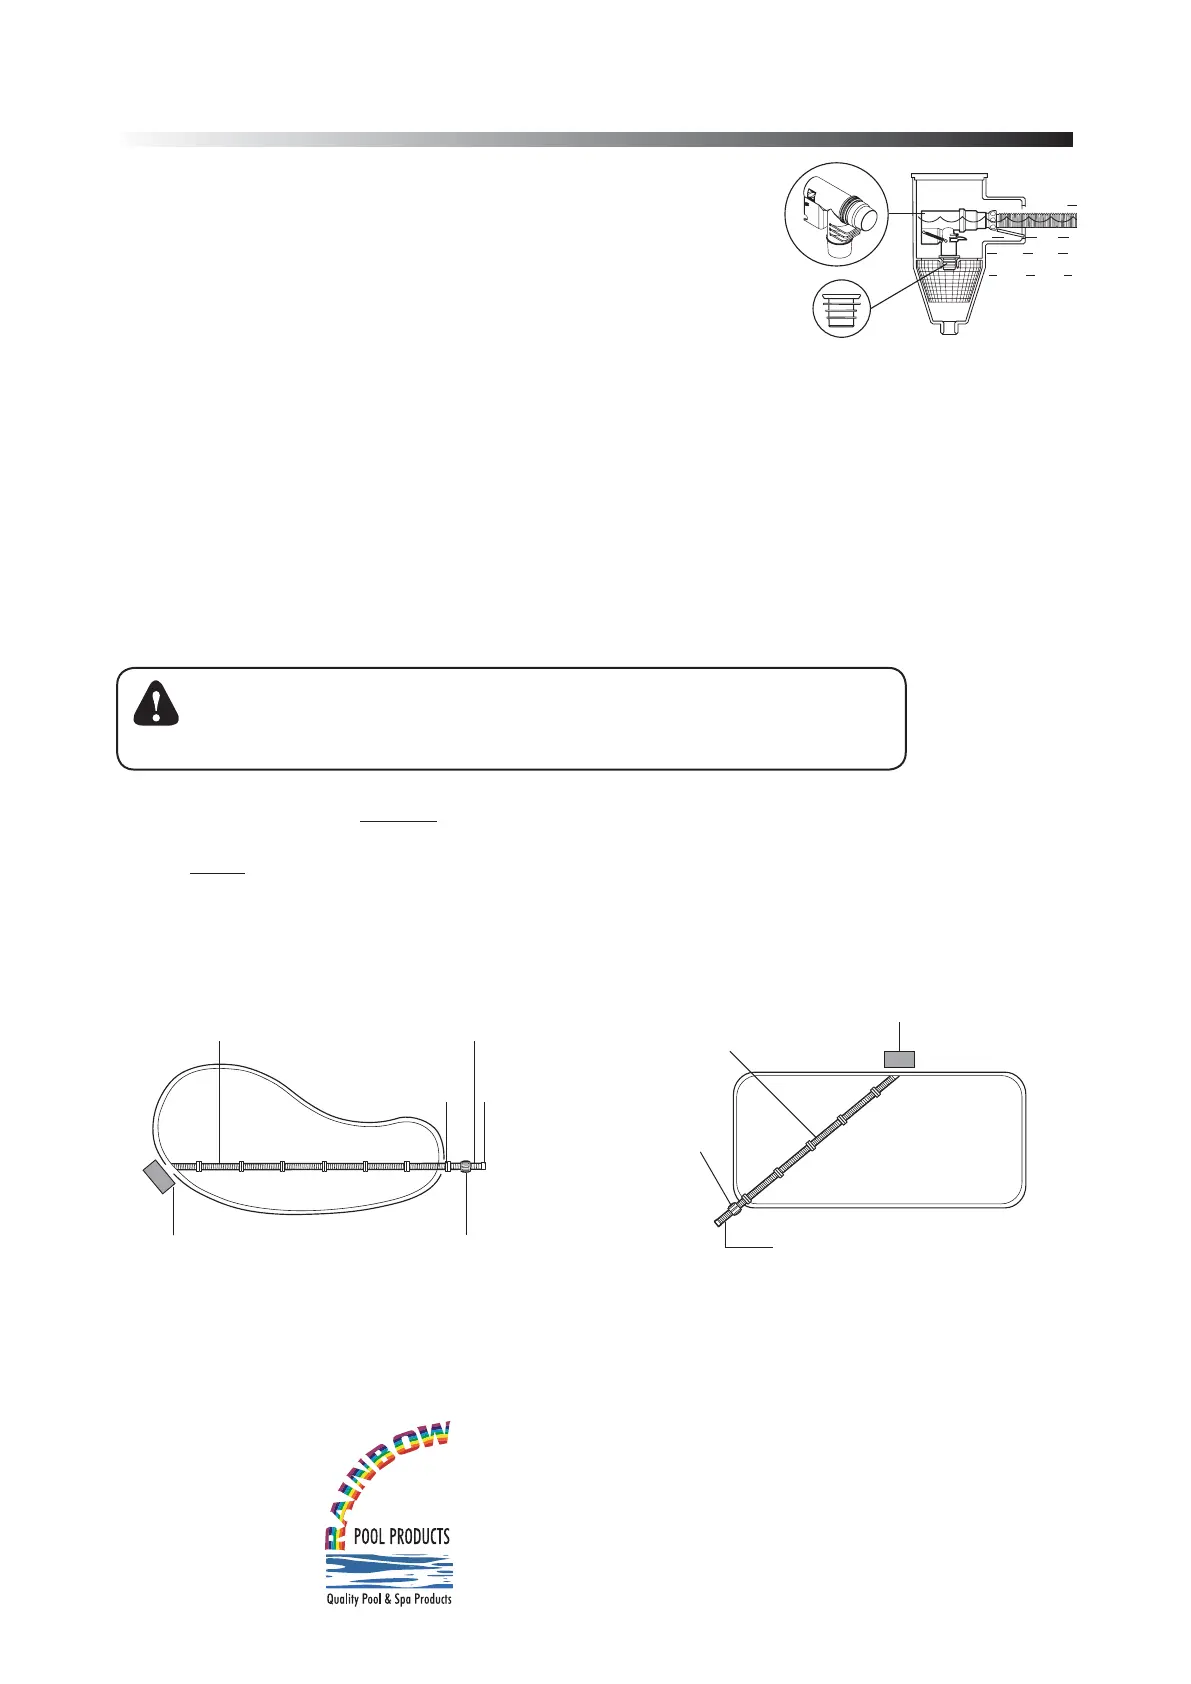
4th case: with any other type of Skimmer Box and Vac plate
Simply insert the AD Flow valve directly into the universal
weir cuff which will then fit into the top of the Vac plate.
Note:
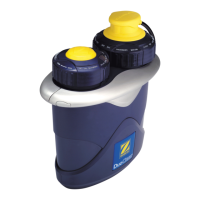
The AD Flow valve has three settings: High (3), Medium (2) and Low (1). To deliver the maximum pool
cleaning efficiency, the AD Flow valve comes preset at a factory setting of 2. You will need to adjust the
AD Flow valve when and if a problem occurs.
3. Assemble the hose sections
Start to connect one of the standard hose to the skimmer box Vac plate. Then continue adding lengths of
standard hose sections until you reach the furthest point of the pool, opposite to the skimmer box. THEN
add the leader hose section.
See below examples.
WARNING
To avoid any serious injury, turn off the pool pump before proceeding to this step.
Leader hose
section
Hose Float 23cm
from Head Cleaner
Skimmer
Lengths of standard
hose sections
Leader hose
section
Hose Float 23cm
from Head Cleaner
Lengths of standard
hose sections
Skimmer
AD Flow valve
Universal Weir Cuff
®
Rainbow Pool Products
PO Box 2388, Mansfield Qld 4122
Telephone STD 61-7-3849 5385
Facsimile STD 61-7-3849 5384
Email: info@rainbowpoolproducts.com.au
Web: www.rainbowpoolproducts.com.au
 Loading...