Do you have a question about the Zodiac Polaris 3900 Sport and is the answer not in the manual?
| Brand | Zodiac |
|---|---|
| Model | Polaris 3900 Sport |
| Category | Swimming Pool Vacuum |
| Language | English |
Detaches the pool cleaner bag by twisting its collar.
Disconnects the sweep hose by twisting the retaining nut.
Presses logo buttons to release the quick disconnect mechanism.
Unscrews three fasteners from the bottom of the cleaner unit.
Guidance on removing the main bottom housing component.
Locates and removes three specific screws marked 'A'.
Detaches the water management system and rear housing.
Finds and removes four screws marked with the label 'B'.
Extracts the gearbox along with one side wheel.
Uses a flat-blade screwdriver to pry off a wheel's hubcap.
Unscrews a fastener to detach the wheel.
Pulls the wheel off its corresponding gearbox shaft.
Identifies the gearbox assembly and its specific part number.
Locates and removes two screws to detach the top section.
Instructions for removing the entire top assembly from the unit.
Identifies the top assembly part number and its included float.
Removes hubcaps from double-sided wheels using a flat-blade screwdriver.
Unscrews a fastener to detach a drive wheel.
Detaches a drive wheel from the drive train assembly.
Removes wheel sprocket cover to expose the drive chain.
Removes the drive chain from the rear wheel sprocket.
Takes out the sprocket while observing bearing placement.
Presses bearing out with screwdriver for inspection.
Inserts bearing into sprocket with open face oriented correctly.
Applies pressure to the closed face of the bearing during installation.
Locates and removes wheel spacers from wheel side axles.
Locates and removes two screws at the base of the feed pipe.
Displays sprocket assemblies and the drive chain.
Detaches the vacuum tube and feed pipe assembly.
Removes two screws attaching each axle to the frame.
Shows the frame assembly including the chain tensioner.
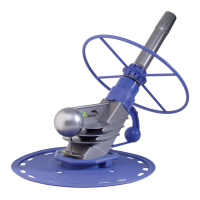
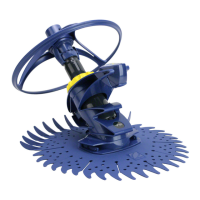
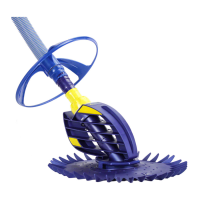
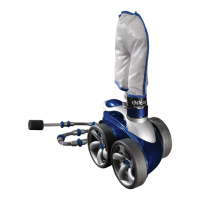
Visual representation of all product parts.
Area for user to add annotations and observations.
Assembles axle blocks using star washers and screws.
Attaches axle blocks to the upside-down frame.
Drops gearbox into place with brass inserts facing upwards.
Secures gearbox with four screws into 'B' pockets.
Fits wheel spacers onto double-sided wheel axle blocks.
Fastens vacuum tube/feed pipe assembly to frame with screws.
Attaches wheel sprockets onto the double-sided axle.
Routes chain around front axle sprocket and through tensioner.
References vacuum tube diagram for correct chain wrap setup.
Attaches the two covers for the drive sprockets.
Notes bearing in outer cavity of double-sided wheel.
Aligns wheels into sprockets for attachment.
Secures wheels using the specific locking screw.
Mounts single side wheel using the same locking screw.
Reattaches the top assembly using two screws.
Checks the o-ring on the water management system.
Connects the rear housing to the water management system.
Secures the water management system with three screws.
Positions the bottom housing correctly for attachment.
Fastens the bottom housing using three screws.
Presses the hub caps onto all wheels.
Connects sweep hose by installing nut first, then threading.
Identifies the serial number location under the canopy.
Inserts the debris bag into the vacuum tube.
Attaches the quick disconnect mechanism to the cleaner.