H03818-00.A3 EN – 2012-03 9
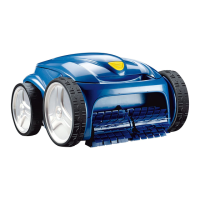
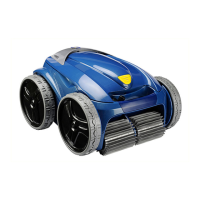
5. Replacing the Tyres on the Cleaner
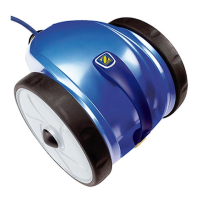
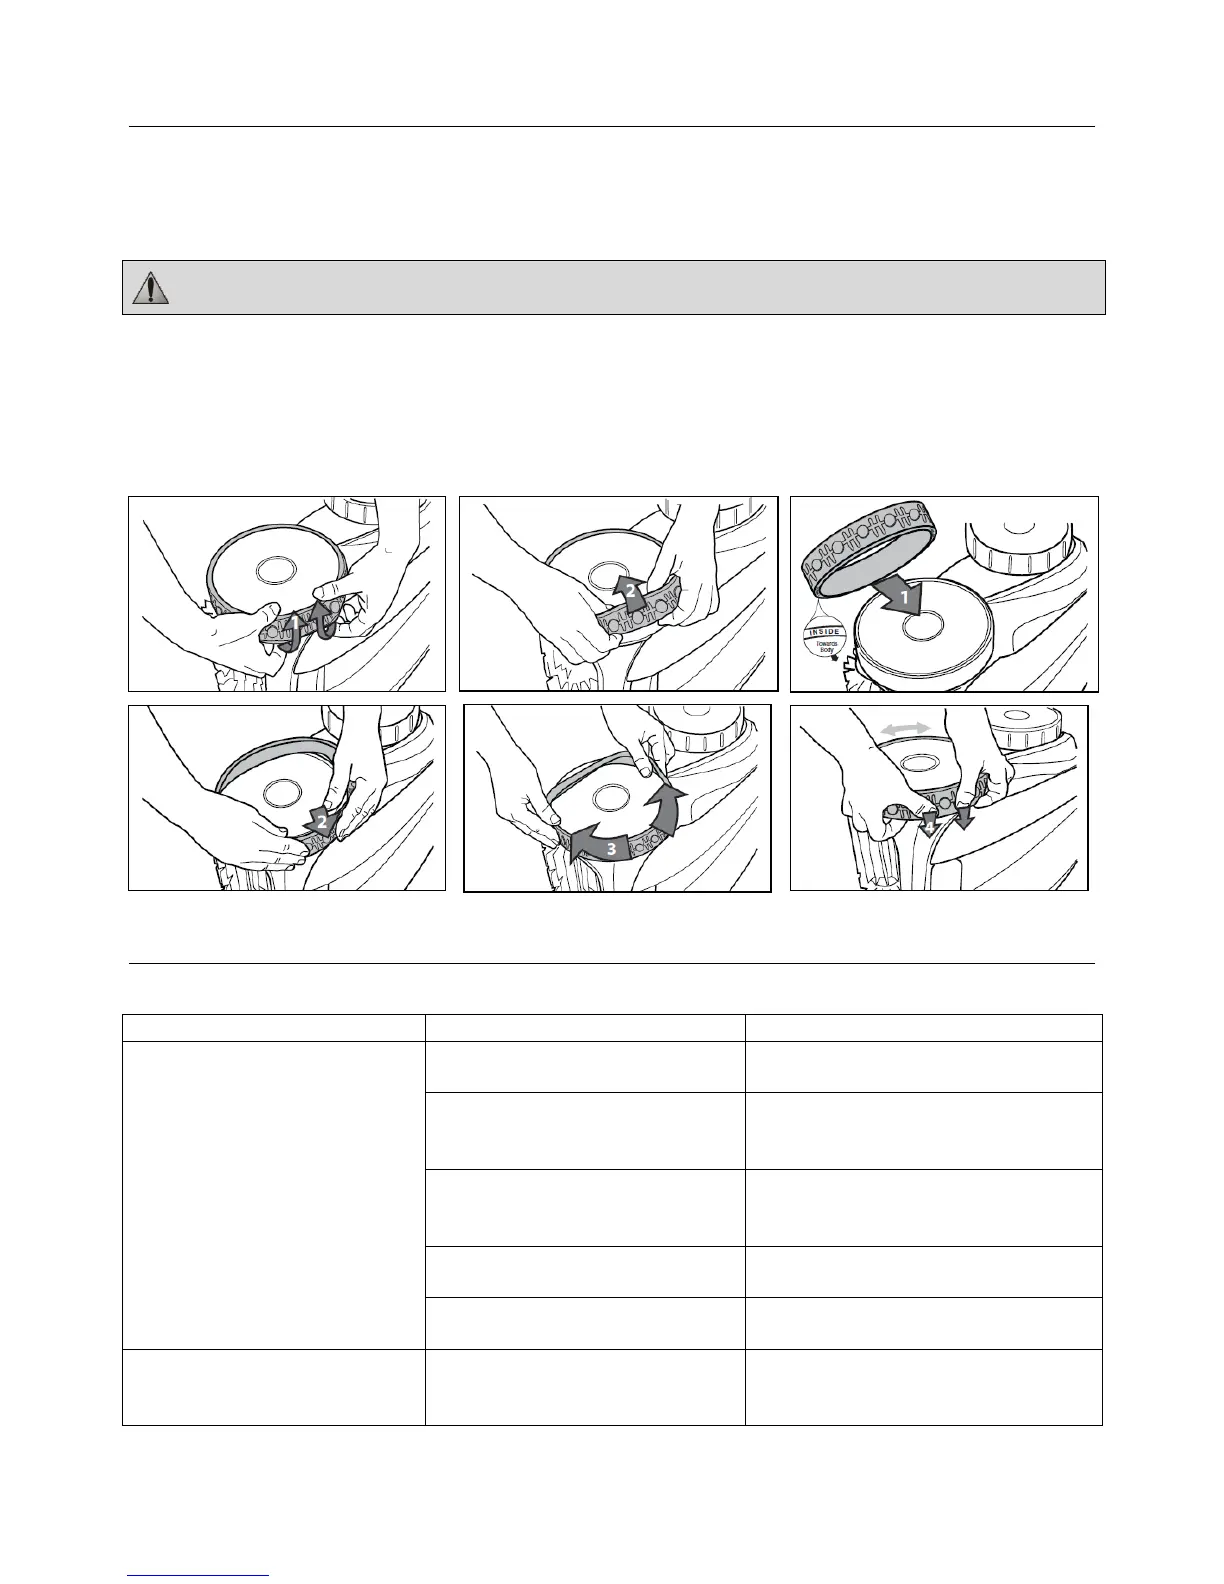
• Pull on the inside of the old tyre to remove the tyre lip from the wheel (1).
• Remove the old tyre (2).
• To replace the tyre, position the tyre on the wheel making sure to orient the tyre so that the tyre tread is on the
outer side of the wheel (3).
• Push one side of the tyre on to the wheel and fit the rib of the tyre in the groove of the wheel (4).
• Work the tyre onto the wheel and verify the rib of the tyre is positioned properly within the groove of the wheel
(5).
• Push and position the rib of the inner side of the tyre in the groove of the wheel (6). If needed, turn the wheel
gently to help with installation.
6. Troubleshooting
Symptom Cause Solution
The flashing indicator lights
appear just after start (pressing
the Power or Cycle button to
start the cleaner) (< 20 seconds).
Floating cable is not properly
plugged into the control unit.
Unplug the floating cable from the
control unit and plug it again properly.
procedure in Section 2.2, "Submerging
the Cleaner".
Cleaner needs to be reset and start
new cycle.
Press the power button OFF and then
Cycle I or II Program buttons to start
new cycle.
Propeller does not turn. Please contact your local service
representative.
Wheels do not turn. Please contact your local service
representative.
The flashing lights appears during
the cycle.
If the cleaner sucks air for 60
seconds, the flashing light appears.
Submerge the cleaner following the
procedure in Section 2.2, "Submerging
the Cleaner".
The word "inside" is imprinted on the rim of the tyre. Make sure the word "inside" is facing towards the
body of the cleaner.