H03818-00.A3 EN – 2012-03 4
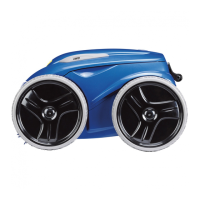
• Secure the control unit hook using two bolts and two nuts and tighten with Torx wrench (7).
•
Place two caps on the wheels (8).
• Attach the support blocks to the caddy using four screws (V3 = figure 9; V3 4WD = figure 10).
• The transport caddy is now ready to use
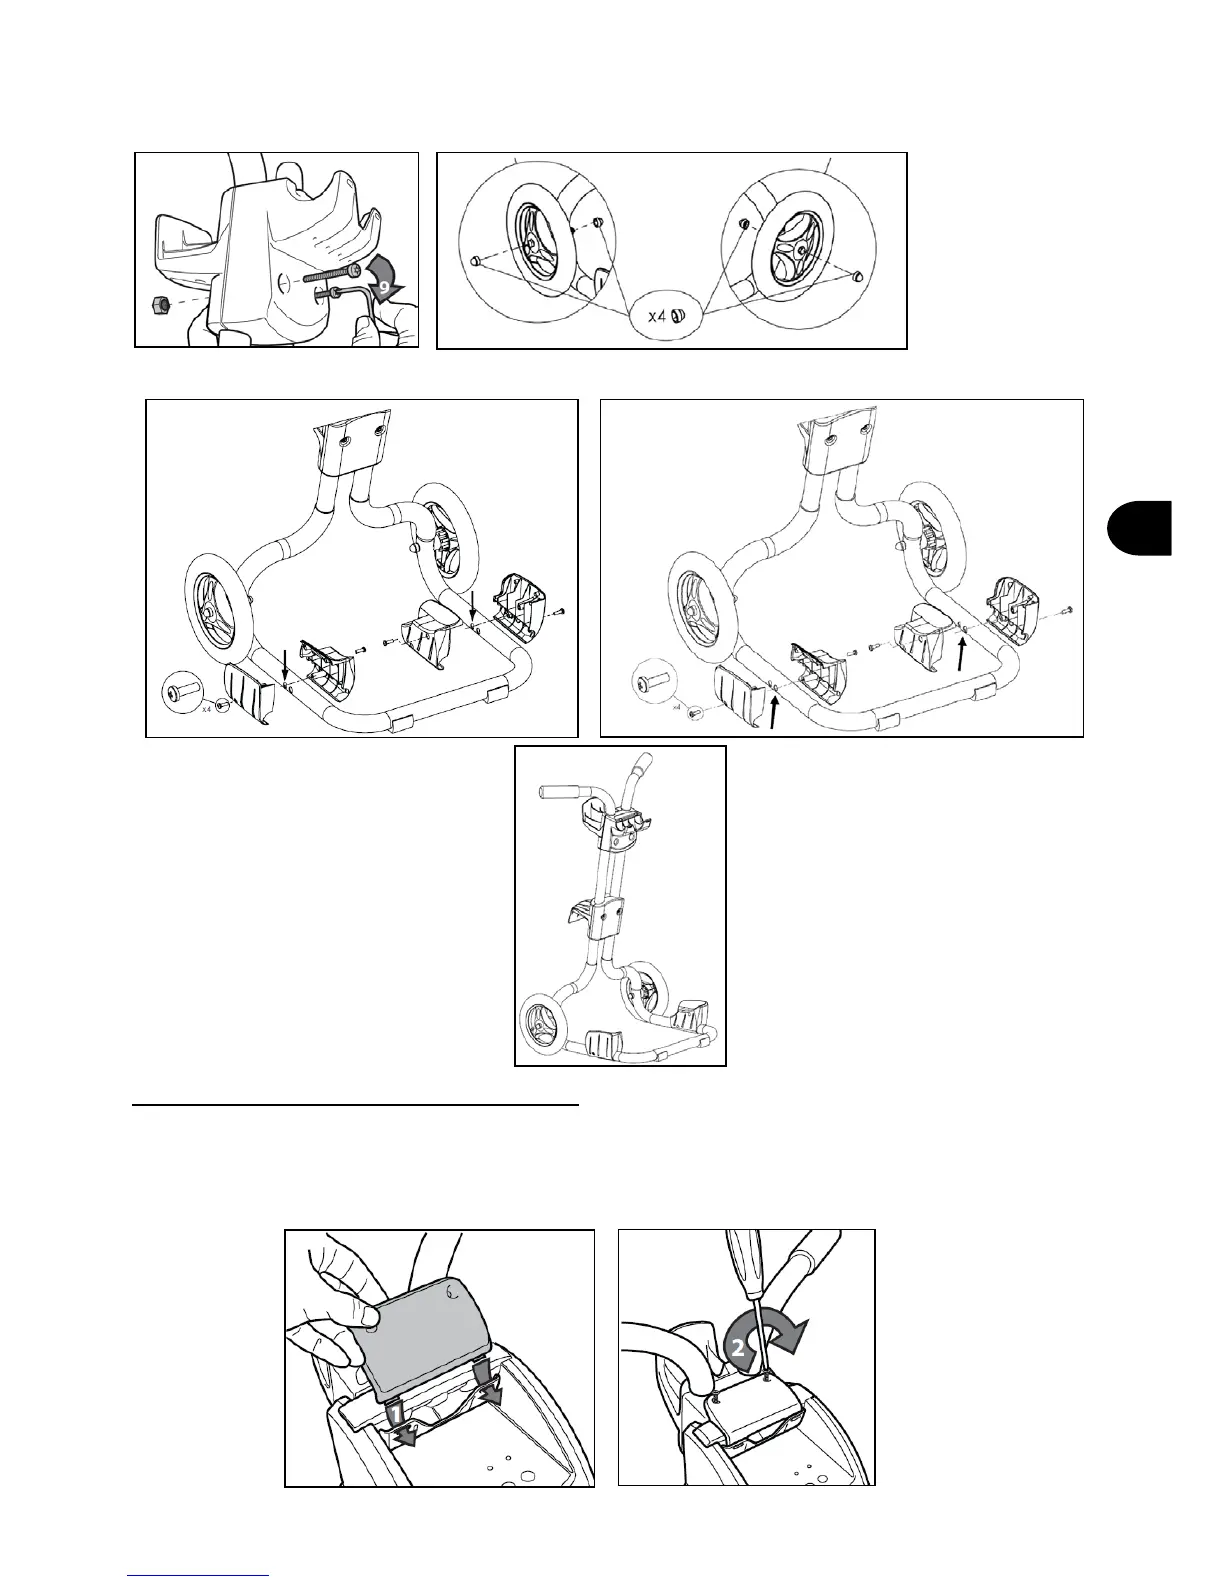
1.4 Connecting the control unit to the caddy
• Position the control unit over the control unit hook on the caddy.
• Slide the locking plate clips into the control hook and line up the screw holes (1).
• Secure the locking plate using Phillips head screws. Do not overtighten (2).