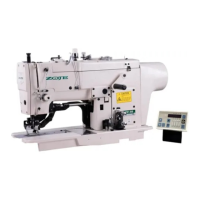
20X Bar-tacking and Button Sewing Machine(LCD N) Operation and Debugging
62
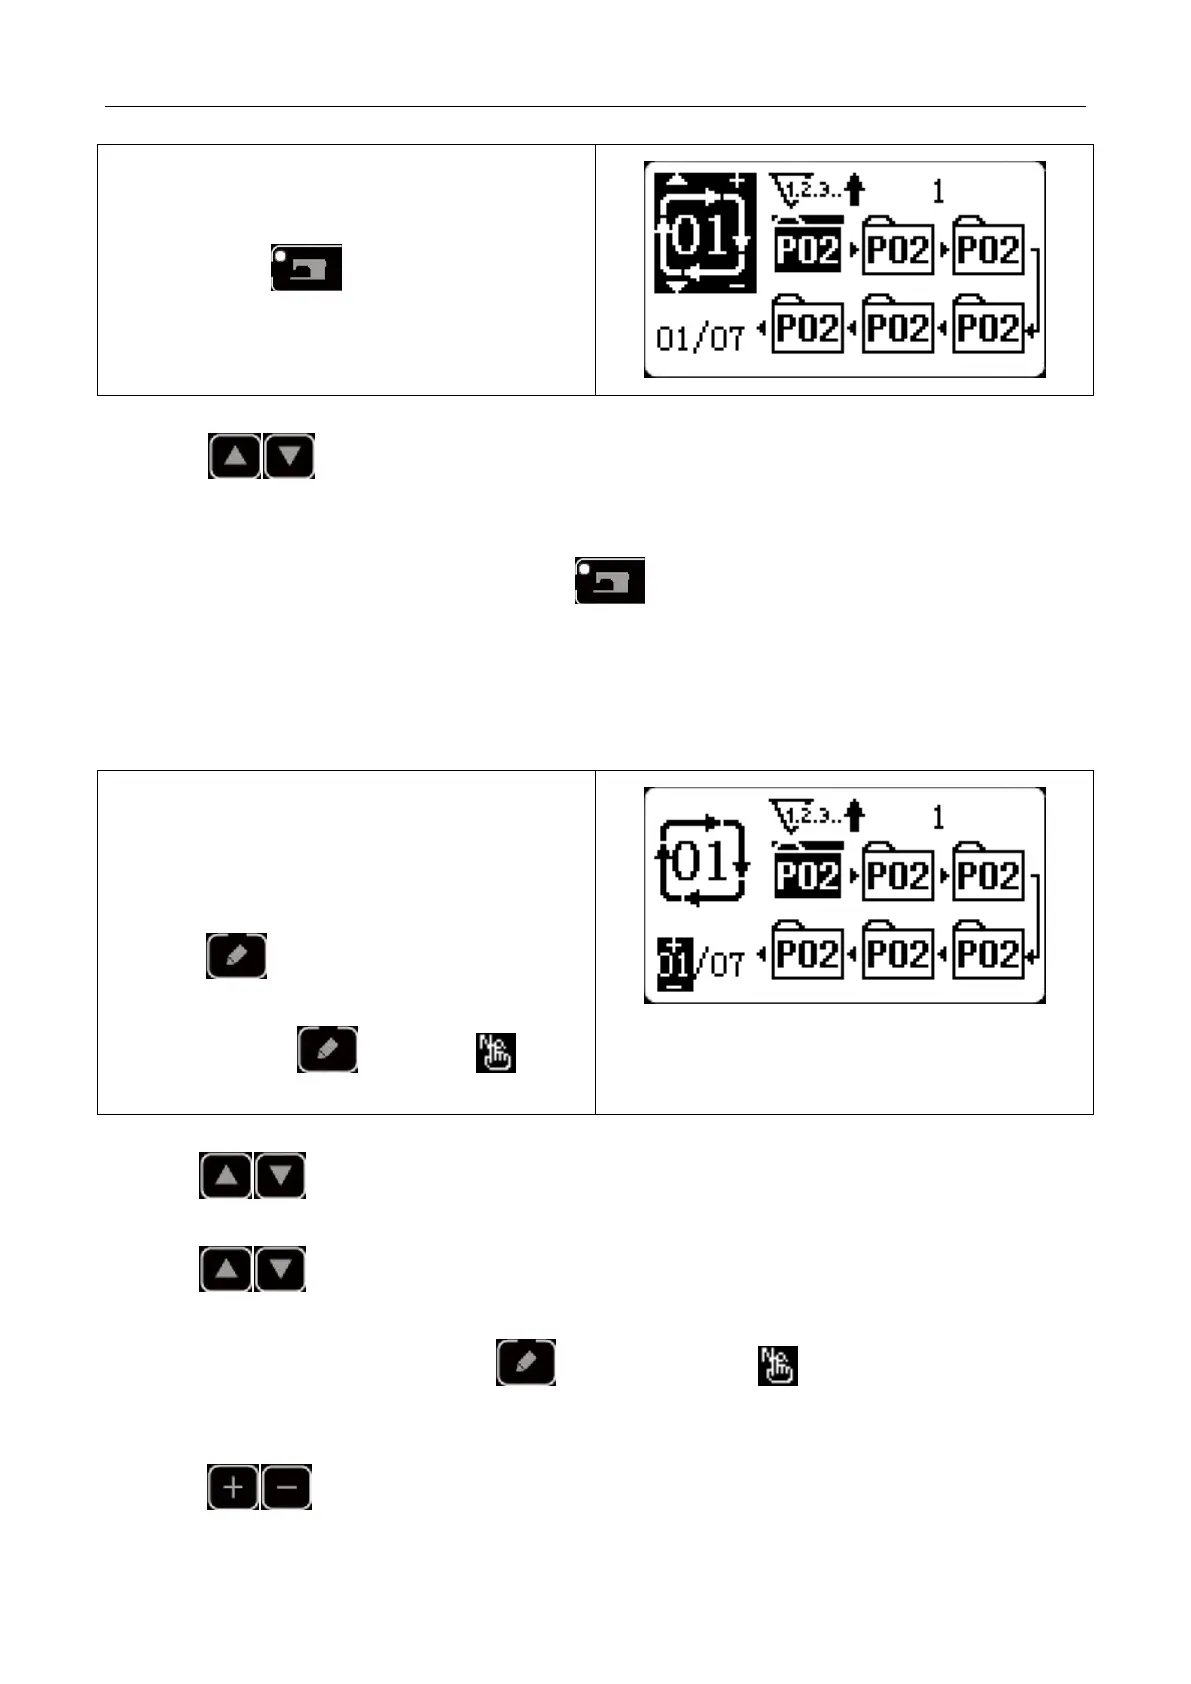
1) Set as input mode
Under input mode, when sewing LED is off, select
cyclic sewing data. If the system is under sewing
mode, press key to change into input
mode. The cyclic sewing data can only be selected
under data mode.
2) Select cyclic sewing data
Press key to shift among the registered cyclic sewing data No. and continuous sewing data No.
At this time, user can select the intended cyclic sewing No.
3) Conduct sewing
After selecting the continuous sewing data, press key and sewing LED lights up, ready for sewing.
Only cyclic data No.1 is registered without sewing patterns and therefore cannot be used for sewing. Please
follow the following editing method to input patterns.
(2) Cyclic Sewing Data Editing Method
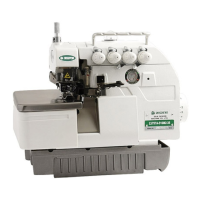
1) Set as input mode
Under input mode, when sewing LED is off, user can
input continuous sewing data. Change the pattern
mode to cyclic pattern mode by following the arrows.
2) Set cyclic sewing data as editing status
Press key to enter editing status and the
selected pattern No. for editing will become
shadowed. press key, the icon will be
displayed.At that time, data can be edited.
3) Add pattern
Press key to change the editing content and when move to the last pattern, user can add patterns.
4) Modify the pattern
Press key,then move to the position where you want to modify the pattern.
5) Insert the pattern
After selecting the editing content, press key to display the icon which means pattern data can be
inserted.
6) The above functions follow
Press key to change the pattern to be modified. The registered pattern No. will be displayed for



 To Next Page