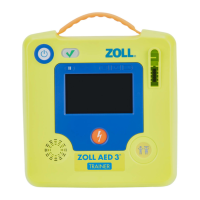
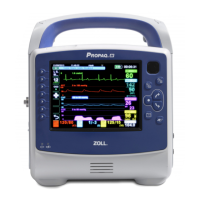
Using the Device- Everything will be pre connected and ready for use. This means it is ready for a CODE and
TESTING.
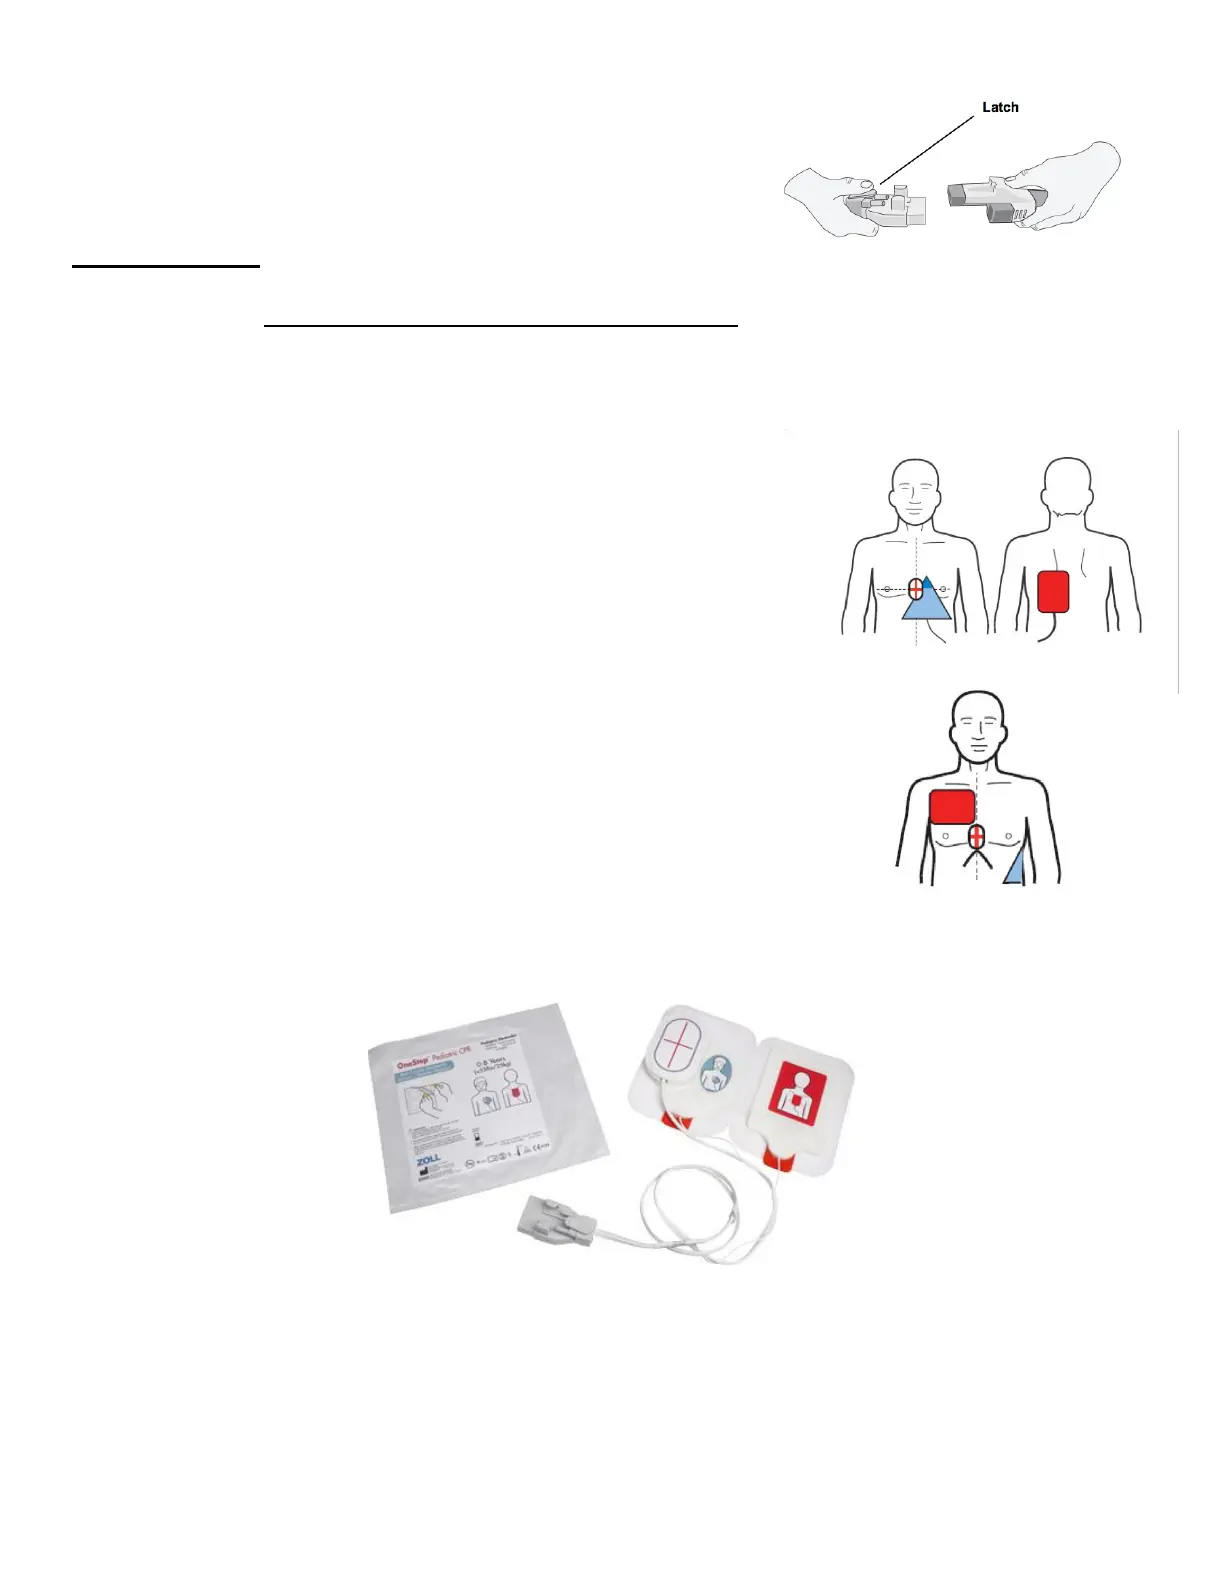
Connecting and Disconnecting Pads
Locking lever holds pads and cable into place. Press on the
far end of the lever to release.
Using the Pads
It is important to prep the skin as best as you possibly can.
Wipe the patient down, remove as much hair as possible, “press and roll” the pad into place.
-Pads: Used for anterior and posterior positions and have a built in 3-
lead (if Applicable)
-Placement
1. Posterior Pad (RED) Place 1st
2. Anterior Pad (BLUE) Place 2nd
RED is placed posterior sub-scapular to the left.
BLUE is placed with the CPR sensor- Mid Sternal/Mid Nipple in the
center of the sternum
Placing- Take the pad from packaging and then “Press and Roll” the
pad in to place
Alternate Placement: A/A Positioning (If A/P is not applicable)
1. Posterior Pad- Put Posterior Pad in Anterior positon
2. Anterior Pad- Position in the Lateral position (under
arm), tear CPR sensor from pad and place in center of
chest
Pediatric Pads: 0-8 Years and >25kg (55lbs) Any defibrillation that is done
will be adjusted by the device by an internal algorithm. (50J, 70J, 85J)
Integrated 3-Lead
-The OneStep CPR Electrode (Adults Only) has an integrated 3-Lead for pacing needs. No need to attach a
separate cable to your patient
-If attempting to Pace in A/A placement, it is recommended to attach a separate 3-Lead when using the
OneStep Pads as the ECG signal may be faint
 Loading...