ZURN PEX® RESIDENTIAL FIRE PROTECTION SYSTEMS
INSTALLATION INSTRUCTIONS
10
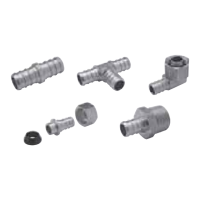
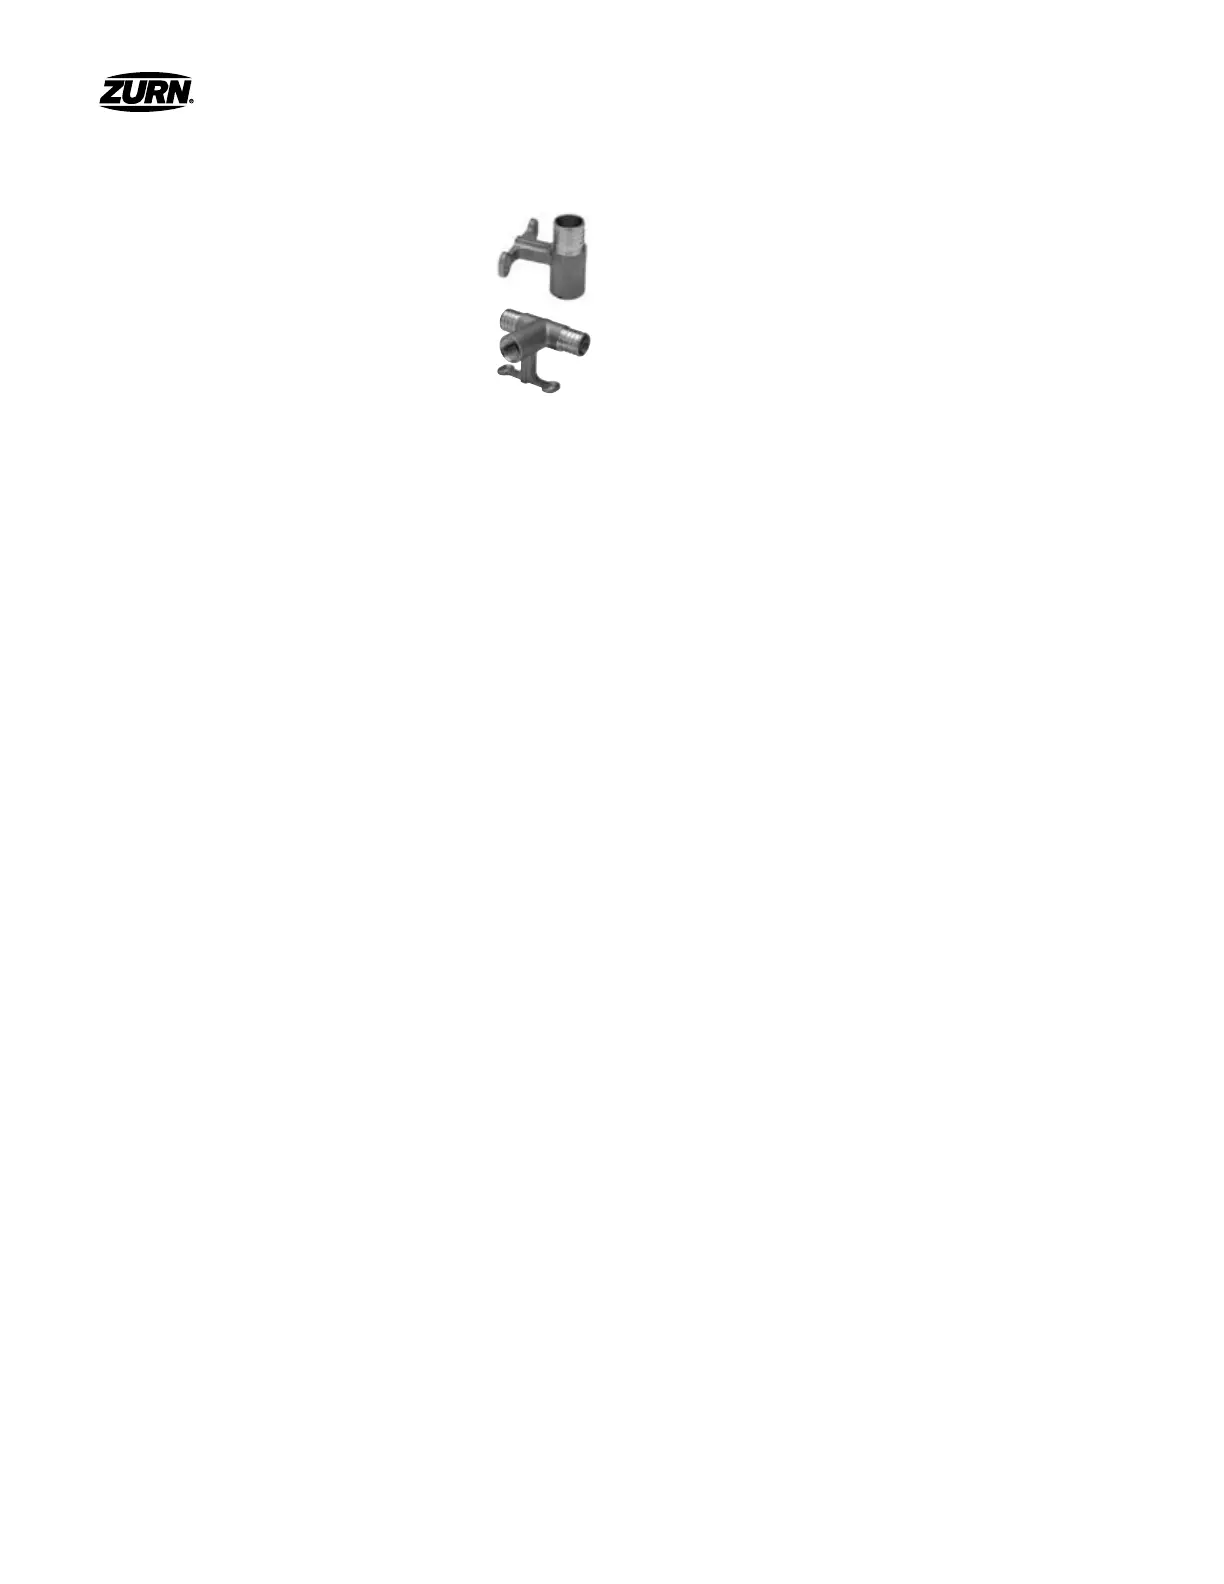
Sprinkler Adapter Fittings
Zurn PEX oers sprinkler adapter fittings for the
installation of its multipurpose fire protection
systems. All adapter fittings are designed for side
mounting onto a ceiling joist or wall stud. The choice
of adapter fitting, sprinkler, and placement shall be
in accordance with the approved system design and
NFPA 13D requirements.
1 Use the design layout to determine the type of sprinkler
and adapter fitting required in a specific location. Sprinkler,
sprinkler placement, and spacing are dictated by the design.
2 The design may call for a general area for sprinkler placement,
for example within a 2 foot radius of a specific location. This
is intended to leave the installer with the discretion to avoid
any obstructions that may interfere with sprinkler discharge
such as fans, surface mounted lights, beams, and slopes. Please
refer to the applicable sections of NFPA 13D for more specific
requirements.
3 Attach the sprinkler adapter to the structure using #10 x 1-1/4"
deck screws. The height at which the adapter fitting is mounted
will vary based on sprinkler type chosen. Please refer to
sprinkler manufacturer’s technical data sheet for guidance. The
slotted screw-hole design will allow for slight modification as
necessary. It is recommended that the sprinkler adapter fittings
be installed prior to installing the tubing.
4 Use the procedures from the preceding sections when making a
crimp to the sprinkler adapter fitting.
5 Install the sprinkler with protective cap using the appropriate
sprinkler wrench.
Testing
Pressure Testing
Each completed installation must be pressure tested in accordance
with NFPA 13D which calls for testing at normal operating pressure.
If local code requirements are more stringent, they should prevail.
Flow Testing
To ensure a properly designed Zurn PEX Fire Protection System has
been installed, a flow verification test of the two most hydraulically
remote sprinkler heads is necessary. All information must be
recorded and filed accordingly. This is the installer’s responsibility.
1 With the water turned o and drained, carefully unscrew
the most hydraulically remote sprinkler head(s) using the
appropriate sprinkler head tool.
2 Install an appropriate flow test kit by threading 1/2" male
adapter fitting(s) into sprinkler adapter fitting using thread seal
tape to make a water tight connection.
3 Assemble the remaining kit including the properly sized orifice
and be sure valve on kit is closed.
4 Open main shut o valve and purge out the air in the system
using the valve on the flow kit. Once all air is purged the system
should be pressurized to its working pressure.
5 Record static pressure readings at the manifold and
at the test kit.
6 Ensure large 30 gallon bucket is properly placed and open
valve(s) on flow kit.
7 Allow to run until the flow meter stabilizes and the flow rate
can be recorded. In addition, record the residual pressure
of the flow kit.
8 Compare results to designed values.
 Loading...