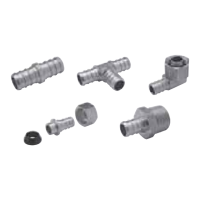
ZURN PEX® RESIDENTIAL FIRE PROTECTION SYSTEMS
INSTALLATION INSTRUCTIONS
7
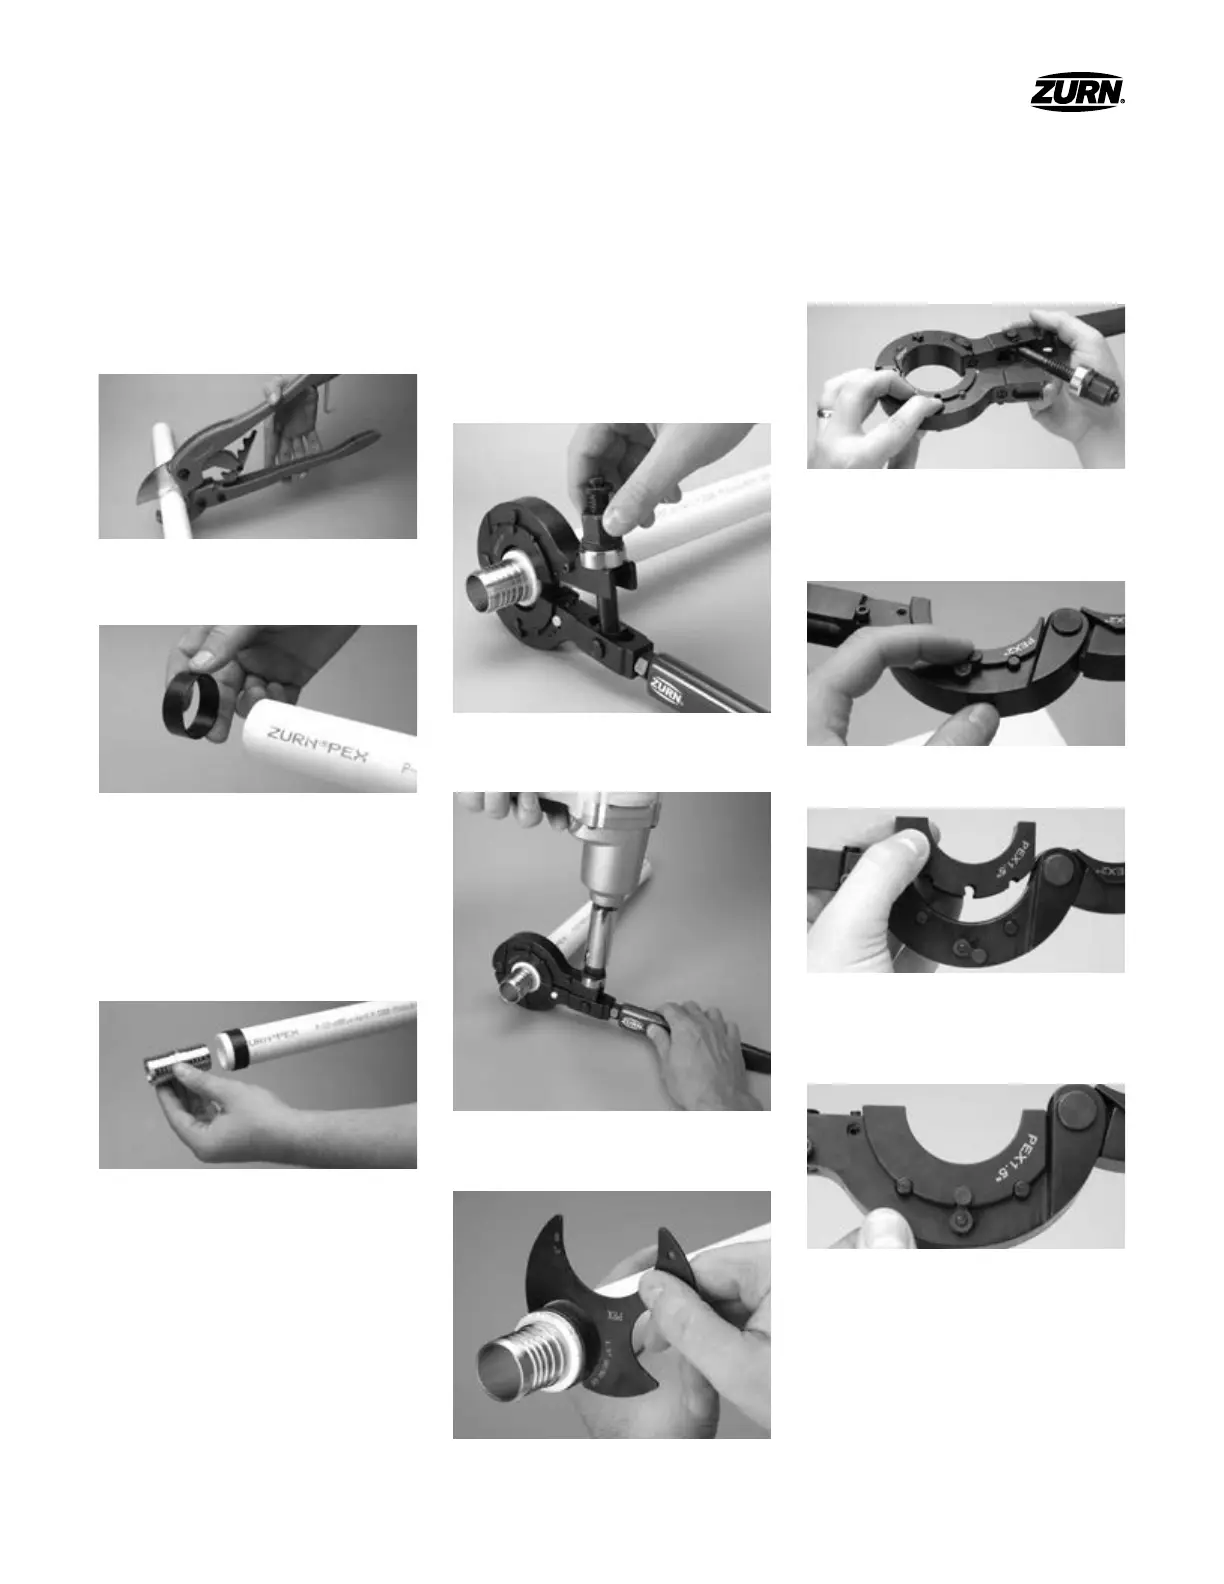
LARGE DIAMETER COMPACT COPPER CRIMP TOOL
OPERATING INSTRUCTIONS (QCRTLDM)
1 Cutting Zurn PEX Tubing –
Measure and cut the tube. Be sure
you have a square burr-free cut.
An uneven or jagged cut may
cause an improper connection.
2 Install Copper Crimp Ring – Slip a
copper crimp ring onto the tube.
3 Install Fitting – Insert the fitting into
the tube up to the fitting shoulder. The
copper crimp ring should be positioned
1/8"-1/4" from the end of 1" diameter
tube, 1/4"-3/8" from the end of 1-1/4"
and 1-1/2" tube, and 3/8"-1/2" from the
end of 2" tube.
4 Crimping – Load fitting assembly into
the tool. Position the tool such that the
crimp ring is completely covered by the
tool jaws. Confirm the tubing is at a 90°
angle to the fitting and close jaw. Hand
tighten the nut to hold fitting assembly
in place.
5 Drive the nut down with an impact
wrench until blue LED light turns on.
6 Checking – Check crimp using the
supplied “G0 Gauge.”
JAW INSTALLATION
INSTRUCTIONS
1 Open clamp, then press down on the
keyed slot to loosen jaw.
2 Continue to hold in the keyed slot,
turn tool around and move key out of
position. Remove jaw from clamp.
3 Insert new crimping jaw.
4 Rotate key back into position until key
clicks to lock jaw in place. Repeat for
other jaw.
 Loading...