24 CHAPTER 2: INSTALLING THE SWITCH
ATTENTION : le fait d’ouvrir le commutateur ou d’altérer la vignette de garantie
pourrait rendre la garantie nulle.
WARNUNG: Öffnen des Switches oder Manipulation des Garantieaufklebers kann
das Erlöschen der Garantie zur Folge haben.
PRECAUCIÓN: si se abre el conmutador o se manipula el adhesivo de la garantía,
ésta quedará invalidada.
ATTENZIONE: L'apertura dello switch o la manomissione dell'adesivo di garanzia
può invalidare la garanzia.
OSTRZEŻENIE: Otwarcie przełącznika lub naruszenie plomby gwarancyjnej
może unieważnić gwarancję
.
Rack-Mounting the
Switch
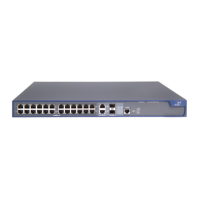
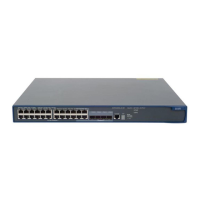
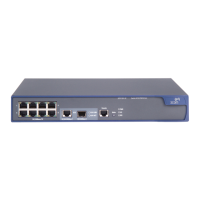
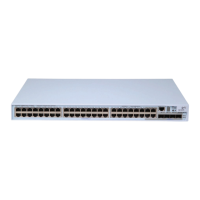
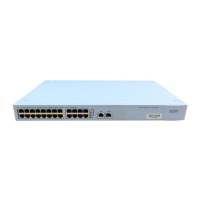
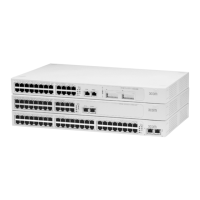
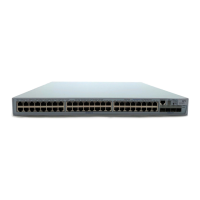
Switch 4210 26-Port and 52-Port models are rack-mountable in a standard
19-inch rack. Switch 4210 9- and 18-Port models are not as wide as the 19-inch
model and are intended for desktop or shelf installation.
Follow the steps below to mount a 26- or 52-Port model unit in a standard
19-inch rack:
1 Check that the rack is sturdy and properly grounded. Attach the rack-mount
brackets to the front or rear panel of the chassis with screws.
2 Place the switch on a shelf in the rack and slide it to a proper position along the
guide rails, reserving a suitable clearance between the device and the guide rails.
3 Fix the brackets to the rack posts with screws, making sure that the device is
securely attached.
 Loading...
