Choosing the Correct Cables 27
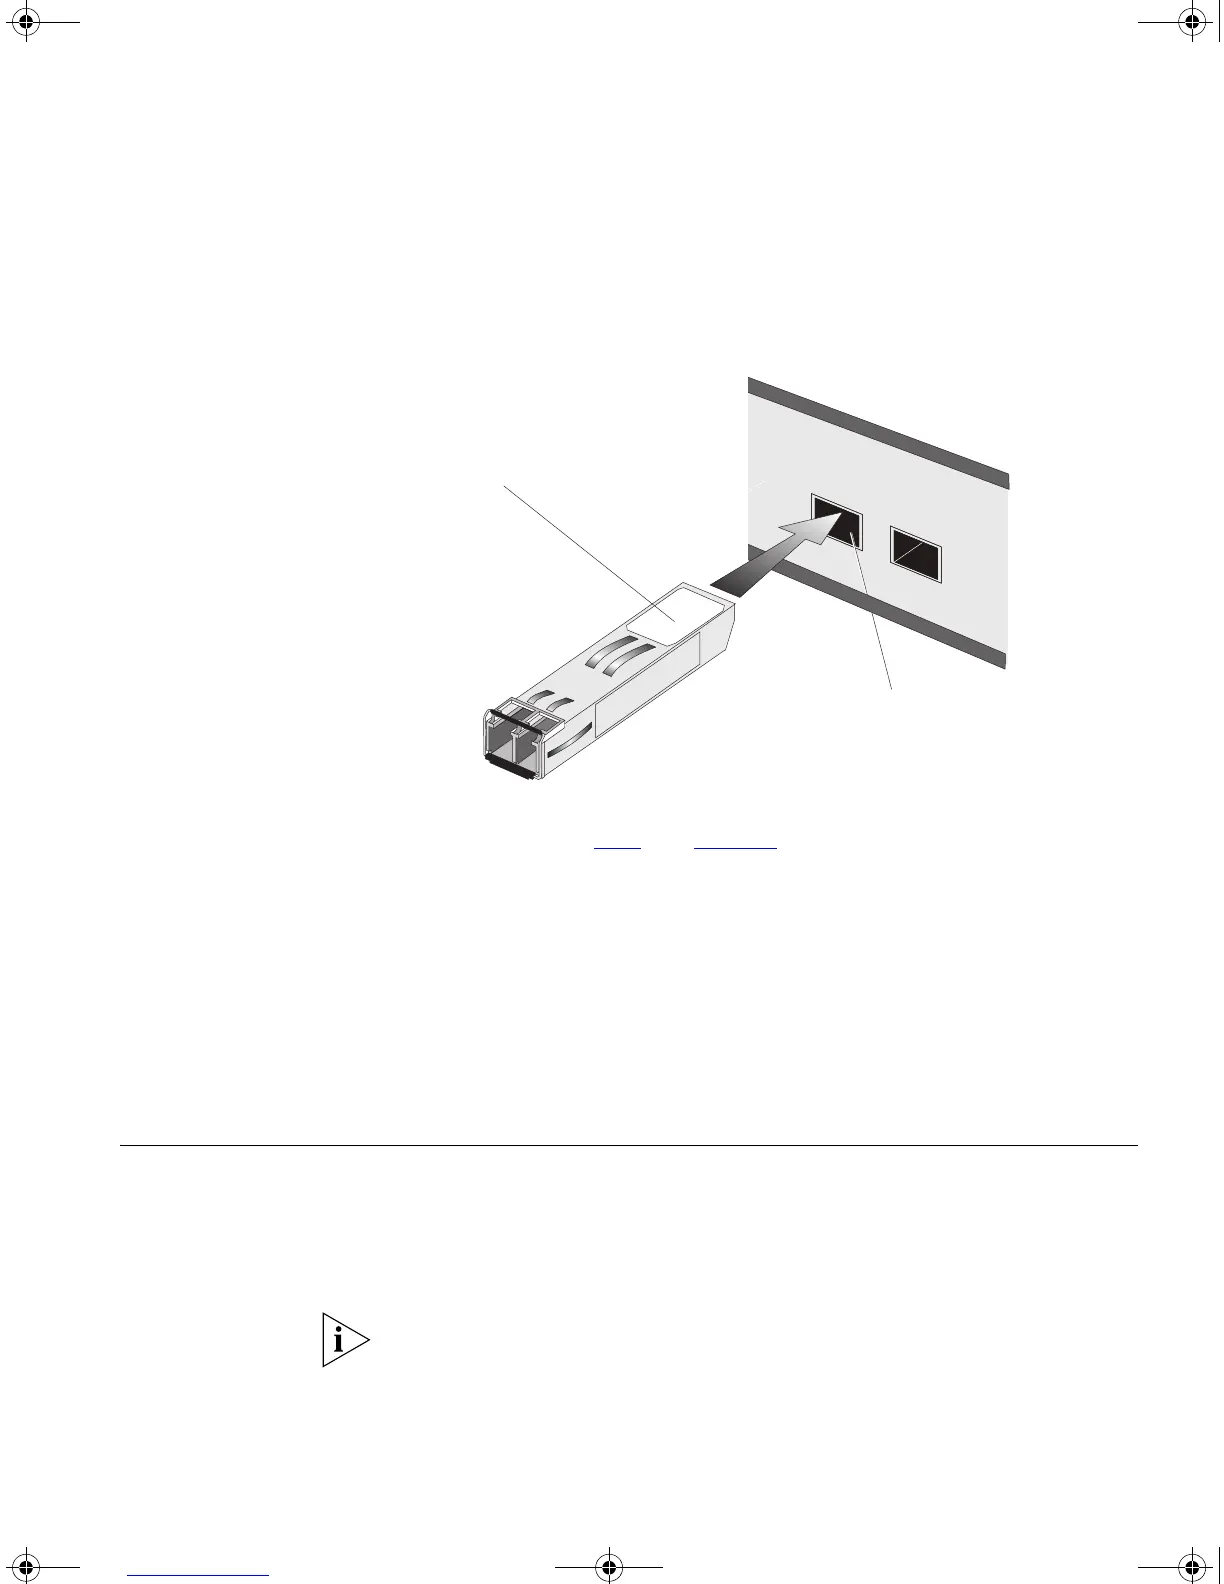
Figure 7 Inserting an SFP Transceiver
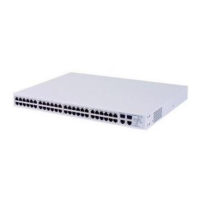
6 Check the LEDs on the front of the Switch to ensure that it is operating
correctly. Refer to “
LEDs” on page 16 for more information.
Removing an SFP
Transceiver
If you wish to remove a transceiver (it is not necessary to power-down
your Switch):
1 Disconnect the cable from the transceiver.
2 Move the wire release lever downwards until it is pointing toward you.
3 Pull the wire release lever toward you to release the catch mechanism;
the transceiver will then easily slide out.
Choosing the
Correct Cables
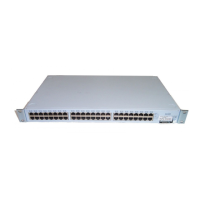
All of the ports on the front of the Switch 4200 Family are Auto-MDIX,
that is they have a cross-over capability. The port can automatically detect
whether it needs to operate in MDI or MDIX mode. Therefore you can
make a connection to a port with a straight-through (MDI) or a cross-over
cable (MDIX).
The Auto-MDIX feature only operates when auto-negotiation is enabled.
If auto-negotiation is disabled, all the Switch ports are configured as
MDIX (cross-over). If you want to make a connection to another MDIX
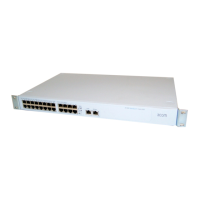
Product
label
SFP port on the
Switch 4200 28-Port
DUA1730-0AAA03.book Page 27 Thursday, November 17, 2005 12:17 PM