2-4 CHAPTER 2: INSTALLING THE NIC
Connecting the Remote Wake-up Cable
WARNING: Install the NIC in slot 1 in the PC (as described
earlier) before plugging in the 3-pin connector. Only properly
trained and authorized personnel should perform service.
Contact your PC manufacturer for information about safe
service techniques.
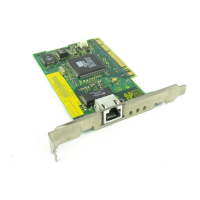
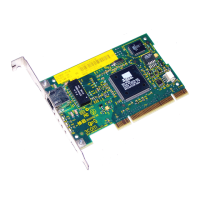
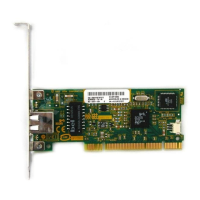
1 Insert the cable into the connector on the NIC, shown
in Figure 2-3.
Twist the cable twice before attaching the cable to the
motherboard.
2 Attach the cable to the connector on the PC
motherboard, as shown in Figure 2-3.
The connector is located in different locations depending
on the PC.
Figure 2-3 Connecting the NIC to the Connector
3 Reconnect all cables and replace the PC cover.
The 3C905B-TX Remote Wake-Up NIC is installed. Go back
to the previous section “Connecting to the Network” to
complete installation.
Plug in Remote Wake-Up
cable to connector here
Connect Remote Wake-Up
cable from NIC to mother-
board connector
Power
supply
Book Page 4 Thursday, April 2, 1998 9:28 AM