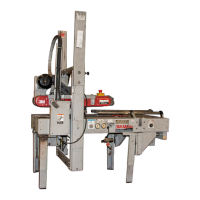
24
Maintenance (Continued)
Drive Belt Replacement/Tension Adjustment
Note 3M recommends the replacement of drive
belts in pairs, especially if belts are unevenly worn.
Figure 4-2 Upper Drive Belt Replacement
Figure 4-3 Belt Tension Adjustment, Upper Belt(s)
Upper Drive Belts
REPLACEMENT STEPS 1-8
TENSION ADJUSTMENT STEPS 1-3 & 6-8
Figure 4-2
1. Remove (4) M5 flat head screws (A) with 3 mm
hex key wrench that secure upper frame center
cover (B), turn cover sideways and move to back
of opening.
2. Loosen hex head M8 tension screw (C) with
13 mm wrench.
3. Hold or block upper drive belt back and loosen
M10 lock nut (D) with 17 mm wrench.
4. Rotate belt on pulleys until splicing pin (E) is at
bottom.
5. Remove splicing pin and attach new belt to old
belt with splicing pin. Pull new belt around
pulleys with old belt. Remove old belt and install
splicing pin in new belt.
Note: Pin must not extend beyond edge of belt.
Figure 4-3
6. Adjust belt tension. Turn hex head M8 tension
screw (C) out to tighten belt. Use a force gauge
to pull the belt out 25 mm [1 inch] at midspan
with a pulling force of 3,5 kg [7 lbs].
Figure 4-2
7. Tighten M10 lock nut (D) to secure tension
setting.
8. Replace upper frame cover with (4) M5 flat head
screws.
 Loading...