29
Special Set-Up Procedure
WARNING Turn off and disconnect
electrical and air supplies before
beginning special set-up procedure. Failure
to do so could result in severe personal
injury.
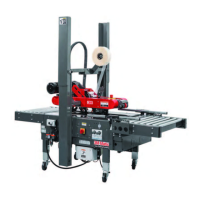
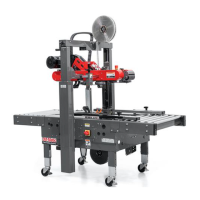
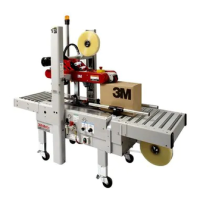
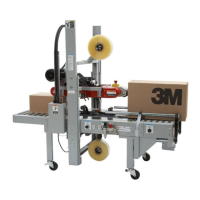
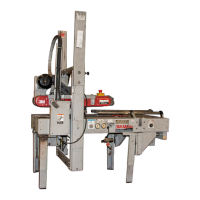
Figure 5-1 Upper Frame Stop Bumpers
Upper Frame Assembly Operating Range
The operating range (height) of the upper frame
assembly can be adjusted to minimize its movement
to the range of box heights being sealed, therefore
increasing operating speed. The range is established
by limiting the lowest (rest) position of the upper drive
assembly with the column stop bumpers on the inner
columns or with the adjustable collars on the column
lift cylinders.
The Column Stop Bumpers are adjusted and used
if various height boxes are going to be sealed. The
Adjustable Collars are used and locked in position
when sealing a continuous supply of the same height
box.
To adjust Column Stop Bumpers:
1. Jog the minimum height box into the case sealer
and stop it under the upper drive assembly as
shown in Figure 5-1A. Shut off the air and
electric supplies.
2. Remove and retain the screws, washers, column
guards and bumper stop plates on both outer
columns as shown in Figure 5-1B.
3. Remove and relocate the stop bumper assembly
to lowest available mounting position on both
sides of the inner column assembly. Figure 5-1-
C. Be sure the stop bumpers are reassembled
as shown and secure.
4. Install the stop bumper plates and column
guards with the washers and screws as shown.
Figure 5-1-B.
5. Turn on the air and electric supplies and start the
drive belts to convey the box out of the machine.
The drive assembly will then descend to the
lowest position necessary to accommodate your
range of box sizes.
To adjust Adjustable Collars:
1. Jog the box to be sealed into the case sealer
and stop it under the upper drive assembly as
shown in Figure 5-1A. Shut off the air and
electric supplies.
2. Loosen (if necessary) and slide the collar down to
the cylinder cap and tighten the adjustable collar
clamp screw on both cylinders. Figure 5-1D.
3. Turn on the air and electric supplies and start the
drive belts to convey the box out of the machine.
The drive assembly will remain at this height to
seal this height boxes but will also automatically
raise and seal higher boxes.
 Loading...