3M™ AT9000 MK2 Full Page Reader User Guide Installing the Reader
Connect the reader cables
Note: Make sure you install the software (page 15) before connecting the reader.
To install the reader, you need to connect the following cables:
•
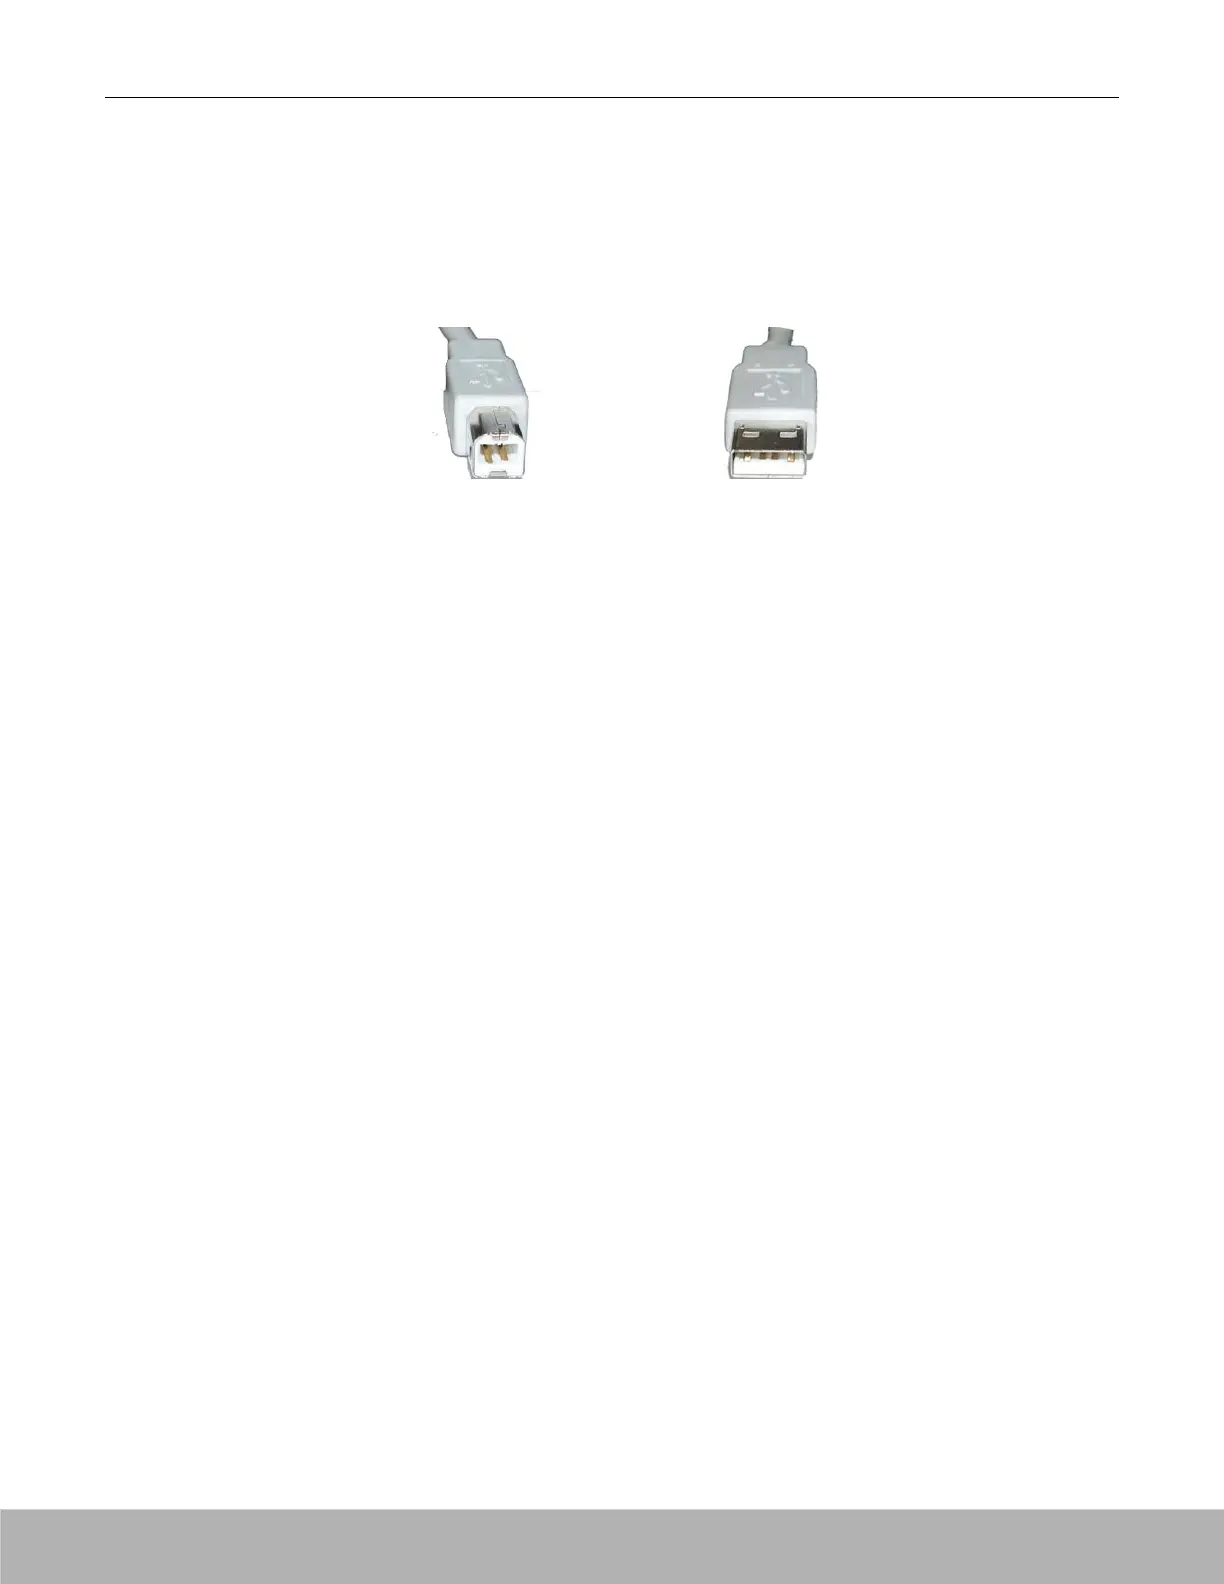
USB cable – The reader is supplied with a USB 2.0 cable (Type A to Type B). The cable provides
both power and data connectivity to the reader.
Type B (connects to reader) Type A (connects to PC)
•
Power cable (optional) – You need to use the optional power cable if you want to use the
reader as a powered USB2.0 hub. The Power connector is a latching type that can not
accidentally detach as the reader is moved about. To remove the connector, grasp the connector
shell and pull away from the reader. The connector shell will slide backward slightly, allowing the
connector to disengage from the reader.
To connect the reader cables:
Note: Only use the provided USB cable and optional power supply with the reader. Using a non-
approved, third-party USB cable or power supply will void the warranty and may negatively affect
operation.
1. Connect the USB cable:
I. Insert the Type B connector into the USB port located on the back of the reader.
II. Insert the Type A connector into a USB port on the host PC.
2. If want to attach peripheral USB devices to the reader, you will need to connect the power supply (if
you are using the reader as-is, you can skip this step). To connect the power supply:
I. Connect the connector from the power supply to the power connector at the rear of the
reader. Do not force. There is only one orientation that will allow the cable to be connected
to the power port.
II. Connect the AC cable to a functioning power outlet.
Copyright 2018 IDScience Inc. Rev. 20180725