38 © 3M 2008. All Rights Reserved.
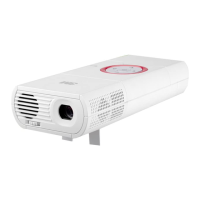
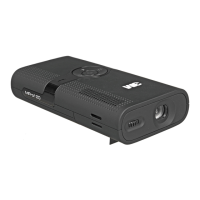
Appendices 3M™ Digital Projector
5. Select the “Change” button under the “Monitor” tab.
6. Click on “Show all devices.” Next, select “Standard monitor
types” under the SP box; choose the resolution mode you need
under the “Models” box.
If you are using a Notebook:
1. First, follow the steps above to adjust resolution of the
computer.
2. Press the toggle output settings. example: [Fn]+[F3]
,I\RXH[SHULHQFHGLI¿FXOW\FKDQJLQJUHVROXWLRQVRU\RXUPRQLWRU
freezes, restart all equipment including the projector.
Problem: The screen of the Notebook or PowerBook com-
puter is not displaying a presentation
If you are using a Notebook PC:
Some Notebook PCs may deactivate their own screens when a
second display device is in use. Each has a different way to be
reactivated. Refer to your computer’s documentation for detailed
information.
3UREOHP,PDJHLVXQVWDEOHRUÀLFNHULQJ
Use “Phase” to correct it. (see page 23)
Change the monitor colour setting on your computer.
3UREOHP,PDJHKDVYHUWLFDOÀLFNHULQJEDU
Use “Frequency” to make an adjustment. (see page 23)
&KHFNDQGUHFRQ¿JXUHWKHGLVSOD\PRGHRI\RXUJUDSKLFFDUGWR
make it compatible with the product.
Compaq Ö [Fn]+[F4]
Dell
Ö [Fn]+[F8]
Gateway Ö [Fn]+[F4]
IBM Ö [Fn]+[F7]
Mac Apple:
System Preference
ÖDisplayÖArrangementÖMirror display
Hewlett
Ö [Fn]+[F4]
Packard
NEC
Ö [Fn]+[F3]
Toshiba Ö [Fn]+[F5]
 Loading...