0$OOULJKWVUHVHUYHG
Product Warranty and Safety Guide
ENGLISH
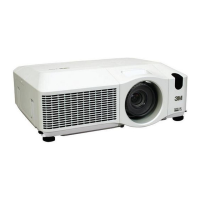
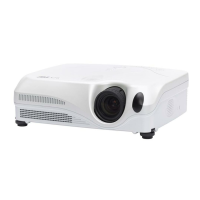
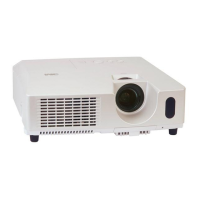
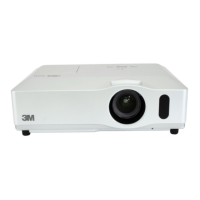
3M™ Digital Projector X31/X36/X46/WX36
¥Note
Reset the lamp operation hours. See “Reset Lamp Hours” for details.
3. Remove lamp module: Slowly pick up the lamp by the handles (4).
4. Insert lamp module : ,QVHUWWKHQHZODPSDQGUHWLJKWHQ¿UPO\WKHVFUHZV
(3)
of the lamp
that are loosened in the previous process to lock it in place.
Optional Lamp: 78-6972-0008-3
(DT01025)
(Contact 3M Customer Service.)
While putting the interlocking parts of the lamp door
(2)
and the projector together,
slide the lamp door
(2)
EDFNLQSODFH7KHQ¿UPO\IDVWHQWKHVFUHZRIWKHODPSGRRU
(2)
.
¥Note
)RUPD[LPXPODPSOLIHGRQRWVWULNHRUGURSLPSURSHUO\KDQGOHRUVFUDWFKWKHODPSJODVV
$OVRGRQRWLQVWDOODQROGRUSUHYLRXVO\XVHGODPS
1. Remove lamp access door: Loosen the screw (marked by arrow)
(1)
of the lamp door and then
slide and lift the lamp door
(2)
to the side to remove it.
2. Retaining screws : Loosen the 3 screws (marked by arrow)
(3)
of the lamp.
Never loosen any other screws.
¥Note
$OOODPSPRGXOHVFUHZVPXVWEHORRVHQHG7KHVHVFUHZVDUHVHOIFRQWDLQLQJVFUHZVWKDW
FDQQRWEHUHPRYHGIURPWKHODPSPRGXOHRUDFFHVVGRRU
+DQGOH
/DPSDFFHVVGRRU
6FUHZ
6FUHZV

 Loading...