Quick Installation Guide
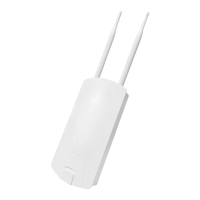
EAP706 Enterprise Access Point ENGLISH
Copyright © 4IPNET, INC. All rights reserved.
4ipnet EAP706 supports web-based configuration. When hardware installation is complete, EAP706 can be
configured through a PC by using a web browser such as Mozilla Firefox 2.0 or Internet Explorer version 6.0
and above.
The default values of LAN IP address and subnet mask of EAP706 are:
IP Address: 192.168.1.1
Subnet Mask: 255.255.255.0
Steps:
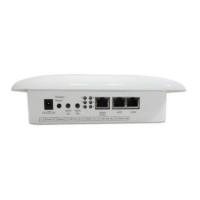
1. To access the Web Management Interface, connect the administrator PC to the LAN port of EAP706 via
an Ethernet cable. Then, set a static IP address on the same subnet mask as EAP706 in TCP/IP of your
PC, such as the following example:
IP Address: 192.168.1.100
Subnet Mask: 255.255.255.0
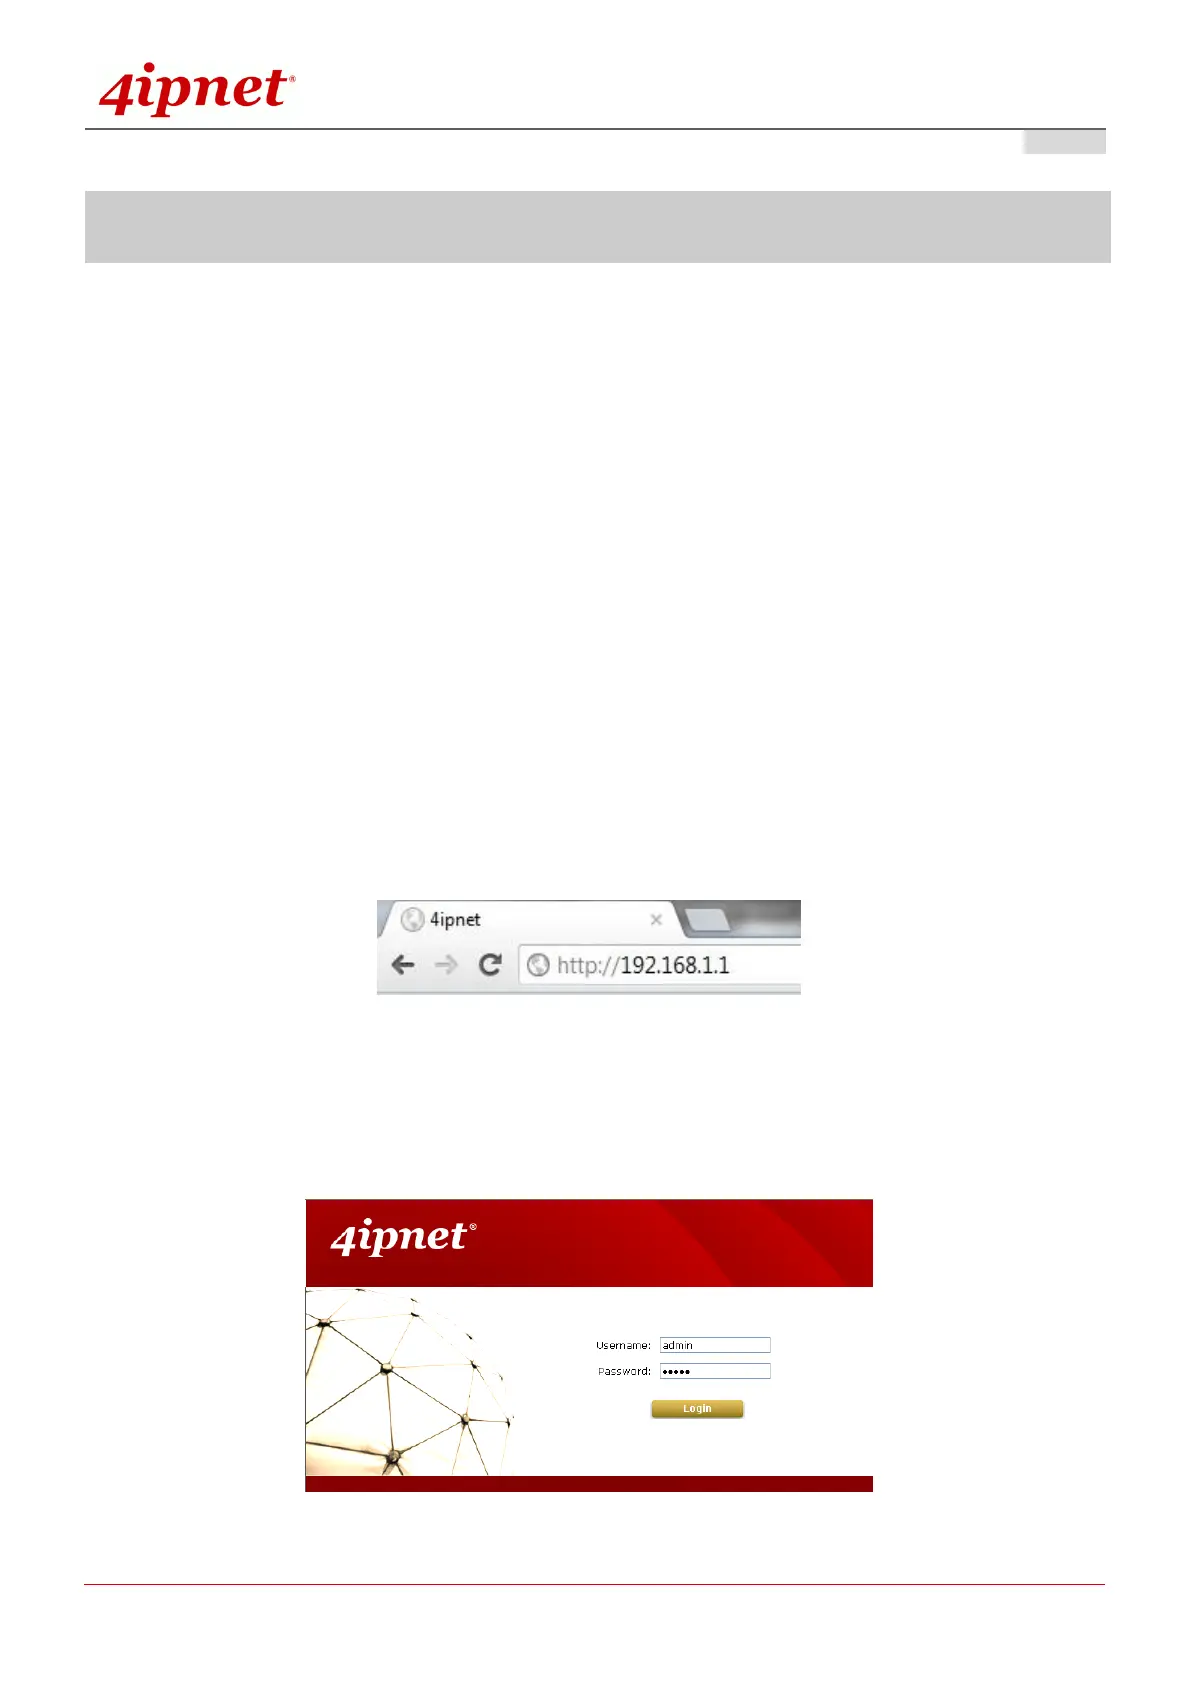
2. Launch the web browser on your PC by entering the IP address of EAP706 (http://192.168.1.1) at the
address field, and then press Enter.
Example of entering EAP706's default IP Address via a web browser
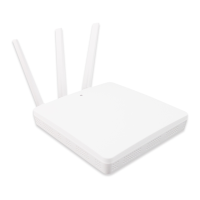
3. The following Admin Login Page will appear. Enter “admin” for both the Username and Password fields,
and then click Login.
Administrator Login Page