Quick Installation Guide
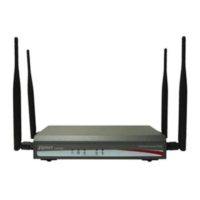
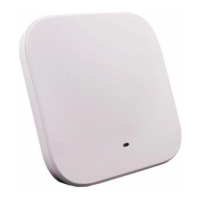
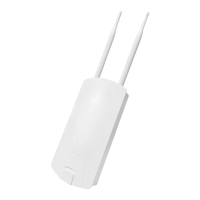
OWL630 Enterprise Access Point ENGLISH
Copyright © 4IPNET, INC. All rights reserved.
The following are the basic installation steps which can be used for testing and configuring the OWL630.
Installation Steps:
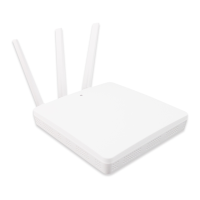
Step 1. Connect an antenna to the connector.
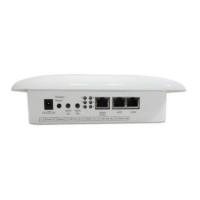
Step 2. Connect the Ethernet Port of OWL630 to the POWER & DATA OUT Port of the PSE.
Step 3. Connect one end of an Ethernet cable to the Data Port of PSE and the other end to the computer.
Step 4. Power on the PSE in order to supply power to the OWL630.
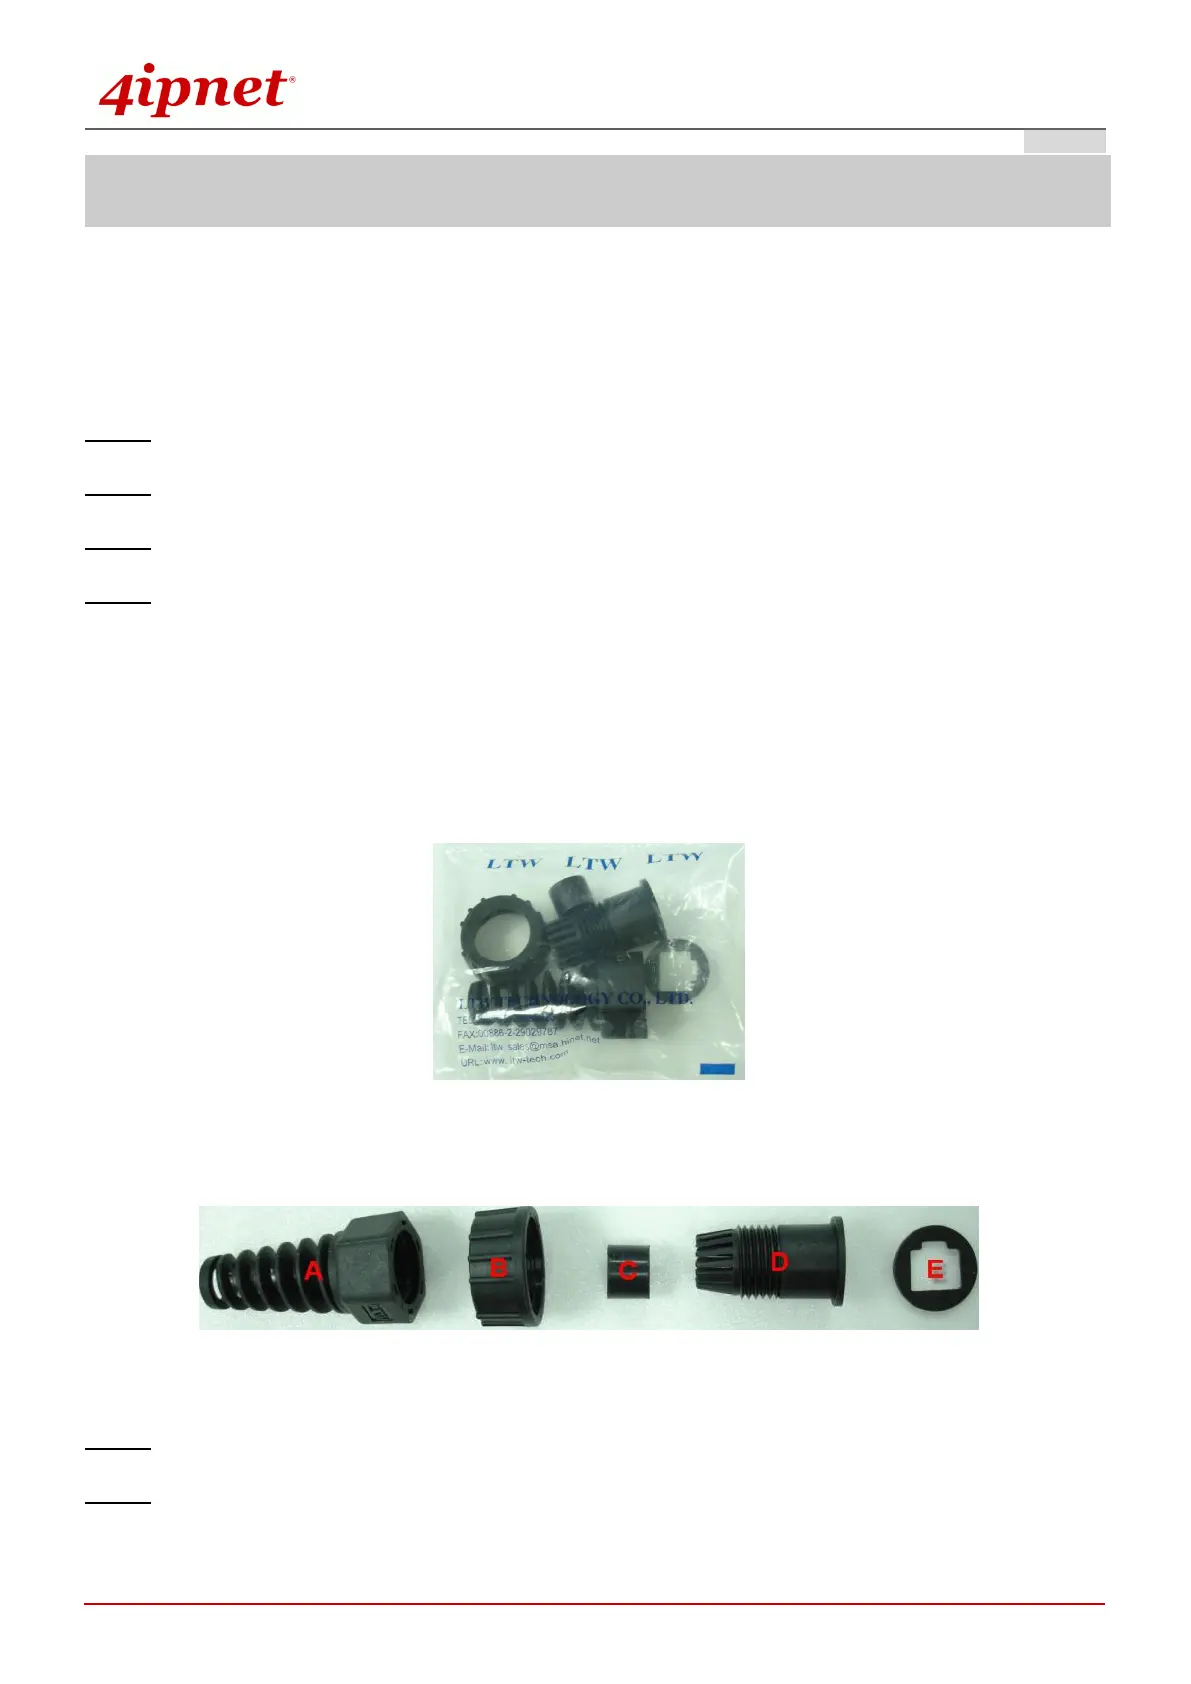
Installing the Waterproof Connection Pack:
A connector pack as shown in the figure below is included with the system.
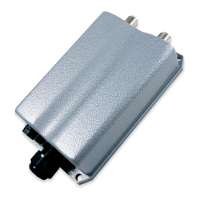
Parts Included: 5 Parts – Part-A ~ Part-E
Step 1. Take the white sticker off Part E and attach it to Part-D.
Step 2. Plug Part-C into Part-D. There will be three main parts as shown below.