2.2.8 Changing the Viewing Screen
The viewing screen is designed to be easily removed by the user for
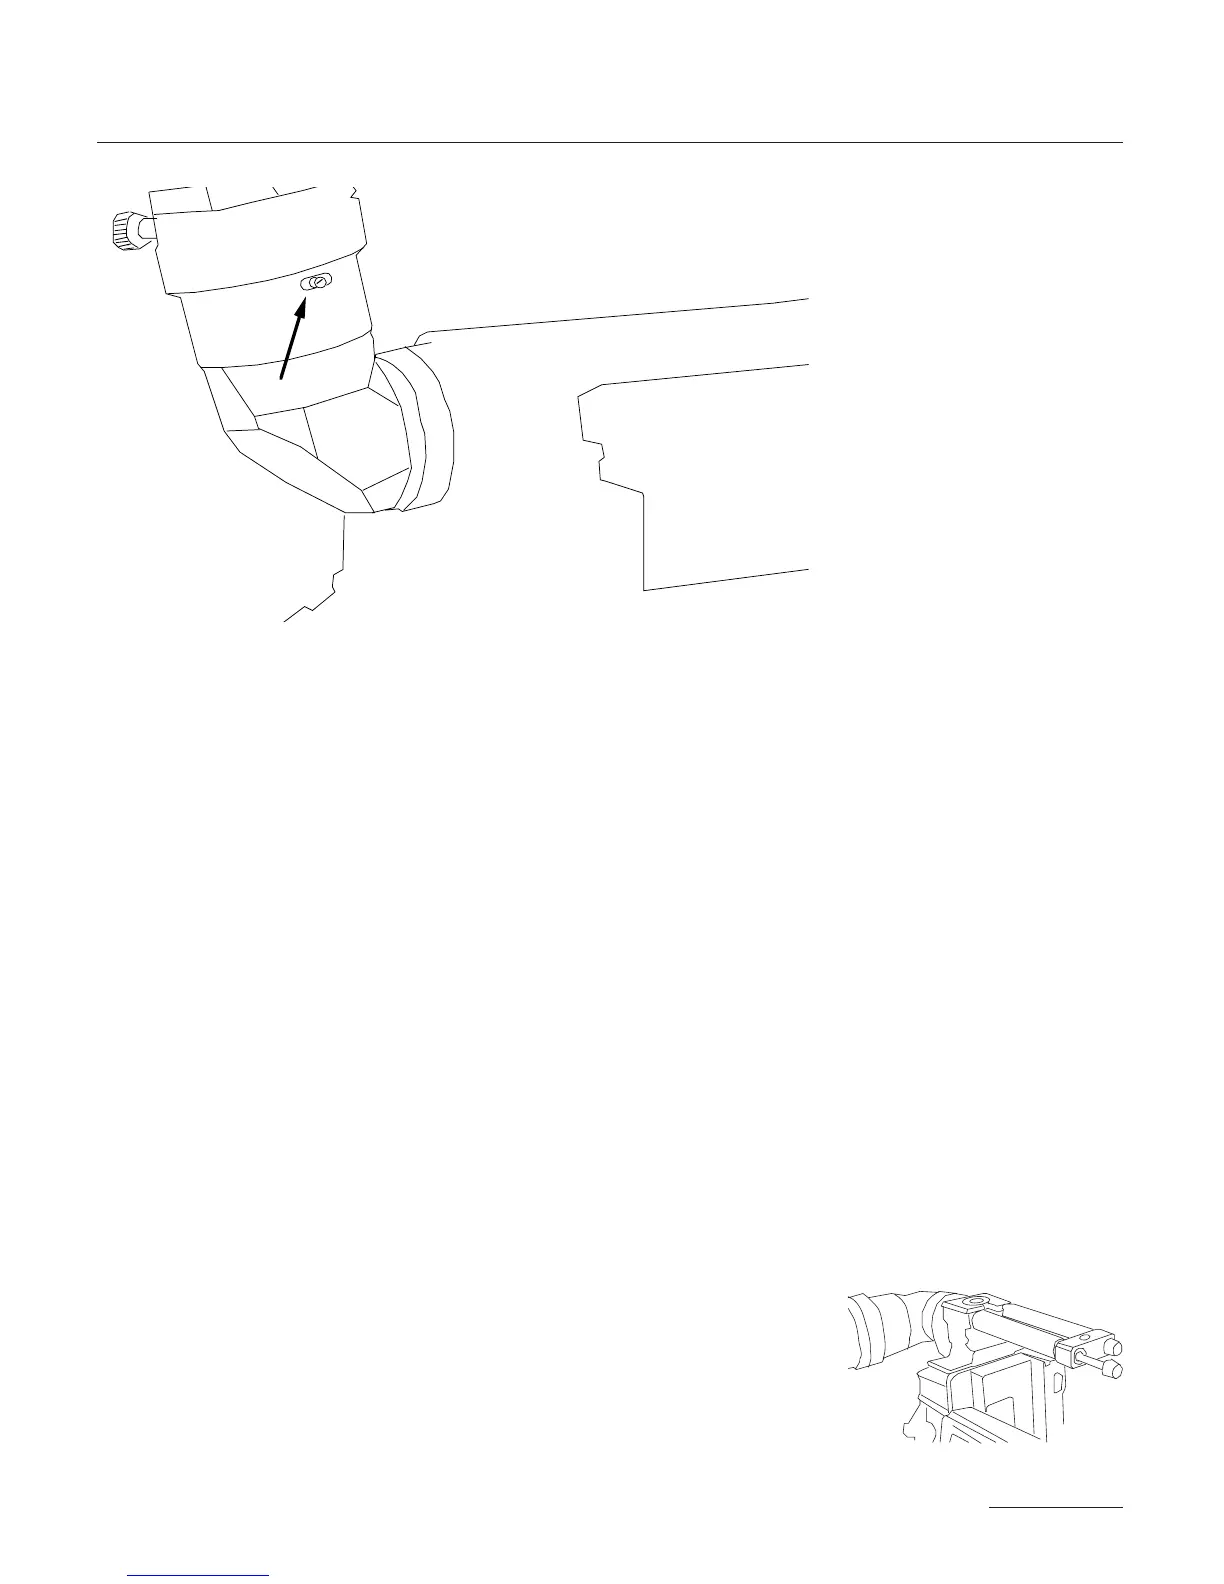
the purposes of interchanging or for cleaning. To remove the screen,
unscrew the black tool marked Vw located in the hollow at the rear
of the camera’s carrying handle. Remove the port cap. Clear the mir-
ror shutter so that it is rotated safely inside the body by rotating at
the base of the shutter with your finger or by setting the camera to
test position, then removing the battery. Look into the port and lo-
cate the threaded hole directly above the aperture opening and screw
in the tool until it is snug. Carefully pull the screen straight out.
To r einstall the screen, screw the Vw tool into the threaded hole of
the screen until it is snug. Look into the port and locate the left and
right lip of the viewing screen holder. With its flat side facing down,
gently push the screen straight into the holder above the lip until it
seats firmly in place. Unscrew the Vw tool and store back in the hol-
low of the carrying handle. Reaffirm that the screen is seated proper-
ly by carefully pressing against the threaded hole with your thumb.
2.2.9 Adjusting the Viewing Screen
The image on the viewing screen should be sharp, and its focus
should match to that of the film. This can be best determined with
the use of a collimator, or by looking through the viewfinder and
23
THE CAMERA BODY