The installation and removal of the VSA color head assembly is so-
mewhat involved and considered a shop operation. Therefore, it is
recommended that this procedure be performed by a qualified tech-
nician. If you own a VSA, however, and feel that you would need to
remove the assembly frequently, this procedure can be demonsrated
and taught to you by an Aaton technician. Contact your Aaton re-
presentative for further details.
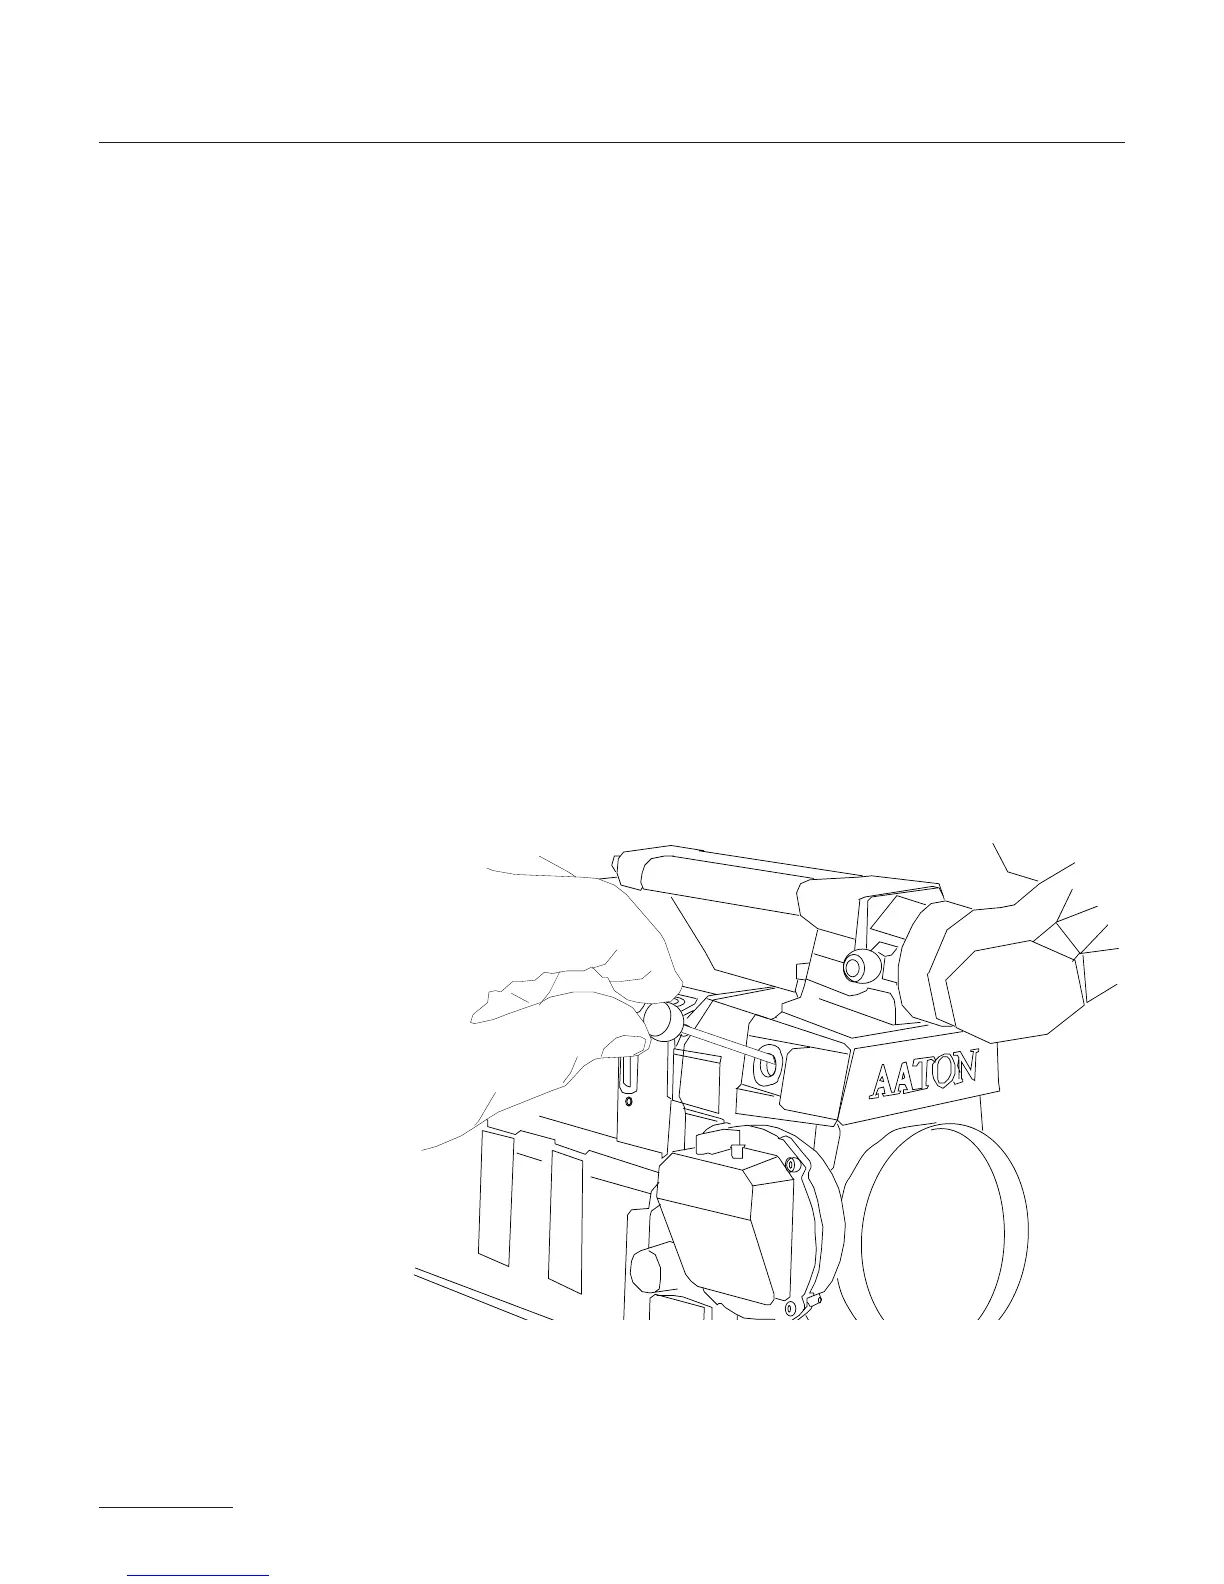
• 1 - Unscrew the four allen screws as indicated in the diagram be-
low and remove the PBX cover plate and rubber gasket. On the co-
ver plate, you'll notice a plastic plug which is press-fit into the cover
plate. Remove this plug by pushing it to the inside of the plate. If it
is very tight, use a pencil eraser to do the job. On some cameras,
you may find a blank cover plate without a hole. If this is the case,
remove this plate completely and use the plate supplied with the
CCD assist in its place.
46