- 26 -
. . . ADDENDUM FOR "METERS" OPTION OF THE TRANSMITTERS
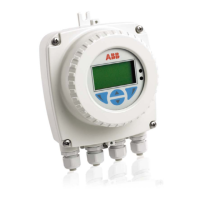
Fig. 3 - Cover Internal label
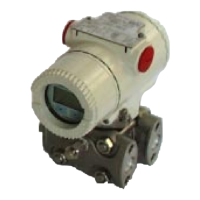
3) Remove the link shown on the label by pushing down at its
left extremity and then its right . Alternatively it can be
removed on the left side only in preparation for a further
refit.
4) Plug the meter into the socket. The digital indication meter
can rotate, for easy viewing, in 15° steps, 90° degree
clockwise and 255° counterclockwise, as shown in figure 2.
Further rotation causes damage to the meter stops or to the
"banana" connections and should be avoided. Note that
considerable effort must be applied for 15° rotation. The
analog output meter can also rotate for easy viewing.
5) Check that the cover O-ring gasket is properly in place,
screw on the extended windowed cover and tighten properly.
To remove the meter simply pull it out from the socket and fit
a replacement following the above procedure.
CAUTION - If the meter is removed, ensure that it is
replaced immediately by another one or with the proper
link provided. This operation is important for I.S.
loop operation.
METER INSTALLATION OR REPLACEMENT
WARNING - If the transmitter is not certified as
Intrinsic Safety type, DO NOT REMOVE ANY COVER
in areas classified as "HAZARDOUS LOCATIONS:
CAN RESULTS IN HAZARD OF FIRE AND
EXPLOSION". Contact your Safety Dpt. in order to
establish correct installation procedure.
To install (or to replace) the meter, use the following procedure:
1) If the transmitter is part of a control loop, put the loop in
manual.
2) Remove the cover on the terminal block side; inside of
which is affixed the label shown in Fig.3.
 Loading...