This document is a Lifecycle Extension Guide for the Acer Monitor KB242HYL, providing essential information for its service, repair, and maintenance. It outlines procedures for disassembly and assembly, troubleshooting, and a list of Field Replaceable Units (FRUs).
Function Description
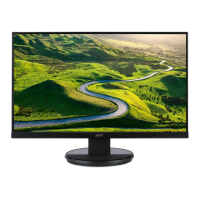
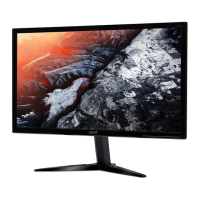
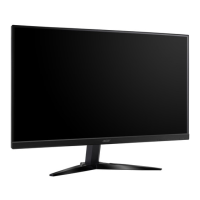
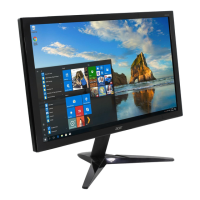
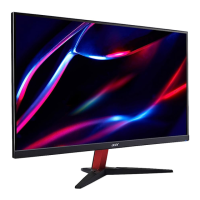
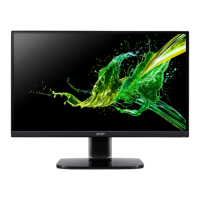
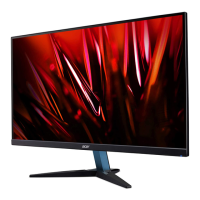
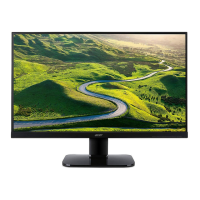
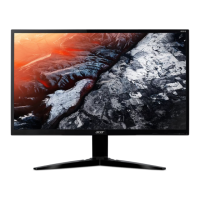
The Acer Monitor KB242HYL is a display device designed for general computing use. It connects to a computer system to display visual output, supporting both VGA and HDMI/DP input modes. The monitor is designed with a focus on repairability and extended lifecycle, allowing for component replacement and maintenance to prolong its operational lifespan. It includes various internal boards such as an Interface Board (INF BD), Power Board (PWR BD), and Control Board (CTRL BD), which manage video signals, power distribution, and user controls, respectively. Some models may also include a USB board for additional connectivity.
Usage Features
The monitor offers standard display functionalities. Users can adjust display settings such as brightness, contrast, resolution, clock, clock-phase, H-position, and V-position through an On-Screen Display (OSD) menu. These adjustments help optimize the visual output for different content and user preferences. The monitor supports various resolutions and refresh timings, which can be configured to suit the connected computer's graphics adapter. For models with audio input, the monitor can also output sound, with volume adjustable via the OSD or the connected host PC. The design incorporates a stand and base for stable placement, which can be disassembled for servicing or transport.
Maintenance Features
The Lifecycle Extension Guide emphasizes the repairability and maintainability of the Acer KB242HYL monitor. It provides detailed instructions for disassembling and assembling the monitor, making it possible to replace specific components rather than discarding the entire unit. Key maintenance features include:
- Modular Design: The monitor is composed of several distinct modules, such as the LCD panel, various circuit boards (Control Board, Power Board, Interface Board), and structural components (rear case, mid-frame, shielding, trim, stand, base). This modularity facilitates the isolation and replacement of faulty parts.
- Disassembly and Assembly Procedures: The guide offers step-by-step instructions for disassembling the monitor, starting from removing the rear case, stand, and base, and progressing to detaching the shielding, lamp wire, trim, mid-frame, and individual circuit boards. Each step is accompanied by visual aids (pictures) to ensure clarity. The assembly procedures are also detailed, guiding technicians on how to reassemble the monitor correctly.
- Tool Requirements: A list of necessary tools, including Philips-head and Hex-head screwdrivers, a knife, gloves, cleaning cloth, and ESD protection, is provided to ensure that technicians are properly equipped for service.
- Safety Precautions: The guide highlights critical safety notices, such as the importance of disconnecting the power cord before servicing, being aware of residual power in the power board, and using ESD protection. It also advises against exposure to water or high humidity environments.
- Component Replacement Guidance: Specific instructions are given for extracting and inserting various cables and connectors, such as the CTRL FFC, lamp wire, FFC LVDS, and audio wires. The guide also specifies the use of original manufacturer's specified parts for continued reliability and compliance with RoHS and Lead-Free definitions.
- Screwing and Torque Information: The document instructs on using proper screwdrivers and following specified torque and force during assembly and disassembly to prevent damage.
- Lead-Free Solder Requirement: For soldering tasks, the guide specifies the use of Lead-Free solder with a fusion point of 220°C, aligning with environmental and safety standards.
- Troubleshooting Guide: A comprehensive troubleshooting section helps diagnose common issues based on symptoms (e.g., LED status, no picture, unstable picture, abnormal sound). It provides remedies such as adjusting OSD settings, checking cable connections, and verifying power supply.
- FRU List: A Field Replaceable Unit (FRU) list is included, detailing specific part numbers for major components like the LCD panel, main board, power board, and function key board. This list is crucial for ordering correct replacement parts, although it notes that regional variations in part numbers may exist, and technicians should refer to the most up-to-date information.
- Disposal Guidelines: The guide emphasizes the importance of following local government ordinances or regional office rules for the proper disposal or return of defective parts, particularly for circuit boards larger than 10 cm², which are highlighted for special attention.
- Qualified Repairability: The document stresses that proper service and repair are vital for safe and reliable operation. It recommends that service providers be aware of the notices in the manual, possess repairing knowledge and experience, and undergo appropriate product training for new models. This ensures that repairs are performed correctly, minimizing risks of personal injury or damage to the equipment.