INSTALLATION
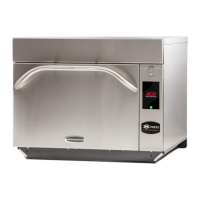
STEP 1 - Unpack Oven
• Inspect oven for damage such as dents in door or inside oven cavity.
• Report any dents or breakage to source of purchase immediately.
Do not attempt to use oven if damaged.
• Remove all packing materials from oven interior.
• If oven has been stored in extremely cold area, wait a few hours before
connecting power.
STEP 2 - Place Oven on Counter
• Recommended countertop surface depth is 26” (66 cm).
• Do not install oven next to or above source of heat, such as pizza oven
or deep fat fryer. This could cause oven to operate improperly and
could shorten life of electrical parts.
• Do not block or obstruct oven filter. Allow access for cleaning.
• Install oven on level countertop surface.
• Outlet should be located so that plug is accessible when oven is in
place.
STEP 3 - Install Rack
• Install oven rack
1. Oven cavity must be cool to touch.
2. Place rack in oven with rear guard positioned toward the
the back of the oven.
• DO NOT cook food directly on floor of oven.
flow around oven cools electrical
components. With restricted air flow,
oven may not operate properly and
life of electrical parts is reduced.
B—Allow at least 2” (5.1 cm) between air
discharge on back of oven and back
wall.
C—Allow at least 2” (5.1 cm) of
clearance around sides of oven.
D—Install combination oven so oven
bottom is at least 3 feet (91.5 cm)
above floor.