Installing the System Installation Overview
Configuring the system using the dipswitches only:
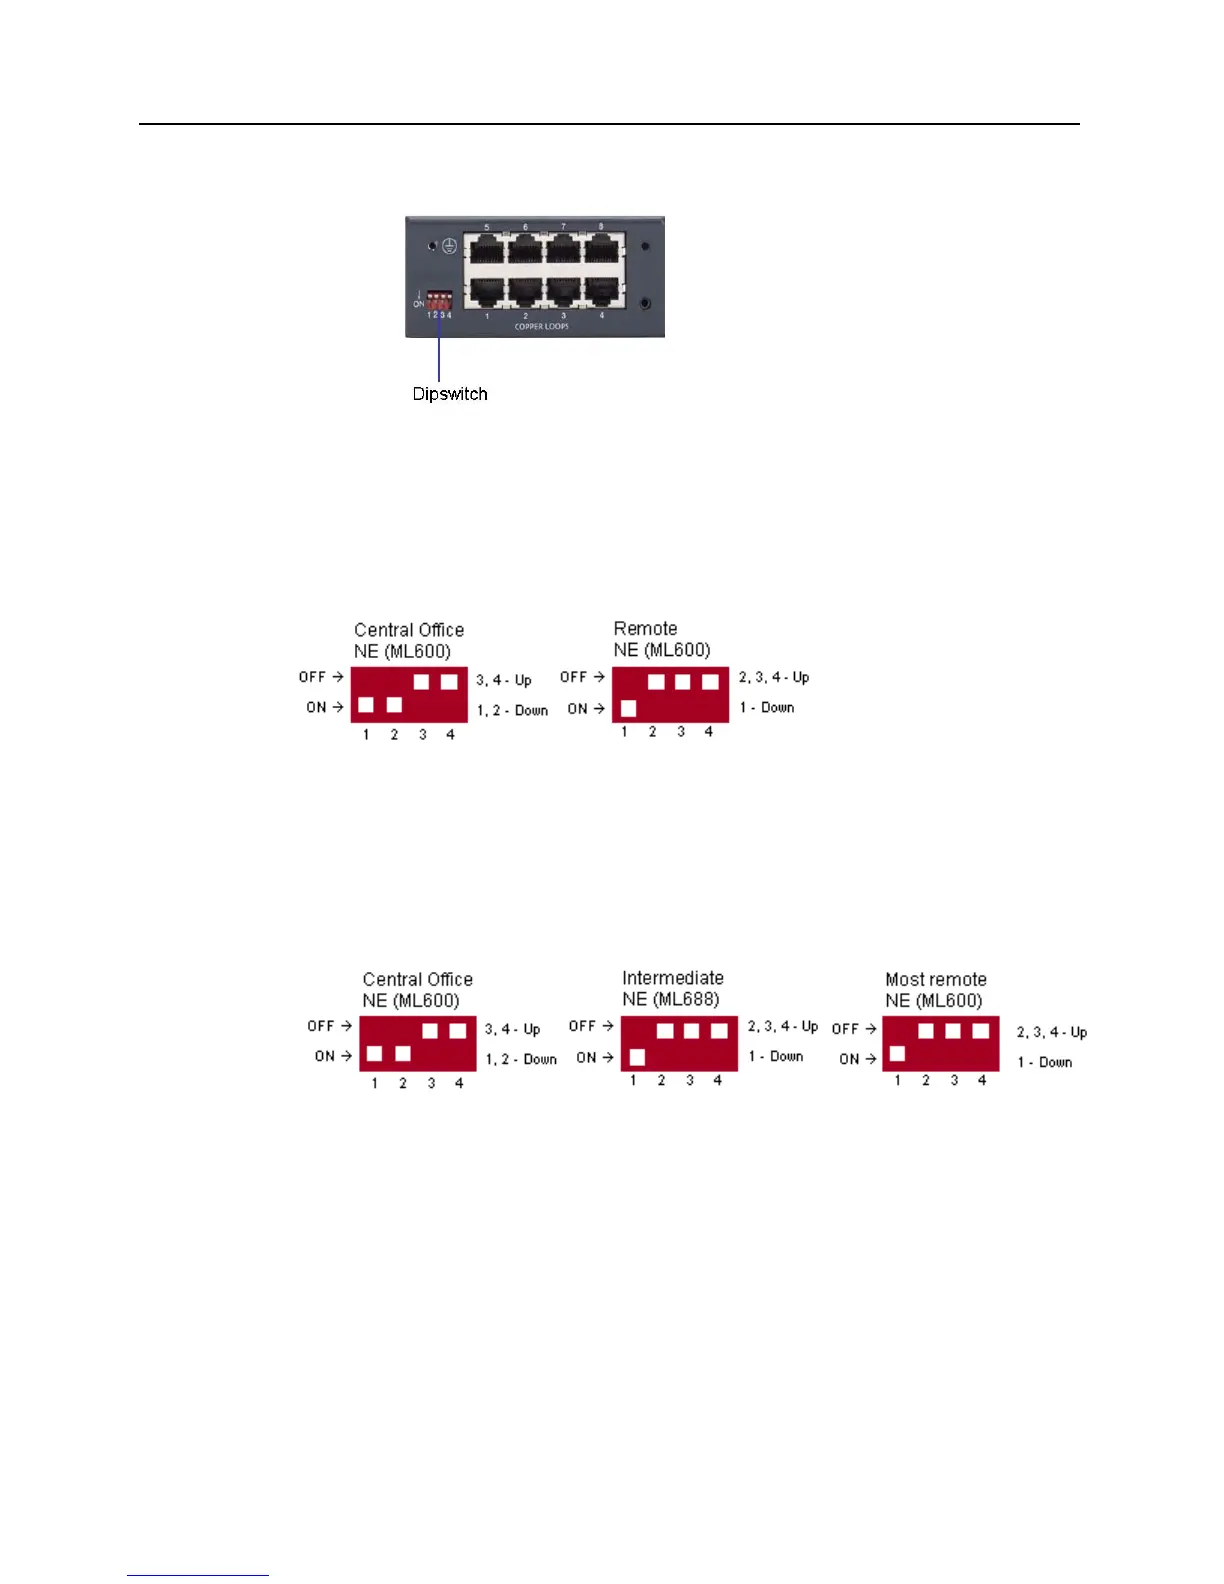
Remove the label sticker on left of rear side.
To enable P2P topology with Preset setup:
On Remote NE ML600 (Customer side), set Dipswitch #1 to On (Down) and Dipswitches
#2, #3 and #4 to Off (Up);
On Central Office NE ML600, set Dipswitches #1 and #2 to On (Down) and Dipswitches
#3 and #4 to Off (Up).
To enable P2P Chained (Drop & Continue) topology with Preset setup:
Use ML688 model with dual HSL as intermediate Network Elements;
On ML600, installed not in Central office (End Network Element and all intermediate
Network Elements), set Dipswitch #1 to On (Down) and Dipswitches #2, #3 and #4 to
Off (Up);
On ML600, installed in Central Office, set Dipswitches #1 and #2 to On (Down) and
Dipswitches #3 and #4 to Off (Up).
To enable Point-to-dual-Point topology with Preset setup:
Use ML688 model with dual HSL as Central Office Network Element;
On ML688, installed in Central Office, set Dipswitches #1 and #2 to On (Down) and
Dipswitches #3 and #4 to Off (Up).
6 ML600 Release 5.0a Quick Installation Guide