Hardware Manual
75
This way, a User may have full access to a Workspace, while having limited Read-Only access
to another Workspace. Therefore, you can create flexible structures that allow you to delegate
access based on your exact needs.
Note that you cannot assign a User more than 1 Role per Workspace. If you need to do so, you
might need to create a Custom Role (see next section).
Custom Roles
NOTE: This feature is for Enterprise account only.
If you need to provide a User with customized Permissions, then you need to create a Custom
Role.
IMPORTANT: Keep in mind that if a new feature with a new permission is added, then your
Custom Roles will not have this new permission.
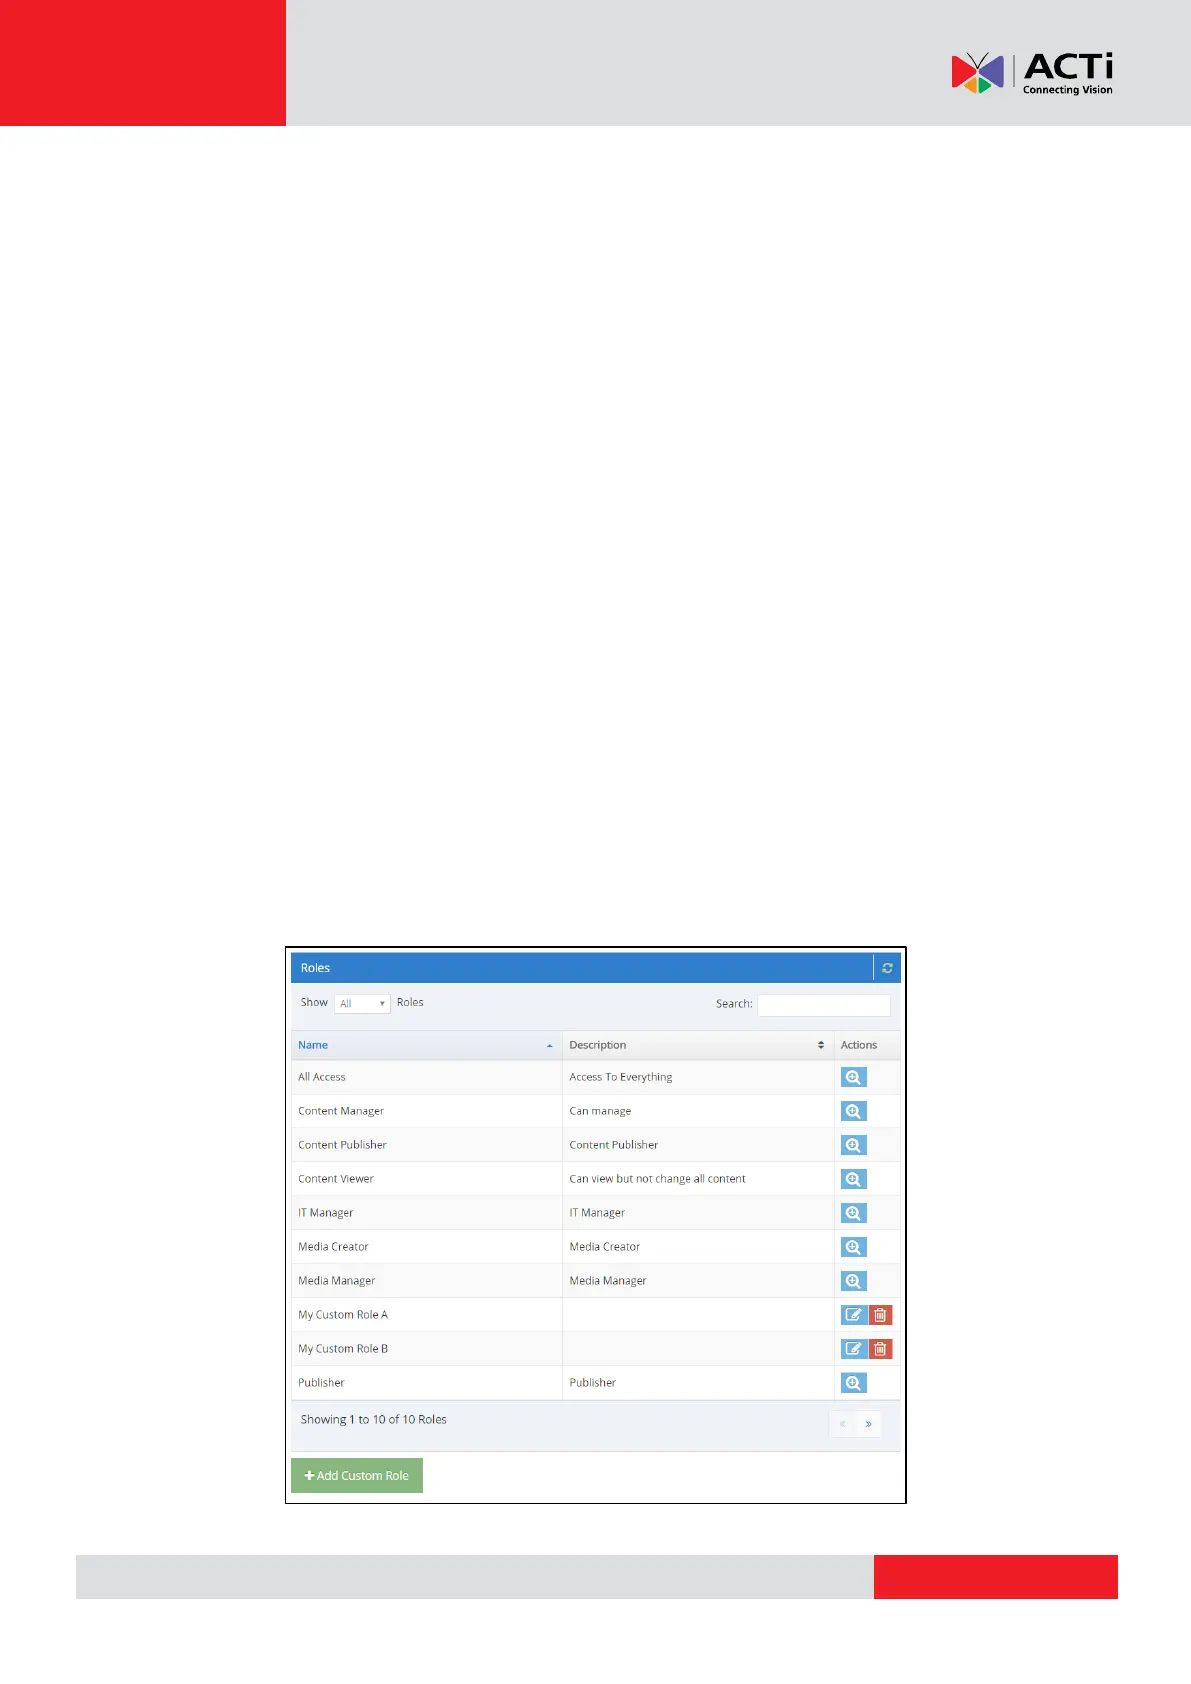
To access the Role Management screen:
1. Go to the “Users” section, accessible from the top-menu of the user interface.
2. Click “+User”
3. In the “Workspace Permissions” section, click the “Add” button.
4. In the pop-up window that appears, click on the “Manage Roles” link.
In this section you can see all the Standard Roles as well as the Custom Roes that you have
created.
 Loading...