ScreenBeam
™
|
960
D. Configure ScreenBeam Receiver
ScreenBeam 960 can be configured by using the ScreenBeam
CMS software or accessing the ScreenBeam’s local
management interface (LMI).
Using ScreenBeam CMS Software
ScreenBeam Central Management System (CMS) is a highly
recommended complimentary tool for multi-unit deployment,
configuration and administration.
1.
To obtain CMS software and the CMS User Guide, go to:
https://support.screenbeam.com/cms.
2.
Refer to the CMS User Guide for setup instructions.
Note: Access to the LMI is prohibited by default if
ScreenBeam 960 is connected to ScreenBeam CMS
for management. This option can be changed in the
receiver’s settings.
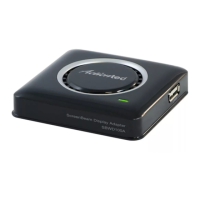
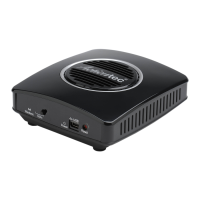
Figure 2 Receivers managed by ScreenBeam CMS
Using Local Management on ScreenBeam
Local management interface can configure and update a single
ScreenBeam. LMI is not needed when using ScreenBeam CMS.
Accessing the ScreenBeam LMI
Two methods exist to access the LMI.
Method 1: Network Connection via DHCP
1.
Using a shielded RJ-45-terminated Cat5e or better Ethernet
cable, connect the ScreenBeam Ethernet port to a DHCP-
enabled network.
2.
The Ready to Connect screen on the display will show the
assigned IP address of the ScreenBeam. Enter this address
into the web browser of a PC or Apple device on the same
network as the ScreenBeam.
3.
The browser may give an error stating “The connection
or site is not secure or private.” Manually accept the
connection as follows:
z Chrome browser: click Advanced, then click Proceed.
z Edge/IE browser: click Details, then Go on to the
web page (not recommended).
z Firefox browser: click Advanced, then click Add
Exception, then click Confirm Security Exception.
4.
When the ScreenBeam management page appears, enter
the Username Administrator and Password Actiontec (both
are case-sensitive).
5.
Click Login, and the Device Configuration page appears.
screenbeam.com | 5