Installation and Commissioning Guide - Split Ducted ESP Plus/Ultima Indoor Unit
Doc. No.0525-078 Ver. 2 190925
20
Installation and Commissioning Guide
Split Ducted ESP Indoor Unit
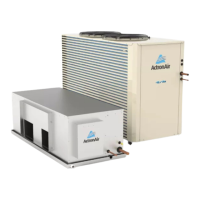
5. Attach PCB casing to the back cover
• Attach the PCB casing by aligning with the back cover
mounted on the wall.
• Ensure the PCB casing makes a ‘click’ sound after
mounting.
PCB CASING
BACK COVER
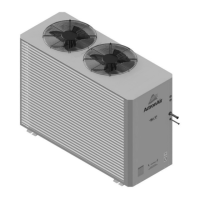
6. Select zone buttons
• Remove the relevant zone buttons for zone name to be
allocated
BUTTON PAD
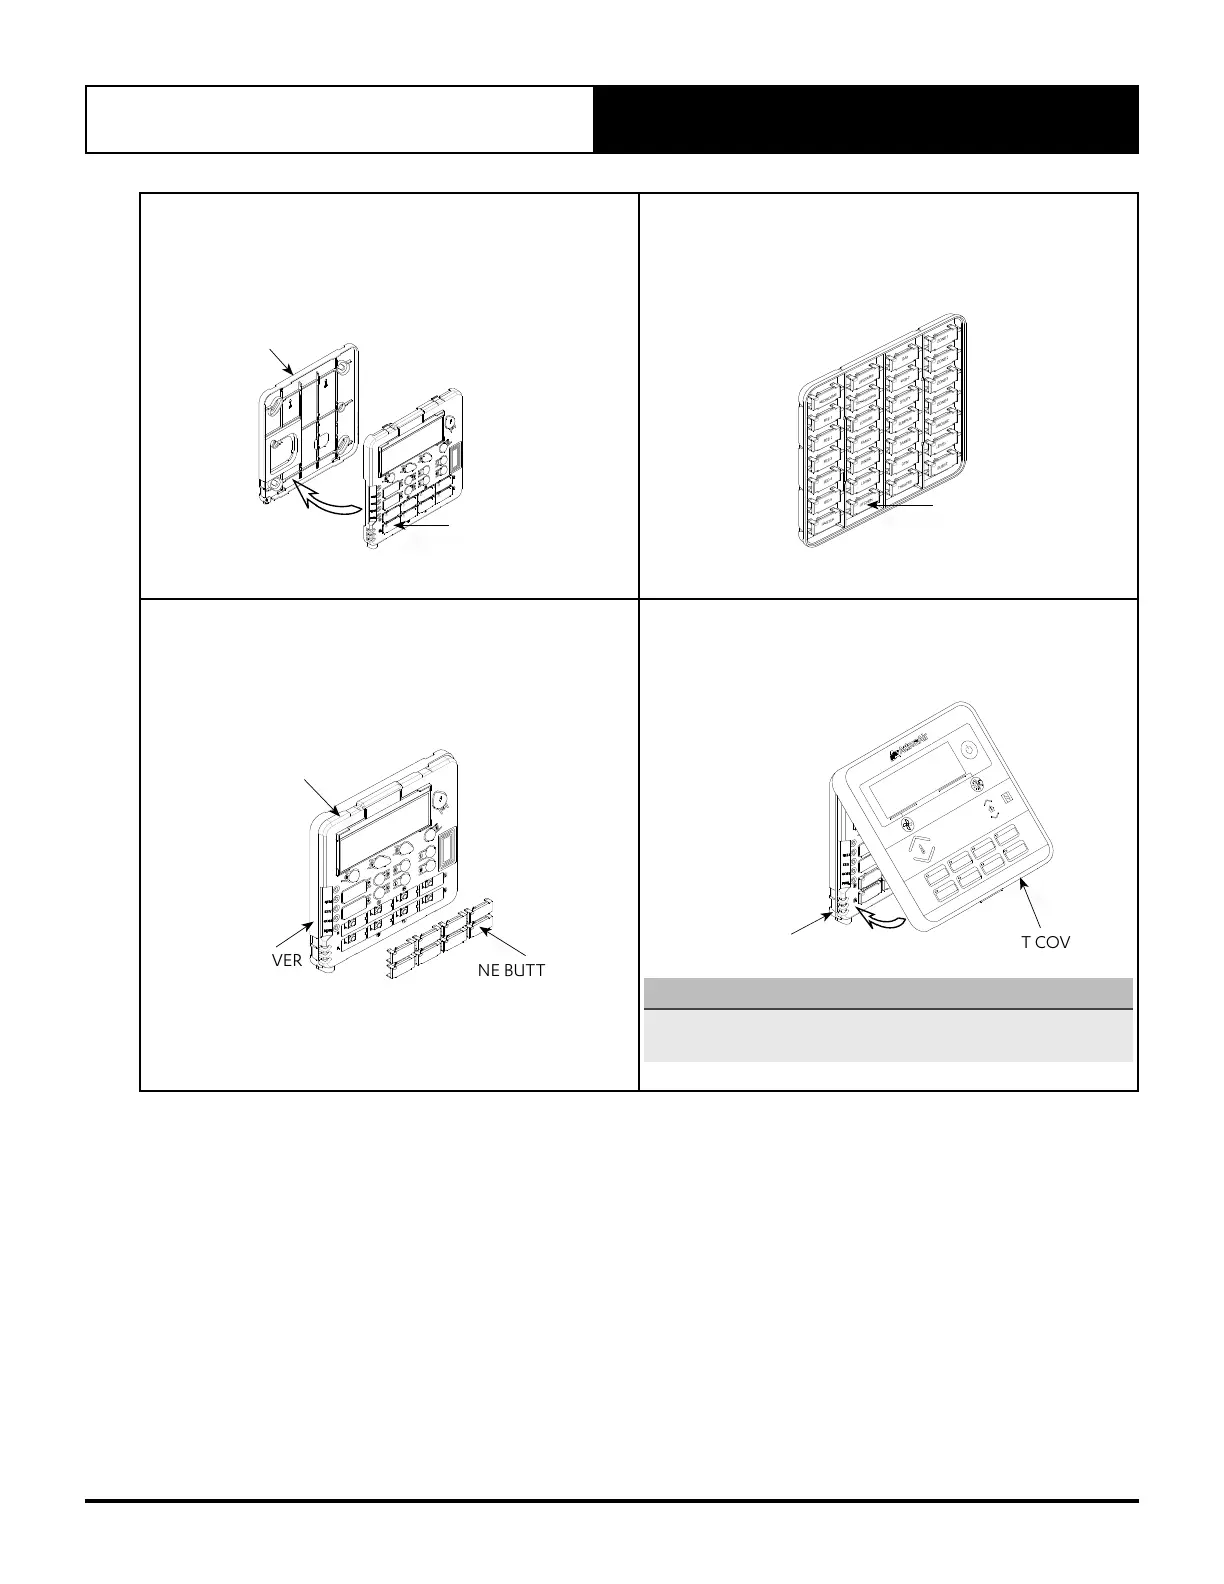
7. Assign and attach zones
• Attach the desired zone buttons and assign names to
each zone.
• Ensure the buttons make a ‘click’ sound when attached to
the PCB casing.
PCB CASING
ZONE BUTTONS
BACK COVER
8. Attach the front cover, as shown in the diagram below
• On completion of the mounting installation, check that
the Control Interface is aligned and leveled on the wall.
P
RO
G
T
I
ME
R
E
X
I
T
R
E
PE
A
T
L
M7
-
2
BACK COVER
As mounted on
the wall
FRONT COVER
NOTE
Front cover can be removed even after installation. Press at
the bottom of the control interface and pull the front cover.