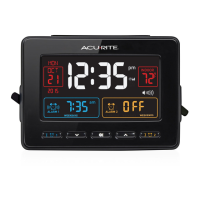
About lntelli-Time®
Your new alarm clock is equipped with lntelli-Time technology which is
pre-programmed with the correct time and date. lntellitime instructs the clock to
self set itself once batteries are installed. The lntelli-Time feature requires an
internal backup battery to operate correctly. This battery is located beneath the AA
battery compartment and is pre-installed at the factory. We suggest replacement
of the backup battery every 5 years. We recommend the replacement of the backup
battery in 1-2 years if the unit is not powered on for a long period of time.
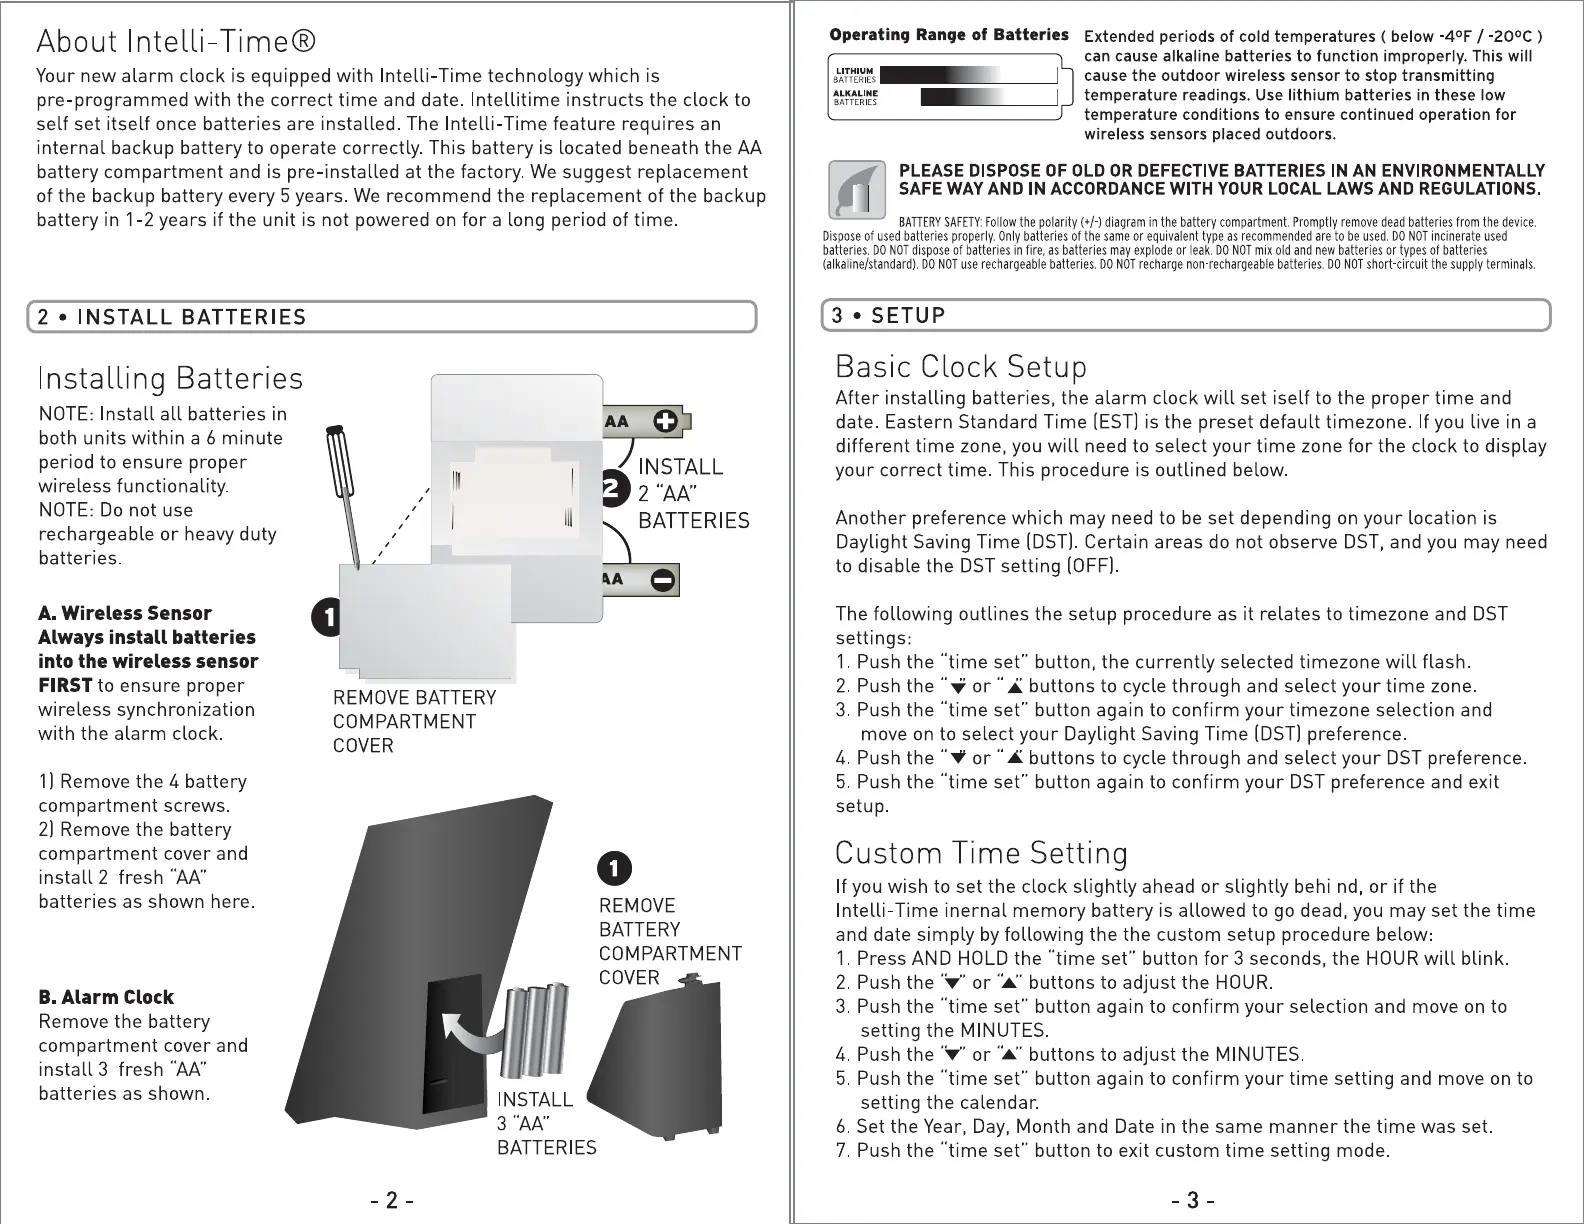
(2 • INSTALL BATTERIES
Installing Batteries
NOTE: Install all batteries in
both units within a 6 minute
period to ensure proper
wireless functionality.
NOTE: Do not use
rechargeable or heavy duty
batteries.
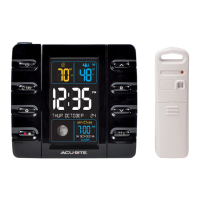
A. Wireless Sensor
Always install batteries
into the wireless sensor
FIRST
to ensure proper
wireless synchronization
with the alarm clock.
1] Remove the 4 battery
compartment screws.
2] Remove the battery
compartment cover and
install 2 fresh "'AA"
batteries as shown here.
B.Alarm Clock
Remove the battery
compartment cover and
install 3 fresh "AA"
batteries as shown.
ABC
,• [g
, I
,
,
,
0
,
,•
@
' /
@
REMOVE 4 SCREWS
TO OPEN BATTERY
COMPARTMENT
@
✓
'
@
REMOVE BATTERY
COMPARTMENT
COVER
)
e AA C}
INSTALL
2 "AA"
BATTERIES
, C} AA e
0
REMOVE
BATTERY
COMPARTMENT
COVER
- 2 -
Operating Range of Batteries
B~~r~~~s
tt·Wi§\44
■
~~M~1~~
@Qif}til (700C)158°FI
Extended periods of cold temperatures ( below -4°F / -20°c )
can cause alkaline batteries to function improperly. This will
cause the outdoor wireless sensor to stop transmitting
temperature readings. Use lithium batteries in these low
temperature conditions to ensure continued operation for
wireless sensors placed outdoors.
PLEASE DISPOSE OF OLD OR DEFECTIVE BATTERIES IN AN ENVIRONMENTALLY
SAFE WAY AND IN ACCORDANCE WITH YOUR LOCAL LAWS AND REGULATIONS.
BATTERYSAFETY:Followthe polarity(+/·) diagram Promptly dead batteries from the device. in the battery compartment. remove
Disposeof used batteries Only batteries or equivalent are to be used. incinerateusedproperly. of the same type as recommended DO NOT
batteries.DONOTdisposeof batteries in fire, as batteries may explode or leak. DO NOT mix old and new batteries or types of batteries
use rechargeable DO NOT batteries. short-circuitthe supply terminals.(alkaline/standard).DONOT batteries. rechargenon-rechargeable DONOT
(3•SETUP
)
Basic Clock Setup
After installing batteries, the alarm clock will set iself to the proper time and
date. Eastern Standard Time (EST] is the preset default timezone. If you live in a
different time zone, you will need to select your time zone for the clock to display
your correct time. This procedure is outlined below.
Another preference which may need to be set depending on your location is
Daylight Saving Time (DST]. Certain areas do not observe DST, and you may need
to disable the DST setting (OFF].
The following outlines the setup procedure as it relates to timezone and DST
settings:
1. Push the "time set" button, the currently selected timezone will flash.
2. Push the "..for ..,i;,..buttons to cycle through and select your time zone.
3. Push the "time set" button again to confirm your timezone selection and
move on to select your Daylight Saving Time (DST] preference.
4. Push the .. .., or .. • buttons to cycle through and select your DST preference.
5. Push the "time set" button again to confirm your DST preference and exit
setup.
Custom Time Setting
If you wish to set the clock slightly ahead or slightly behi nd, or if the
lntelli-Time inernal memory battery is allowed to go dead, you may set the time
and date simply by following the the custom setup procedure below:
1. Press AND HOLD the "time set" button for 3 seconds, the HOUR will blink.
2. Push the ·:..,-·or·:.:.· buttons to adjust the HOUR.
3. Push the "time set" button again to confirm your selection and move on to
setting the MINUTES.
4. Push the·:..,-· or·:.:.· buttons to adjust the MINUTES.
5. Push the "time set" button again to confirm your time setting and move on to
setting the calendar.
6. Set the Year, Day, Month and Date in the same manner the time was set.
7. Push the "time set" button to exit custom time setting mode.
- 3 -
 Loading...