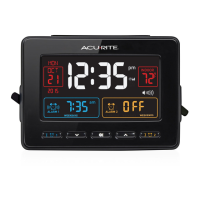
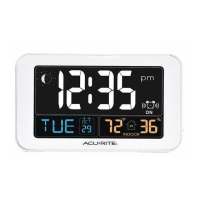
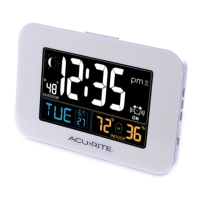
[ 4 • OPERATION
]
@Alarm Clock Setting
To set the alarm time, press AND HOLD the "alarm set" button for 3 seconds to
enter into alarm time set mode. The hour will flash.
2. Push the ....,, or"
A buttons to adjust the hour, note the AM and PM indicators.
3. Push the "alarm set" button to confirm hour selection and move on.
4. Push the ·;,,;· or
"ii:.buttons to adjust the minutes.
5. Push the "alarm set" button to confirm and exit alarm time set mode.
@Alarm Clock ON or OFF
To turn alarm on or off, push the "Alarm on/off" button.
ALARM ON INDICATION: The display will indicate "alarm on·· and a bell icon will show
next to the current time when the alarm is set to "ON."
ALARM OFF INDICATION: The display will indicate "alarm off" and a bell icon will NOT
be present next to the current time when the alarm is set to "OFF."
WHEN ALARM IS SOUNDING: Press the "alarm on/off" button to turn the alarm off.
@Alarm Clock SNOOZE function
When the alarm is sounding, you may activate the 8 minute SNOOZE function by
firmly pressing down on the backlight/snooze area at the top of the alarm clock.
The SNOOZE function may be activated up to 10 times. NOTE that the activation
switches for the snooze/backlight function are located on the bottom of the alarm
clock. Make certain the alarm clock is on a stable flat surface for proper operation.
@Backlight
You may activate the backlight for 5 seconds at any time by firmly pressing down on
the backlight/snooze area at the top of the alarm clock. NOTE that the activation
switches for the snooze/backlight function are located on the bottom of the alarm
clock. Make certain the alarm clock is on a stable flat surface for proper operation.
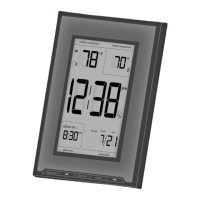
Cl)°F/°C Temperature Display
You may select °For °C temperature display by pressing the·:.,:· button during
normal operation [not in any setup model.
Ci)Low Battery Indicator
When the low battery indicator appears to the right of the current time area, the
batteries will need replacement soon. follow the battery installation procedure
outlined in this manual exactly to ensure proper operation.
- 4 -
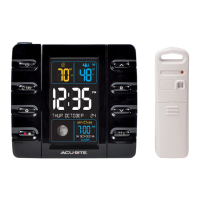
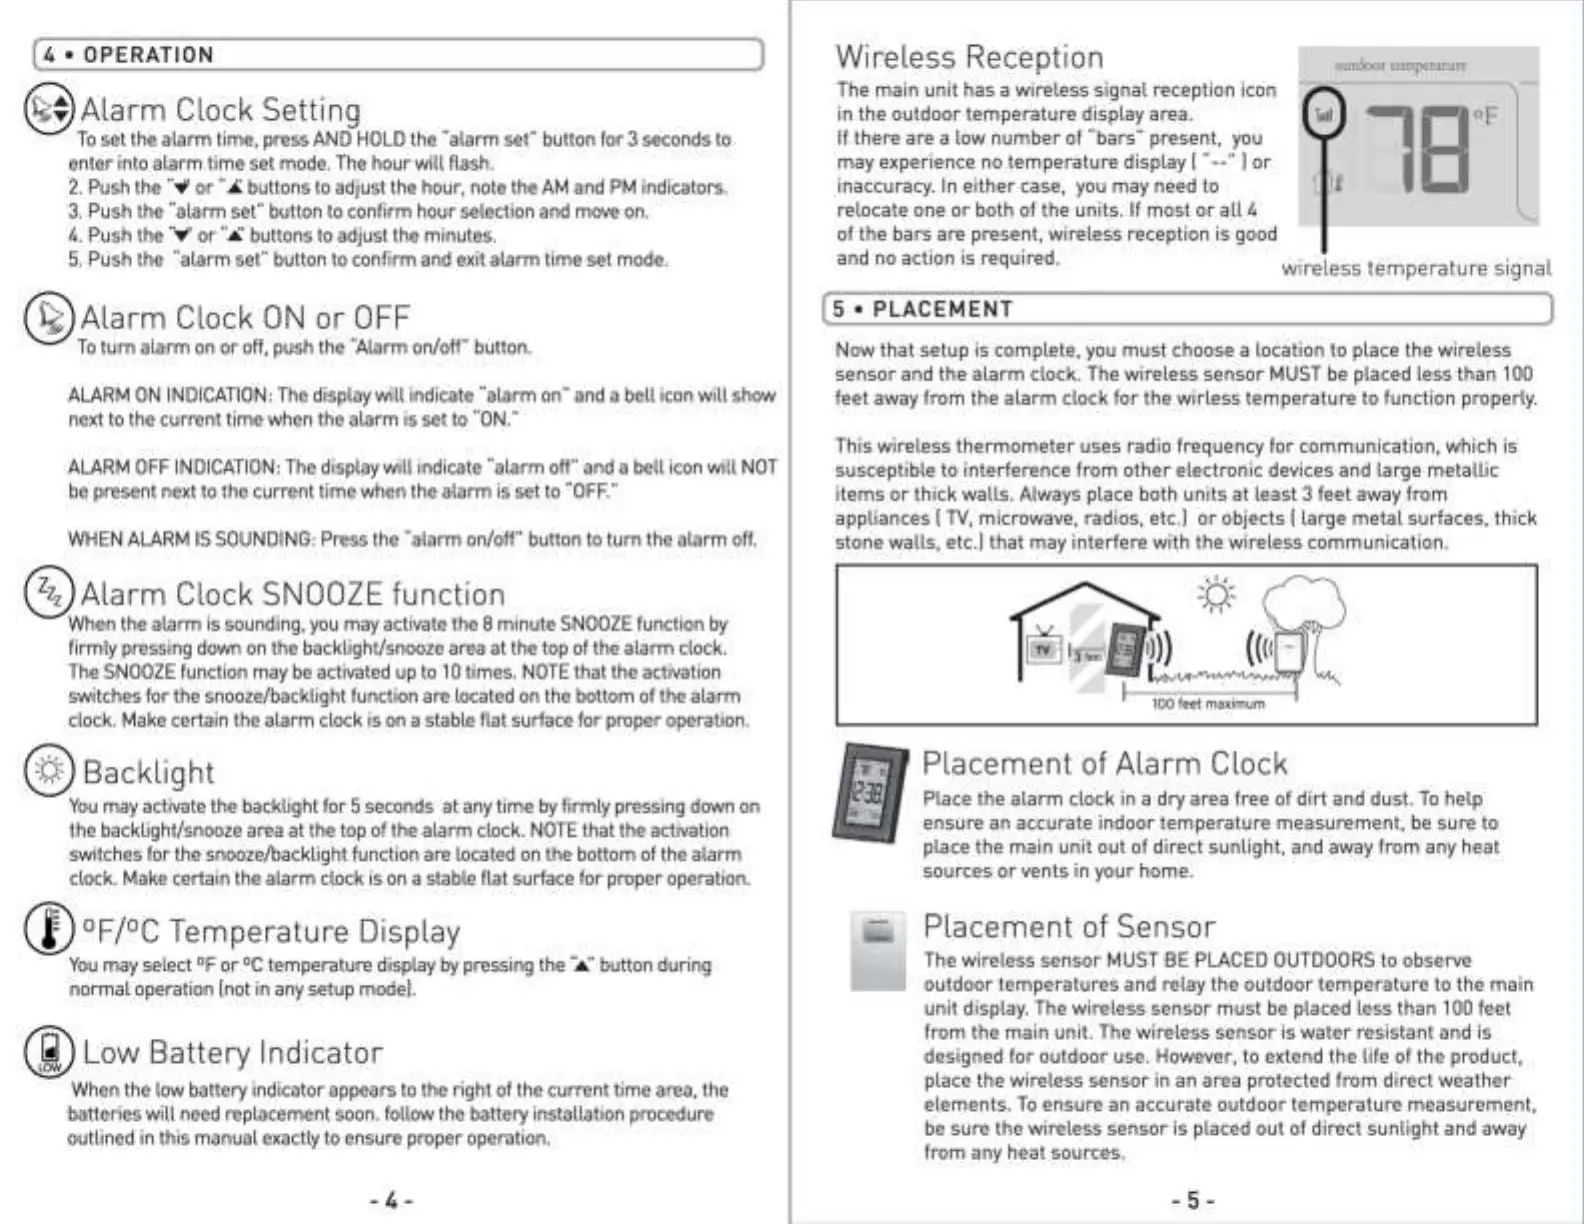
Wireless Reception
The main unit has a wireless signal reception icon
in the outdoor temperature display area.
If there are a low number of "bars" present, you
may experience no temperature display
I ..__.. I or
inaccuracy. In either case, you may need to
outdoor temperature
--1sop
IL
relocate one or both of the units. If most or all 4
of the bars are present, wireless reception is good
and no action is required. wireless temperature signal
(5 • PLACEMENT ]
Now that setup is complete, you must choose a location to place the wireless
sensor and the alarm clock. The wireless sensor MUST be placed less than 100
feet away from the alarm clock for the wirless temperature to function properly.
This wireless thermometer uses radio frequency for communication, which is
susceptible to interference from other electronic devices and large metallic
items or thick walls. Always place both units at least 3 feet away from
appliances
I TV, microwave, radios, etc.] or objects I large metal surfaces, thick
stone walls, etc.I that may interfere with the wireless communication.
100 feet maximum
Placement of Alarm Clock
Place the alarm clock in a dry area free of dirt and dust. To help
ensure an accurate indoor temperature measurement, be sure to
place the main unit out of direct sunlight, and away from any heat
sources or vents in your home.
Placement of Sensor
The wireless sensor MUST BE PLACED OUTDOORS to observe
outdoor temperatures and relay the outdoor temperature to the main
unit display. The wireless sensor must be placed less than 100 feet
from the main unit. The wireless sensor is water resistant and is
designed for outdoor use. However, to extend the life of the product,
place the wireless sensor in an area protected from direct weather
elements. To ensure an accurate outdoor temperature measurement,
be sure the wireless sensor is placed out of direct sunlight and away
from any heat sources.
- 5 -
 Loading...