ADJ Products, LLC - www.adj.com - UV COB Cannon - User Manual Page 12 ADJ Products, LLC - www.adj.com - UV COB Cannon - User Manual Page 13
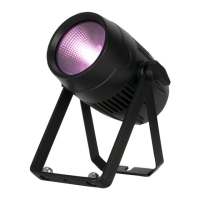
The UV COB Cannon is fully operational in three dierent mounting
positions, hanging upside-down from a ceiling, hanging sideways on
trussing, or set on a at level surface. The unit should be mounted
using a mounting clamp (not provided), axing it to the mounting
bracket that is provided with the unit. Always ensure that the unit is
rmly xed to avoid vibration and slipping while operating. Always
ensure that the structure to which you are attaching the unit is secure
and is able to support a weight of 10 times the unit’s weight. Also,
always use a safety cable that can hold 12 times the weight of the
unit when installing the xture.
The equipment must be installed by a professional, and it must be
installed in a place where it is out of the reach of people’s grasp.
UV COB Cannon Installation
UV COB Cannon Power Cord Daisy Chain
With this feature you can connect the xtures to one another
using the PowerCon input and output sockets. The quantity that
can be connected is 3 xtures maximum for 120V, and 5 xtures
maximum for 240V. After the maximum xtures has been reached
you will need to use a new power outlet. They must be the same
xtures. DO NOT mix xtures.
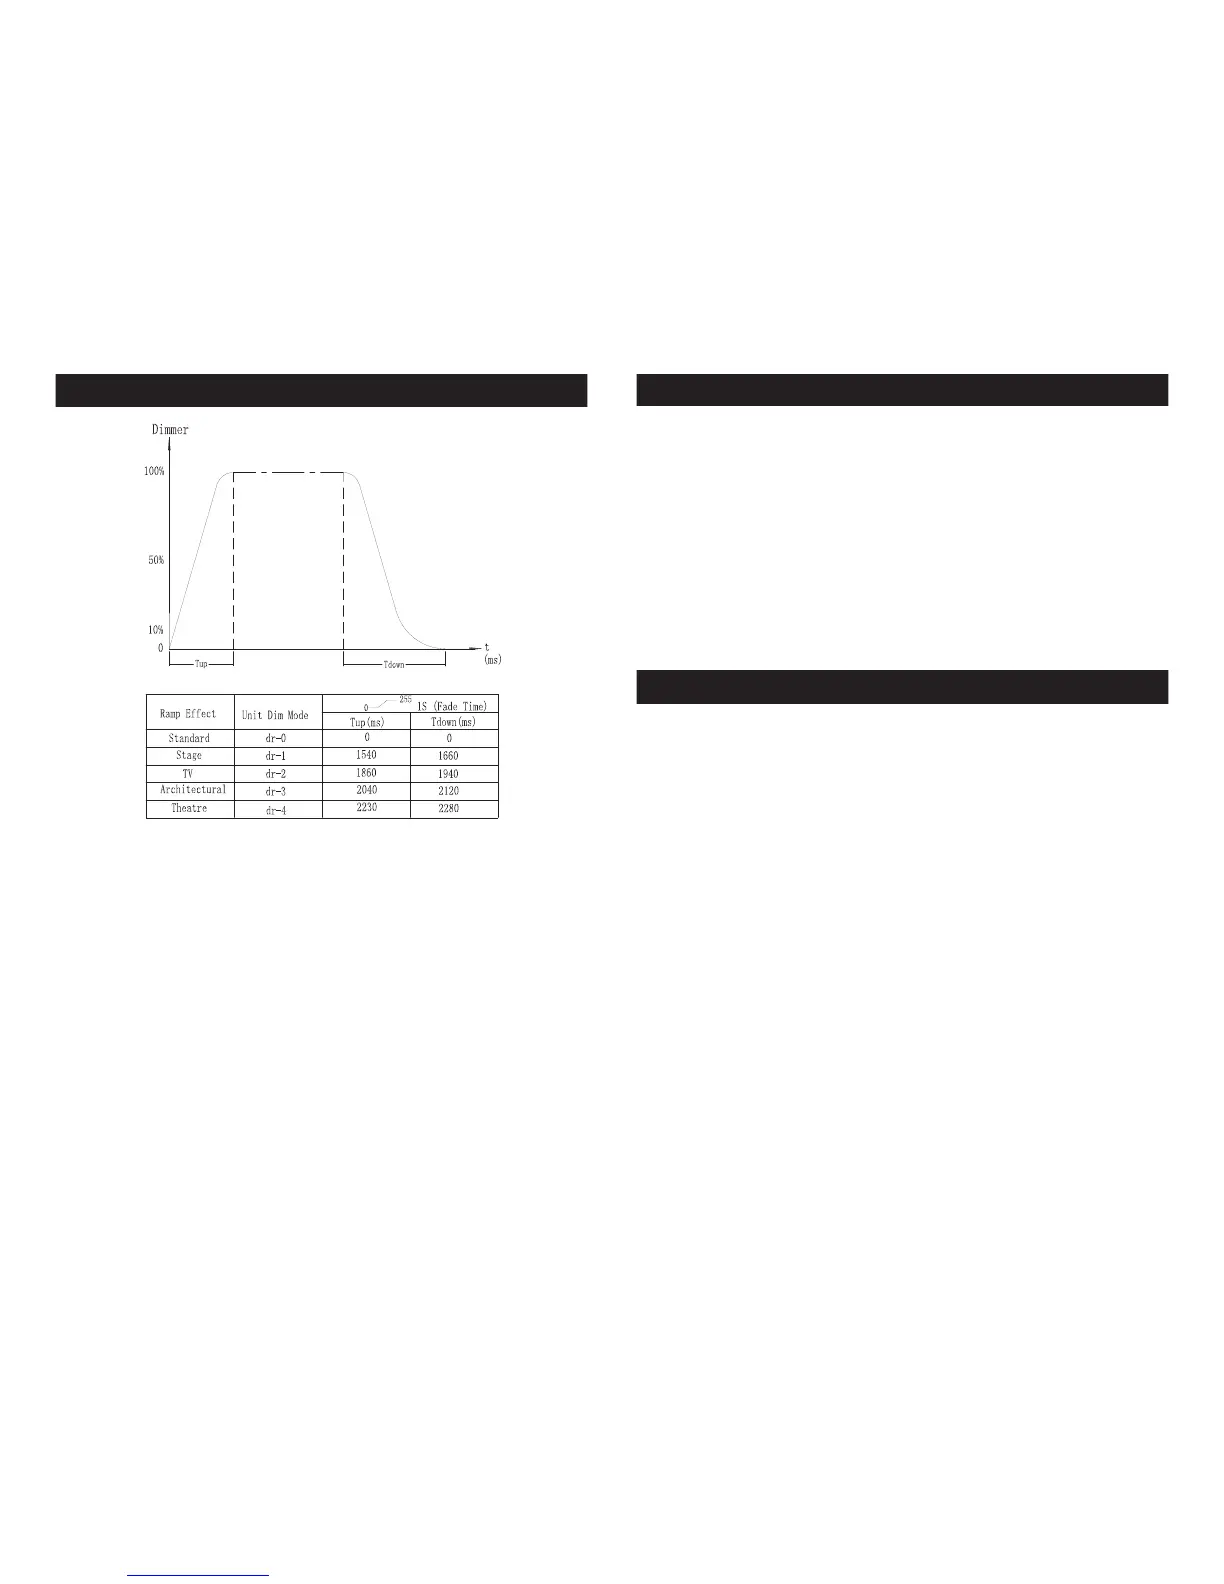
UV COB Cannon Dimmer Curve Chart