the POWER switch on. The display will begin to scroll, and the
printer will begin printing.
3. Record the displayed software revision and the block and sample
probe bin numbers reported by your instrument in the service log at
the end of this user’s guide. When all of the instrument data has been
displayed, the operating head will rise and “Press START to
Continue” will begin to scroll across the display.
CAUTION If a power interruption occurs, turn the instrument off at
once. Leave it turned off for at least 5 seconds after power
has been restored (even if power restoration is immediate).
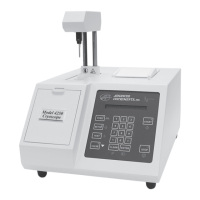
Step 7 — Prime the heat transfer fluid pump
The first time the instrument is being started, you will need to prime
your heat transfer fluid pump using the TEST menu as follows:
1. Insert sample tube in well and press the TEST key. The display will
change to “Select Test Item”.
2. Press the < key to step the display backward to “Head Up/Down
Test”.
3. Press the START key. The display will change to “[START] Test
[STOP]”.
4. Press the START key.
5. Open the heat transfer fluid door to access the small primer pump
(Figure 4). Squeeze the primer pump while the operating head is
cycling, making sure to squeeze at the same time that the operating
head reaches the bottom of its cycle. Observe the fluid return line
from the cooling well back to the bottle. Once fluid begins to
appear, continue priming for five more cycles to remove any trapped
air. Stop using the primer pump and watch the return line to make
sure that a small amount of fluid continues to flow through the return
line with each head up/down cycle. Then press the STOP key to
raise the operating head and exit to the test menu.
7
Installation & Setup