Preparations
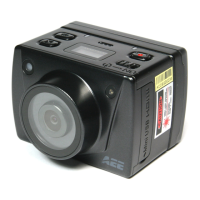
Before using the SD21 video camera, complete the following preparations:
①
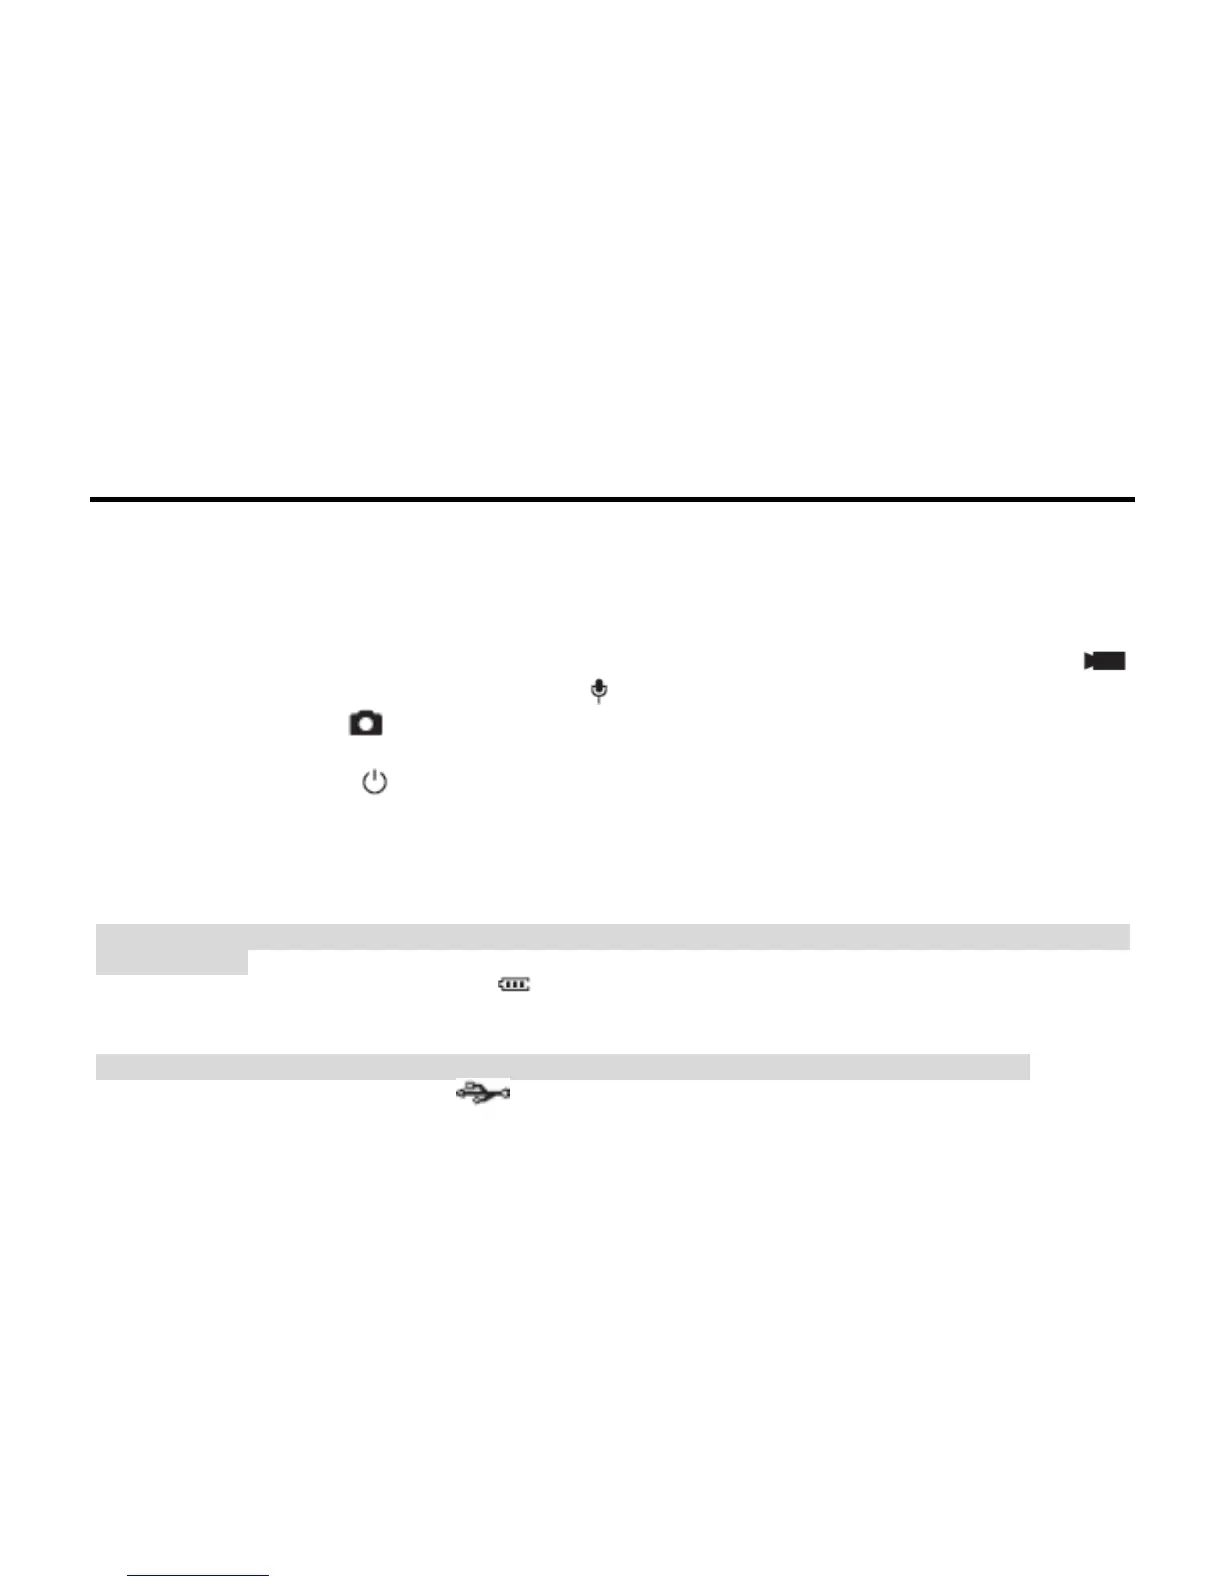
Power on the SD21 video camera and check the power level
Turn the power switch to the ON position to initiate the system. After the red indicator is on, the corresponding
symbols on the LCD screen turns on and then the system enters the preview state. On the LCD segment
screen, you can find the following information:
A Recording mode: The current recording mode is displayed on the LCD segmen screen. The
icon indicates the video mode, whereas the icon indicates audio mode.
B Photo mode: The (shooting) icon is displayed on the screen. This icon blinks once for each
shooting.
C Power symbol: The (power supply) icon is displayed in the upper-right corner. When the system
is working, this icon is constantly on. If this icon disappears, it indicates the SD21 video camera is in
power-off or standby state.
D Video recording duration: In the medium row of the LCD segmen screen displays the duration of the
current recording video, for example, 005:20. In the preview state, press the Record key once to
display the duration of the video recording, and press “Stop” key once to hide the duration.
Note: The duration for video recording on the LCD segment screen is synchronously displayed with that on
the TFT screen.
E Battery capacity indication: The (battery capacity) icon is displayed in the bottom-left corner.
This icon indicates the battery level when the video camera is powered on. The more bars the power
indicator has, the more power the battery has.
Note: When the video camera is in the standby or power-off state, the power icon is not displayed.
F USB connection mode: The (USB mode) icon indicates whether the video camera has been
connected to a computer. When the video camera is powered on and connected to a computer, this