8
2.2 Regulations and Provisions
Regulations of the local power
supply company must be observed.
Regulations of the water supply
company must be observed.
Install the unit ush with the wall.
Electrical connection to be secure.
The device must be capable of
being isolated from the mains,
for example by fuses, with an
isolating distance of at least 3.5
mm, in all poles.
The unit must be earthed
(see circuit diagram).
2.3 Important note
All the information in these
Operating and Installation
I
nstructions must be carefully followed.
These instructions provide important
details
regarding the safety, operation,
installation,
and maintenance of the unit.
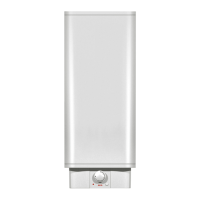
2.4 Installation location
The shower unit is to be installed
in a frost-free room (disconnected
units are to be stored in a frost-free loca-
tion, since there will always be some water
left in the
unit) The BS is to be installed
vertically on a wall (hot water connection
downwards) and higher than shower head
level.
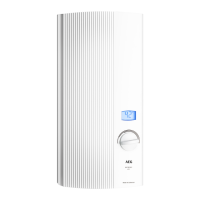
2.5 Installing the unit
1. Flush the cold water pipe thoroughly.
2. Fit a secure connection cable
(ensure size is correct).
3. Release cover securing screw.
4. Remove cover.
5. Determine the position of the
drillholes and drill the holes.
Insert the wall plugs and screw in
the screws (ensure
screw insertion
depth is correct,
10). Fix the base to
the wall.
6. Feed the connection cable through
the duct (2) in the rear wall. Tighten
the screws.
7. Fit the water valve (14) with the
washer (13). Tighten the Union nut (15)
8. Connect the electrical supply.
9. Fit the cover and secure with the
screw.
10. Turn the rotary control (B) to the
left and right (internal setting
lever will engage).
11.
Fit the shower accessories to the
unit
.
2.6 First operation
(Only to be carried out by a
qualied installer)
Before switching on, set the
water valve to the right-hand
stop (maximum setting) and let water run
until the pipework and the unit are free of
air.
- Before switching on, set the rotary
temperature control to “OFF”
- Check the operation of the water heater
2. Operating instructions for the user and the qualitied installer