3.1
3.1-02
LOCKS
য়ߢ0WARNING
ሞҾඇۨࢅጎዃኮമLjඓԍୟഗᅙཌቄLjኸ๖
ྺ!PGGDŽݴቄDžLjዷڑࣟئీᅙྜඇݣă
༵ࠃܠዖۨࢅ
ၭ႐ǖඓԍୟഗഄڦ๑ᆩݔྷփגࡗኸۨܮۨ
ኵă
4/2!ୟഗ௬ӱ
ୟഗҾඇࠬ
ᅃዖՔጚࠀీLj๑ᆩࢽᅜҾጎሞୟഗةۅ้ۨ
ୟഗڦࠬăࠬҾጎڟ࿋้LjᅜፆኹԿࢇୟഗڦ
ᆶDŽۉഘݛ๕ۯݛ๕Džăୟഗࠬጎዃፌܠ
ሎႹ๑ᆩෙ߲ٲ٫ྺ!4!!9!nn!ڦࠬă
සࡕᄲౚࢇጎዃժҾጎࠬǖ
2/!ླྀۯୟഗ!PGGDŽݴቄDžӀ౧Ljࠬ߇๔ᅎۯ
ժฎฎٗୟഗ௬ӱฉDŽ4/2Džă
3/!ઙࠬ߇ժ๑ഄྜඇቛă
4/!֭ࠬ߇ዐă
සࡕᄲٶۨጎዃLjሶথൽူࠬժࠬ߇ླྀ࣮ڟ
ୟഗ௬ӱഋೝڦ࿋ዃăُ้ᅜኟ֡ፕୟഗă
Ensure the circuit breaker has been tripped, indicaƟng OFF,
and the main springs are fully discharged before installing
locks and interlocks.
A variety of locks and interlock accessories are available.
CAUTION : Ensure circuit breker and its accessories are always
used within their designated raƟngs.
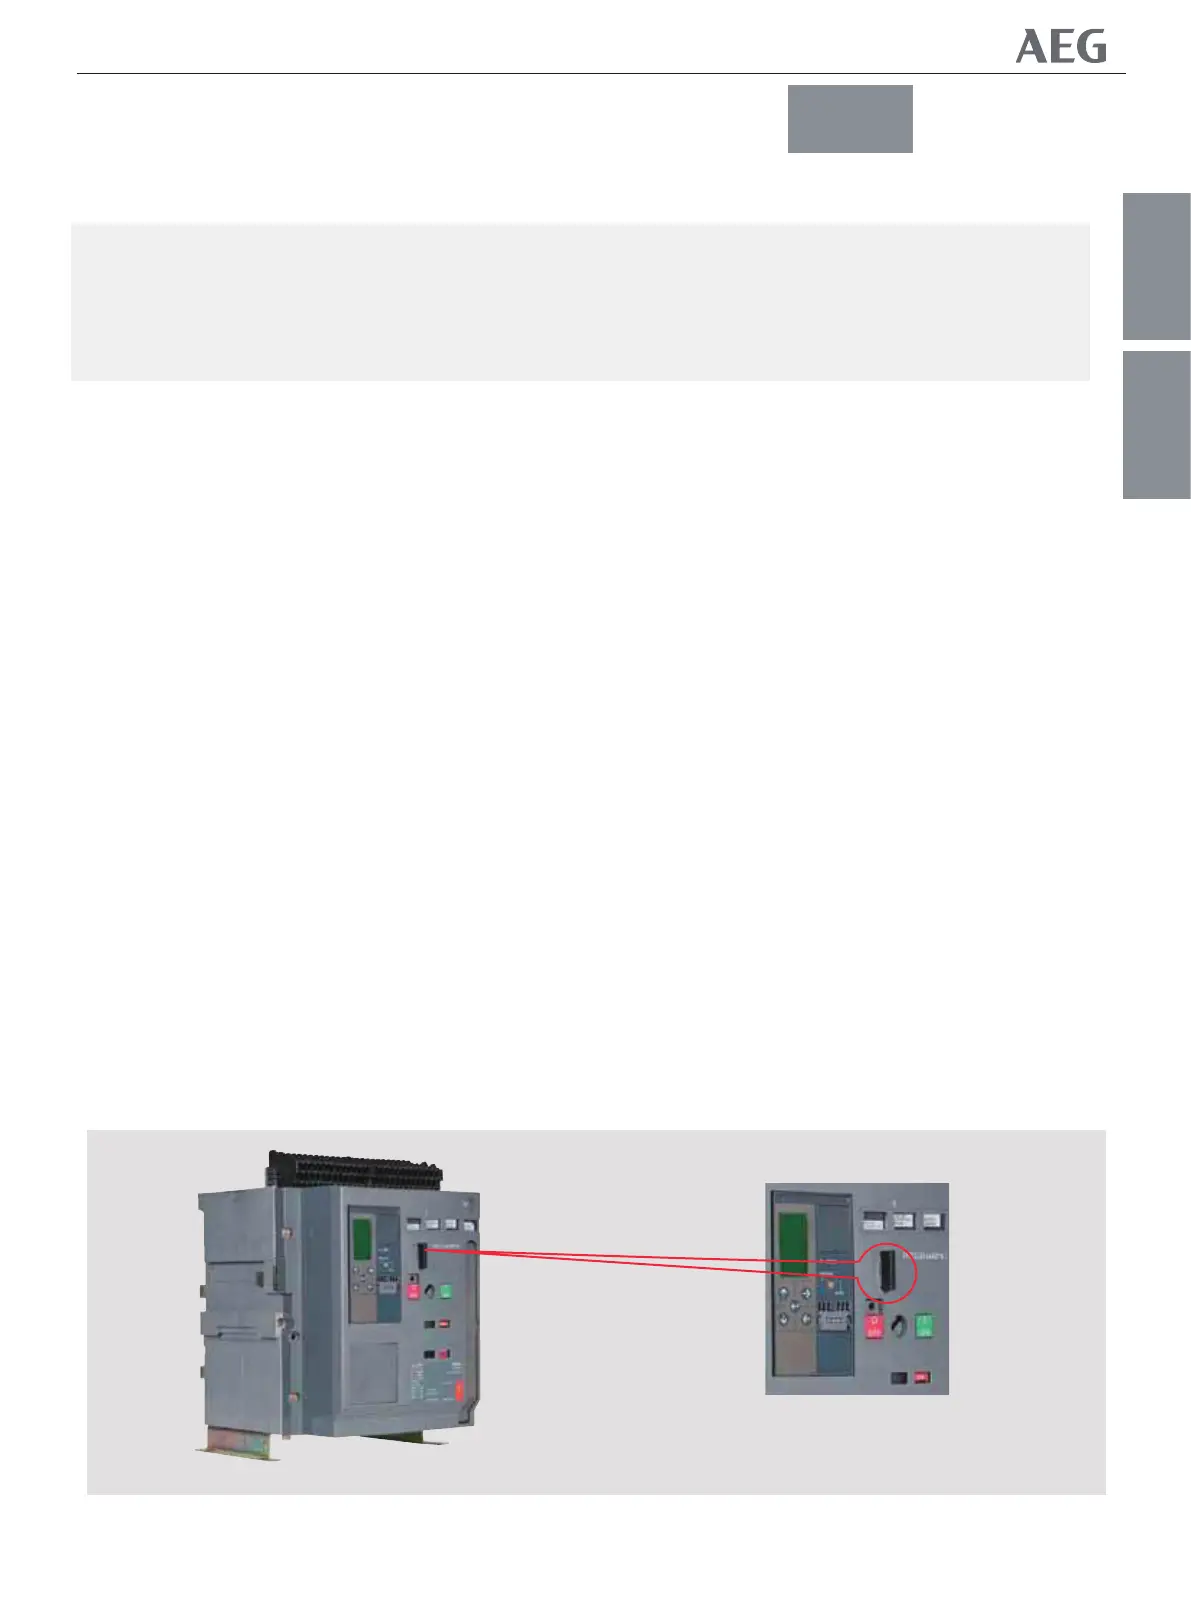
3.1 Breaker front Facia
Circuit Breaker Security padlocking
A standard feature allowing the user to place padlocks that will
lock the breaker with it's contacts open. Any aƩempt to close
the breaker, either electrically or manually, is prevented whilst
the padlocks are in place. The breaker padlocking device
accepts up to three padlocks with a hasp
dimension of 3 to 8 mm
To engage the device and place padlocks :
1. Push the breaker OFF buƩon unƟl the padlocking lever moves
and slightly protrudes from the breaker front facia. (Fig 3.1).
2. Pull out and fully extend the lever.
3. Insert the padlock(s) into the lever holes.
To disengage the locking feature, simply remove the padlocks
and push the lever back into a posiƟon that is Ňush with the
breaker front facia.
Now the breaker can be operated normally.
4/1!ۨࢅጎ
3.0 LOCKS AND INTERLOCKS
߁ຎ
௬ӱ
3.1
Fig 3.1
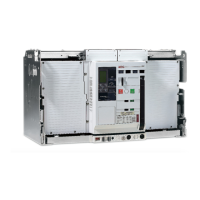
GENERAL FRONT FASCIA
NF1:ဣଚگუഘୟഗ