ᆅჾ
ۉጱྃഗ
֪
INTRO
TRIP UNIT
LOCKS ACCESSORIES TESTS APPENDIX
3.1-03
ୟഗ
BREAKER
NF1:ဣଚگუഘୟഗ
ᅃዖࠀీLj๑ᆩࢽፌܠᅜҾጎ! 5! ߲ۨጎዃLj߲
ۨጎዃሞୟഗةۅ้ۼۨୟഗăҾጎڟ
࿋้LjᅜፆኹԿࢇୟഗڦᆶDŽۉഘݛ๕ۯ
ݛ๕Džăୟഗሃጎዃᇑଇ߲߾Ҿጎᅃഐ༵
ࠃăᅃ߲ᆩᇀ!5!ᅜాڦ!Spojt!Qspgbmvy!Lj
ଷᅃ߲ᆩᇀᅃ߲! Dbtufmmă! ᅜڇ܀ࠔசժሞ၄ׇ
Ҿጎă
!࠲ᇀሃڦҾጎݛ๕ຫLj൩֖Ԩ֩ڼ!5!বă
සࡕᄲౚࢇጎዃժۨୟഗǖ
2/! ླྀۯୟഗ! PGGDŽݴቄDžӀ౧Ljࠬ߇๔ᅎۯ
ժฎฎٗୟഗ௬ӱฉDŽ4/2Džă
3/! Ӏొ้ኍݛၠገሃժൽူሃăසࡕᄲٶۨጎ
ዃLjሶዘႎ֭ሃժഄӀຩ้ኍݛၠገăኮࢫLjඓ
ԍࠬ߇ᇑୟഗ௬ӱഋೝă
ُ้ᅜኟ֡ፕୟഗă
PODŽቄDžࢅ!PGGDŽࢇቄDžӀ౧ࠬ
ᅃዖࠀీLj๑ᆩࢽᅜҾጎܔ࿋ᇀୟഗ௬ӱฉ
ڦ!PODŽቄDžࢅ!PGGDŽࢇቄDžႜݡ࿚ڦࠬă
Ӏ౧ࠬጎዃፌܠሎႹ๑ᆩᅃ߲ٲ٫ྺ4!!9!nn!ڦ
ࠬă
ཚࡗၠฉၠူᅎۯڇ߲ཪشࢫݡ࿚ᅃ߲ଇ߲ۨ
߇ڦݛ๕ᅜስᅃ߲ଇ߲ᆩᇀࠬۨڦӀ౧ă
࠲ᇀጎዃڦҾጎݛ๕ຫLj൩֖Ԩ֩ڼ!5!বă
4/3!؏๕ୟഗ؏
؏ڔӱҾඇࠬ
ᅃዖՔጚࠀీLj๑ᆩࢽᅜҾጎీࠕڔӱۨሞԿࢇ࿋
ዃڦࠬLjܸٗፆኹݡ࿚؏ዷةۅă
ڔӱࠬጎዃፌܠሎႹ๑ᆩෙ߲ٲ٫ྺ4!!9nn!ڦࠬ
ăጎዃኻీሞୟഗڦᅎۯևتᇀ! EJTDPOOFDUFE
DŽDž࿋ዃ0ྜඇٗ؏ฉָူ้๑ᆩă
߁ຎ
௬ӱ؏ۉમྪஏ
TABLES FRONT FASCIACASSETTECABLESNETWORK
GENERAL
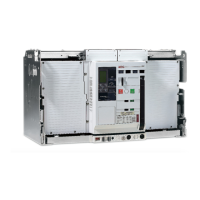
Circuit Breaker Security Keylocking
An opƟonal feature allowing the user to place up to 4 locks
that each can lock the breaker with it's contacts open. Any
aƩempt to close the breaker, either electrically or manually, is
prevented whilst the lock(s) are in place. The breaker
keylocking device come as two factory mounted accessories.
One for up to 4 Ronis or Profalux keylocks and a second suited
for one Castell lock. The locks can be bought separately and
mounted in the Įeld.
For instrucƟons on how to install the keylocks, see secƟon 4 of
this manual.
To engage the device and lock the breaker :
1. Push the breaker OFF buƩon unƟl the padlocking lever
moves and slightly protrudes from the breaker front facia
(Fig.3.1).
2. Rotate the key anƟclockwise and remove the key.
To disengage the locking feature, simply reinsert the key and
rotate it clockwise. Then make sure that padlocking lever is
Ňush with the breaker front facia.
Now the breaker can be operated normally.
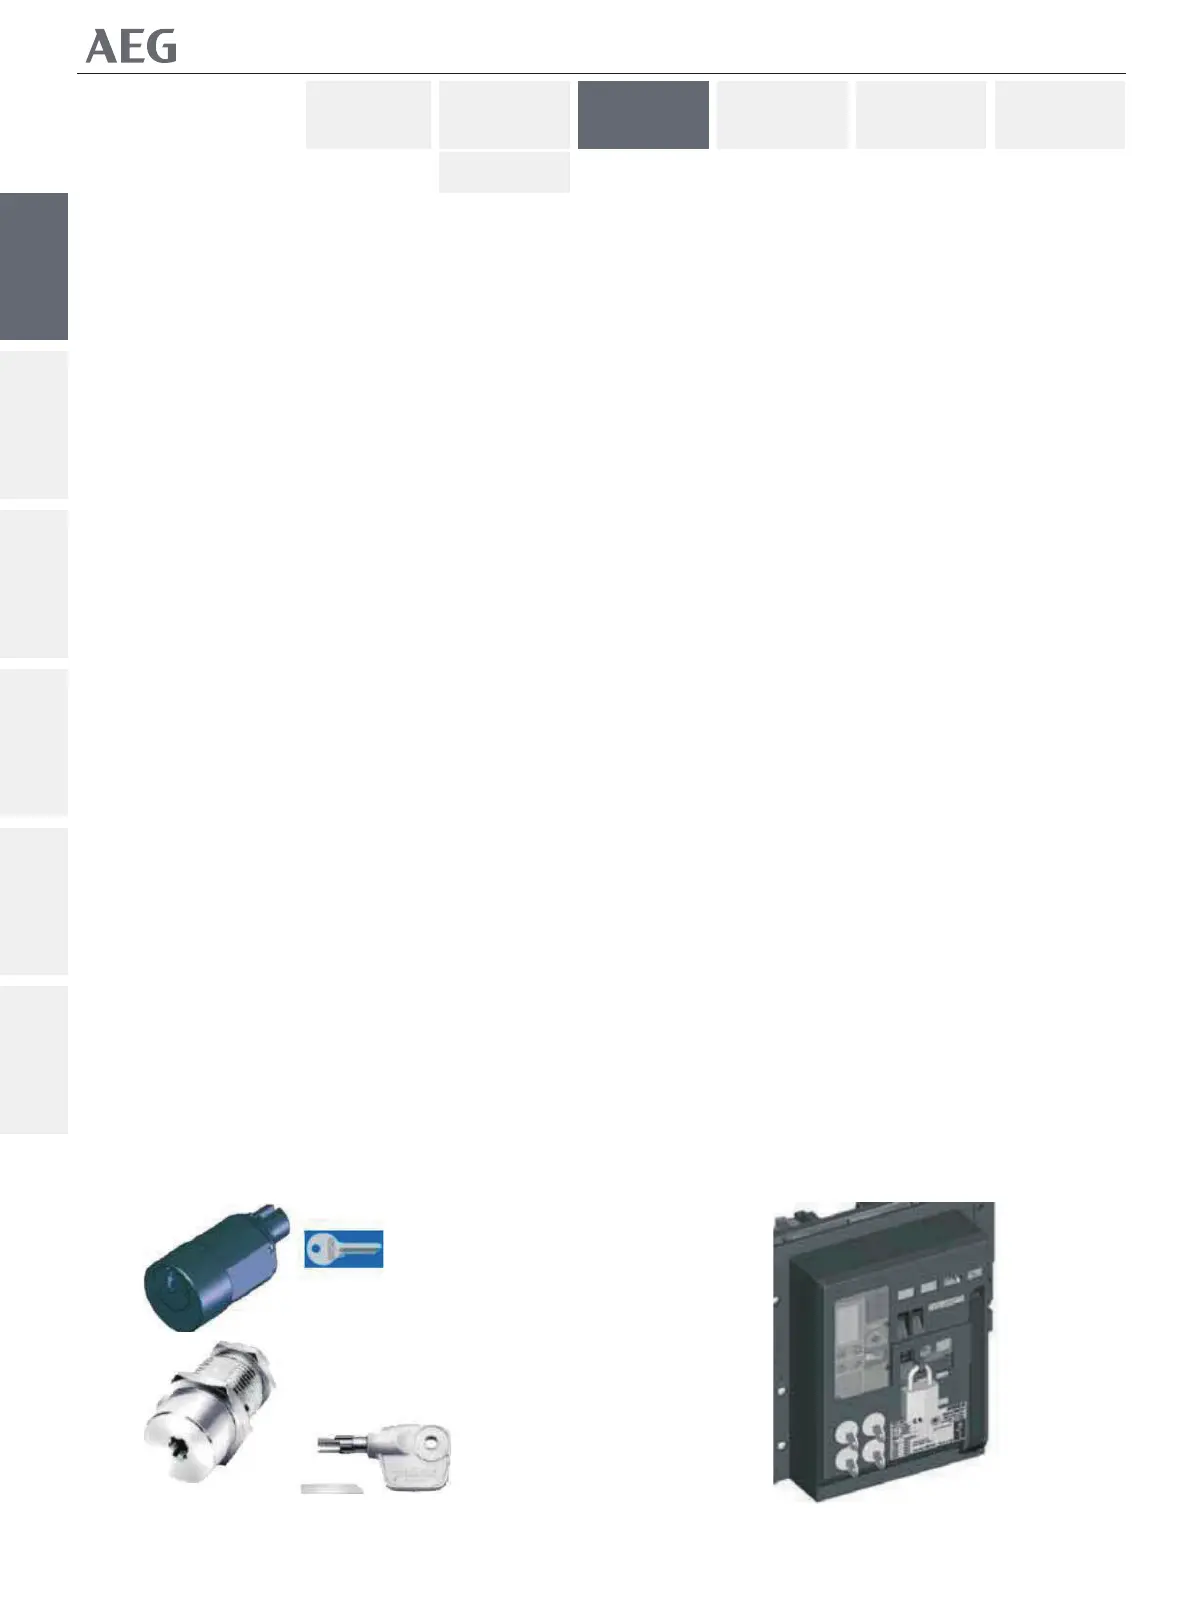
ON & OFF PushbuƩon Padlocking
An opƟonal feature allowing the user to place padlocks that
deny un-authorized access to the ON & OFF pushbuƩons
located on the breaker front facia.
The pushbuƩon padlocking device accepts one padlock with a
hasp dimension of 3 to 8 mm.
One or both pushbuƩons can be selected for padlocking by
moving the individual transparent windows up or down thus
accessing one or both the locking levers holes.
For instrucƟons on how to install this device see secƟon 4 of
this manual.
3.2 Drawout Breaker CasseƩe
CasseƩe ShuƩer Security Padlocking
A standard feature allowing the user to place padlocks that
will lock the shuƩer in closed posiƟon, thus prevenƟng access
to the casseƩes main contacts.
The shuƩer padlocking device accepts up to three padlocks
with a hasp dimension of 3 to 8mm. The device can only be
used when the breaker's mobile porƟon is in DISCONNECTED
ୟഗҾඇሃ
Spojt0ሃ
Spojt0ሃ