15
4. Starting up
4.1 Cabling and switching on
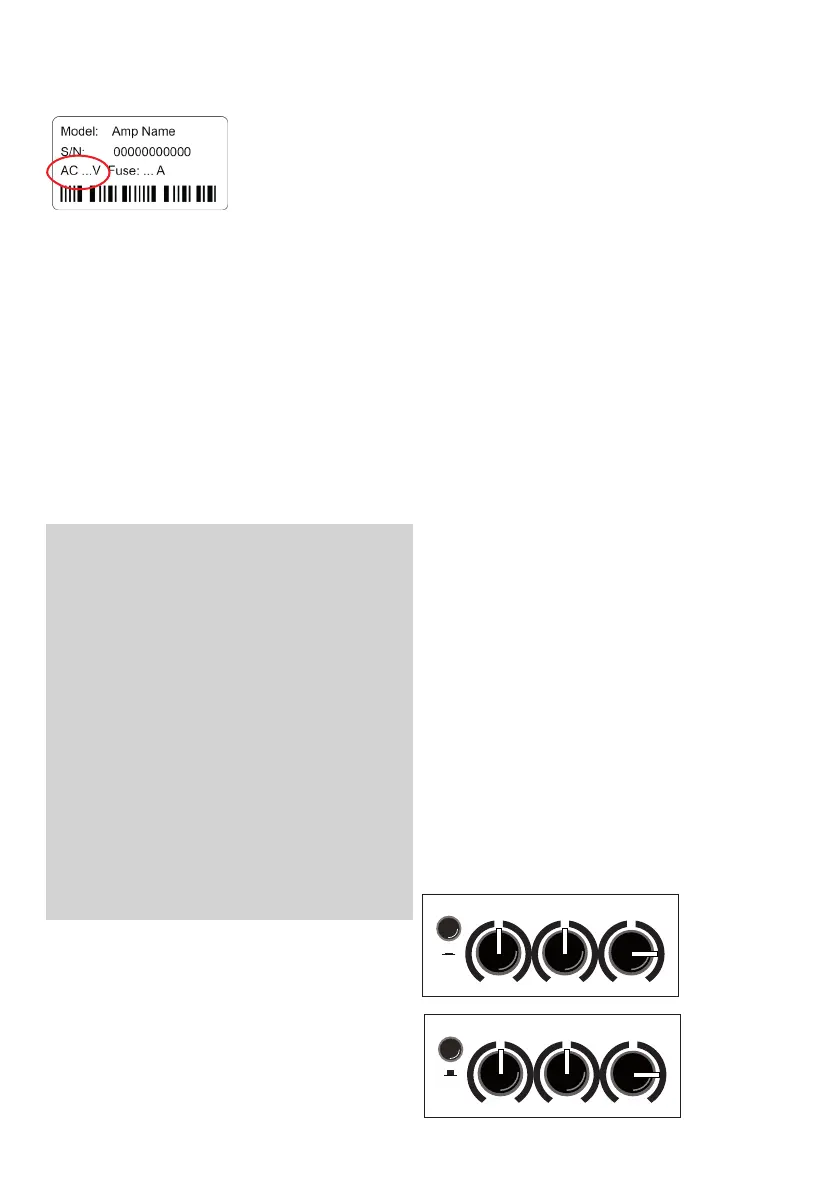
Before connecting to
mains, please ensure
that your local mains
voltage (e.g. 120V
in the USA, 230V in
Europe) matches the
voltage rating of the
device, which is printed on the type label on
the rear side of the unit.
Connecting to the wrong mains voltage may
cause serious damage to your ampli er!
Make sure the phantom power (see chapter
5.4) is not switched on unintentionally.
Then connect all cables according to your
application and switch the device on. The green
power LED indicates operational readiness.
4.2 Level adjustment
By proper level adjustment you adapt the
Compact 60/4 to your signal sources (guitar
pick-ups, microphones, etc.).
For this purpose keep the master control initial-
ly fully anticlockwise.
Set the line/mic switch (channel 2) to position
mic if you are using a microphone. Position line
is suitable for all types of guitar pickups and
most other sources.
Now gradually increase the appropriate gain
setting as far as possible but without triggering
the red clip indicator, even when you play loud.
Thereby you keep some headroom for unex-
pected peak levels.
Very strong sources may cause a clipping war-
ning despite a low gain setting. Such sources
can be attenuated rst by pushing the high/
low switch (channel 1).
Finally set the desired volume using the master
control.
• If the gain setting is too low, the ampli er
may not reach the desired volume, or distrac-
ting noise may become noticeable.
• Setting the gain too high causes distorted
sound (clipping). The clip light will warn you
before this happens.
• If you use an instrument with a volume con-
trol, start o with full volume but reduce it if
the clip indicator lights up early and the level
adjustment is di cult.
• Please ensure there is always enough bat-
tery power in your (active) pick-up system.
Humming and sizzling may be caused by an
empty battery.
• If several inputs are used simultaneously,
you also determine the mixing ratio by the
individual gain settings.
• The gain controls of any unused inputs
should stay fully anticlockwise.
5. Functional characteristics
5.1 Tone control
The tone controls of the Compact 60/4 are
a high-quality sound modi cation tool that
preserves the natural tone of instruments and
voice and allows you to apply targeted accen-
tuations.
If bass, middle, and treble are in center position
and the colour switch is not pushed, the tone
controls are neutral and have no in uence on
the sound.
The ampli er will already provide a very
pleasant, natural sound when all controls are in
neutral position, which you can then principally
alter with the colour lter: This will reduce the
midrange and bring out the trebles. The sound
becomes more open and lighter and is particu-
larly suitable for nger picking techniques. The
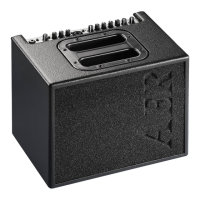
tone controls can support or attenuate the ef-
fect of the colour lter (see illustration below).
With colour- lter
(switch pressed)
reduce treble
to soften possible
harshness.
Without colour- lter
(switch not pressed)
boost treble
to brighten the
sound.
colour bass middle treble
colour bass middle treble