13
The dip-switch (input 1) and the piezo/line-switch allows
you to adapt di erent signal sources (Piezo, magnetic PU’s,
Microphone…) on your Compact classic pro.
5. Starting up
5.1 Cabling and switching on
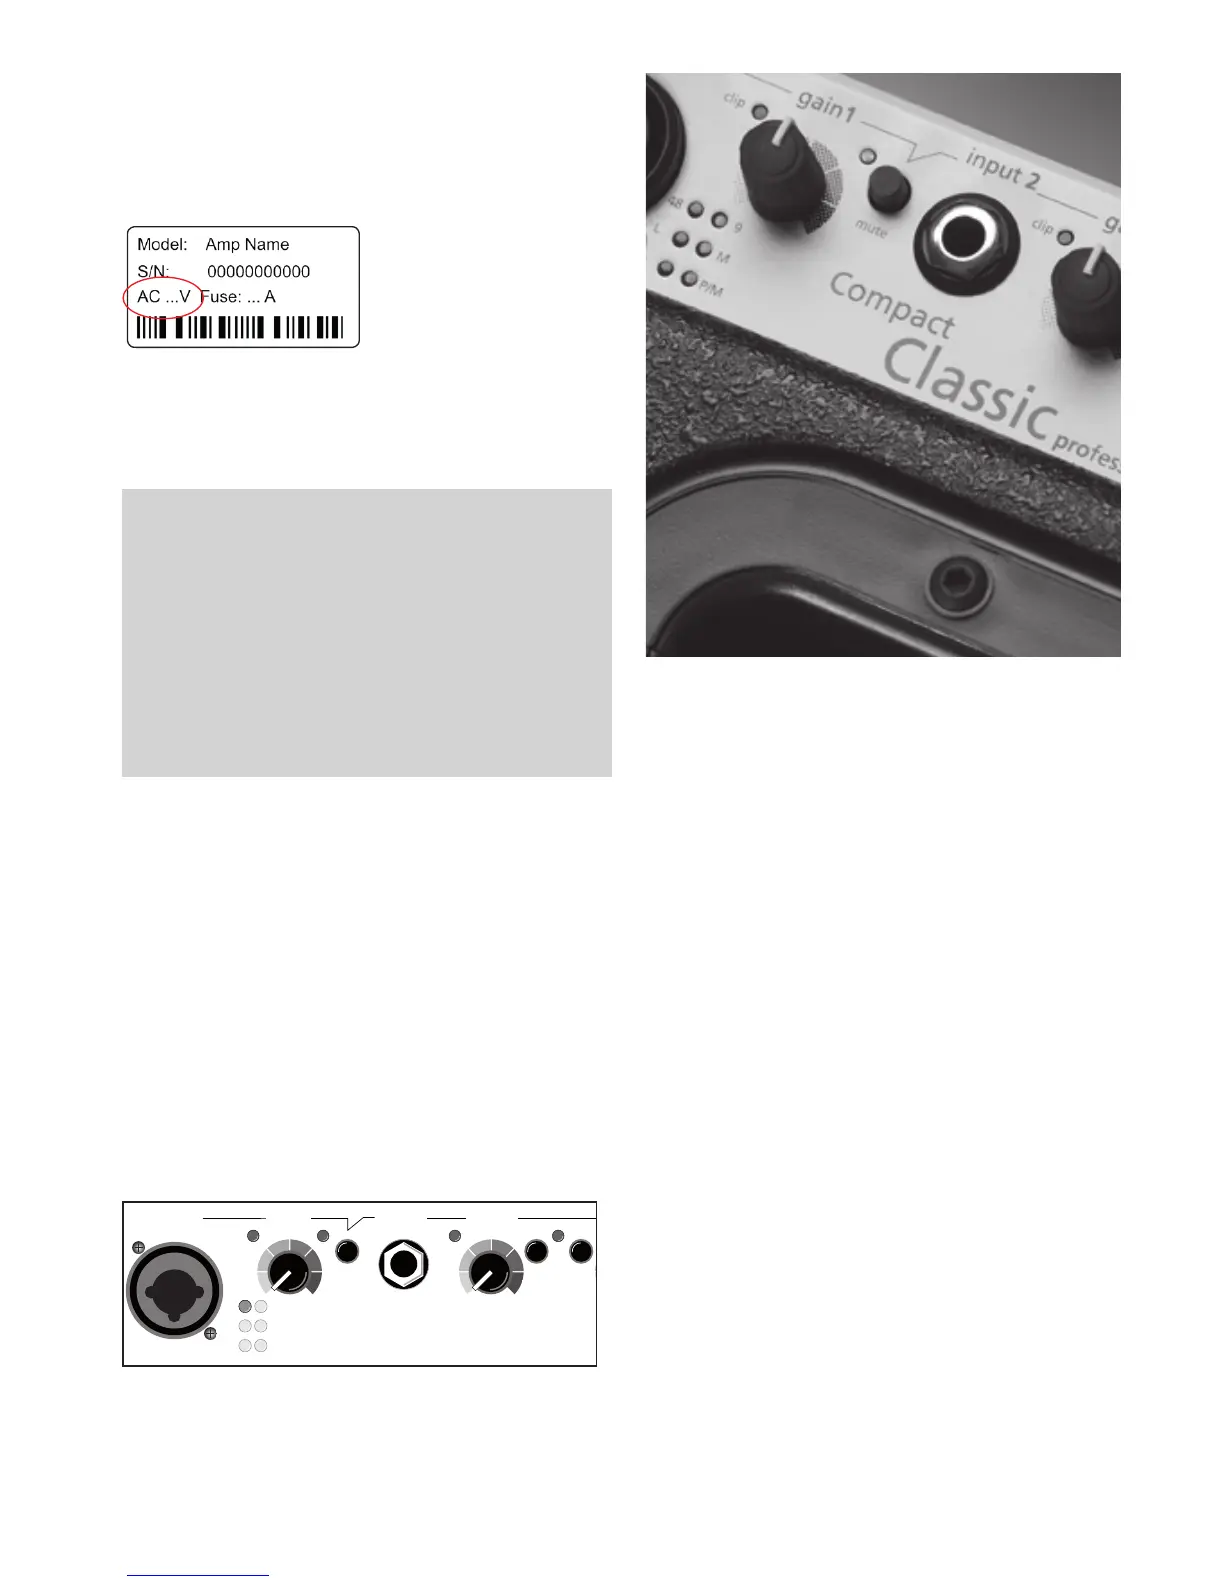
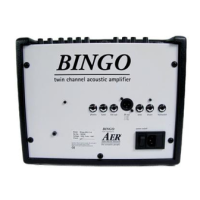
Before connecting to mains, please ensure that your local
mains voltage is suitable for the voltage of the device (e.g.
120V in the USA, 230V in Eu-
rope). The relevant specs and
safety symbols are printed
on the rear side of the unit.
Connect all cables according
to your application and
switch the ampli er on. The green power control LED indica-
tes operational readiness.
5.2 Level adjustment
Note: Level adjustment
By setting the level correctly we mean the signal level in
one or several devices in a signal chain is neither too high
nor too low. This applies equally to all circuits in a complete
circuit design (EQs, preamps etc.)
Consequently, care must be taken that no part of the circuit
is overloaded or that distortion is unintentionally added to
the signal.
We have carefully designed the circuit to achieve this
objective whilst also providing controls for „manual“
intervention.
First ensure, that the master level control is zeroed (over to
far left), so that when you are setting the sound level, the
signal passes through the electronics only and does not
reach the loudspeaker. By pressing the high-/low- (attn.)
resp. line-/mic-switches you can adapt the ampli er to your
signal sources (guitar pickups, microphone etc).
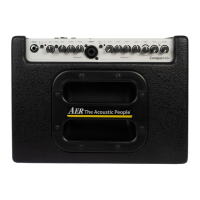
Turn the gain control clockwise until the red clip indicator
ashes momentarily when playing with a strong attack. Thus
you make sure that your signal source (e.g. instrument) provi-
des the input-stage of the ampli er with the necessary input.
The clip-LED indicates an overload. A short icker is of no
danger to AER devices. During operation a short icker
can be accepted, to be on the safe side you should reduce
the gain slightly to achieve an optimal and distortion-free
performance.
input 1
input 2
gain1
gain 2
clip
piezo
line
clip
mute
48 9
L
M
P P/M
mute
6. Function description
6.1 Mute
The mute-switch mutes the device.
The mute-switch can be activated by a footswitch. The
mute-switch on the top board is than without function
6.2 Tone control
The Compact Classic pro is equipped with a bass-paramet-
ric 3-band-tone control with a ects both input channels.
This is an active high-quality sound modi cation on the one
hand, that allows you to change the sound of your instru-
ment speci cally, on the other hand, you can counteract
resonance / feedback problems in the lower registers.
The bandwidth switch changes the function of the bass EQ
of wide-on narrowband.
In order to eliminate feedback and unwanted resonan-
ces select the narrowband setting (switch pressed) in
combination with a low bass knob position (possibly to the
left), then you can dampen selectively with the frequency-
control the interfering frequencies.
To match the amount of play you can combine the treble
control and presence knob (on the back of the ampli er) to
nd your very personal sound.
Note: there is no panacea for the use of an EQ, try to intui-
tively nd your favorite sound, each di erent combination
of instrument pickup and Enhancement requires a custom
EQ setting.