7
4. Starting up
4.1 Cabling and switching on
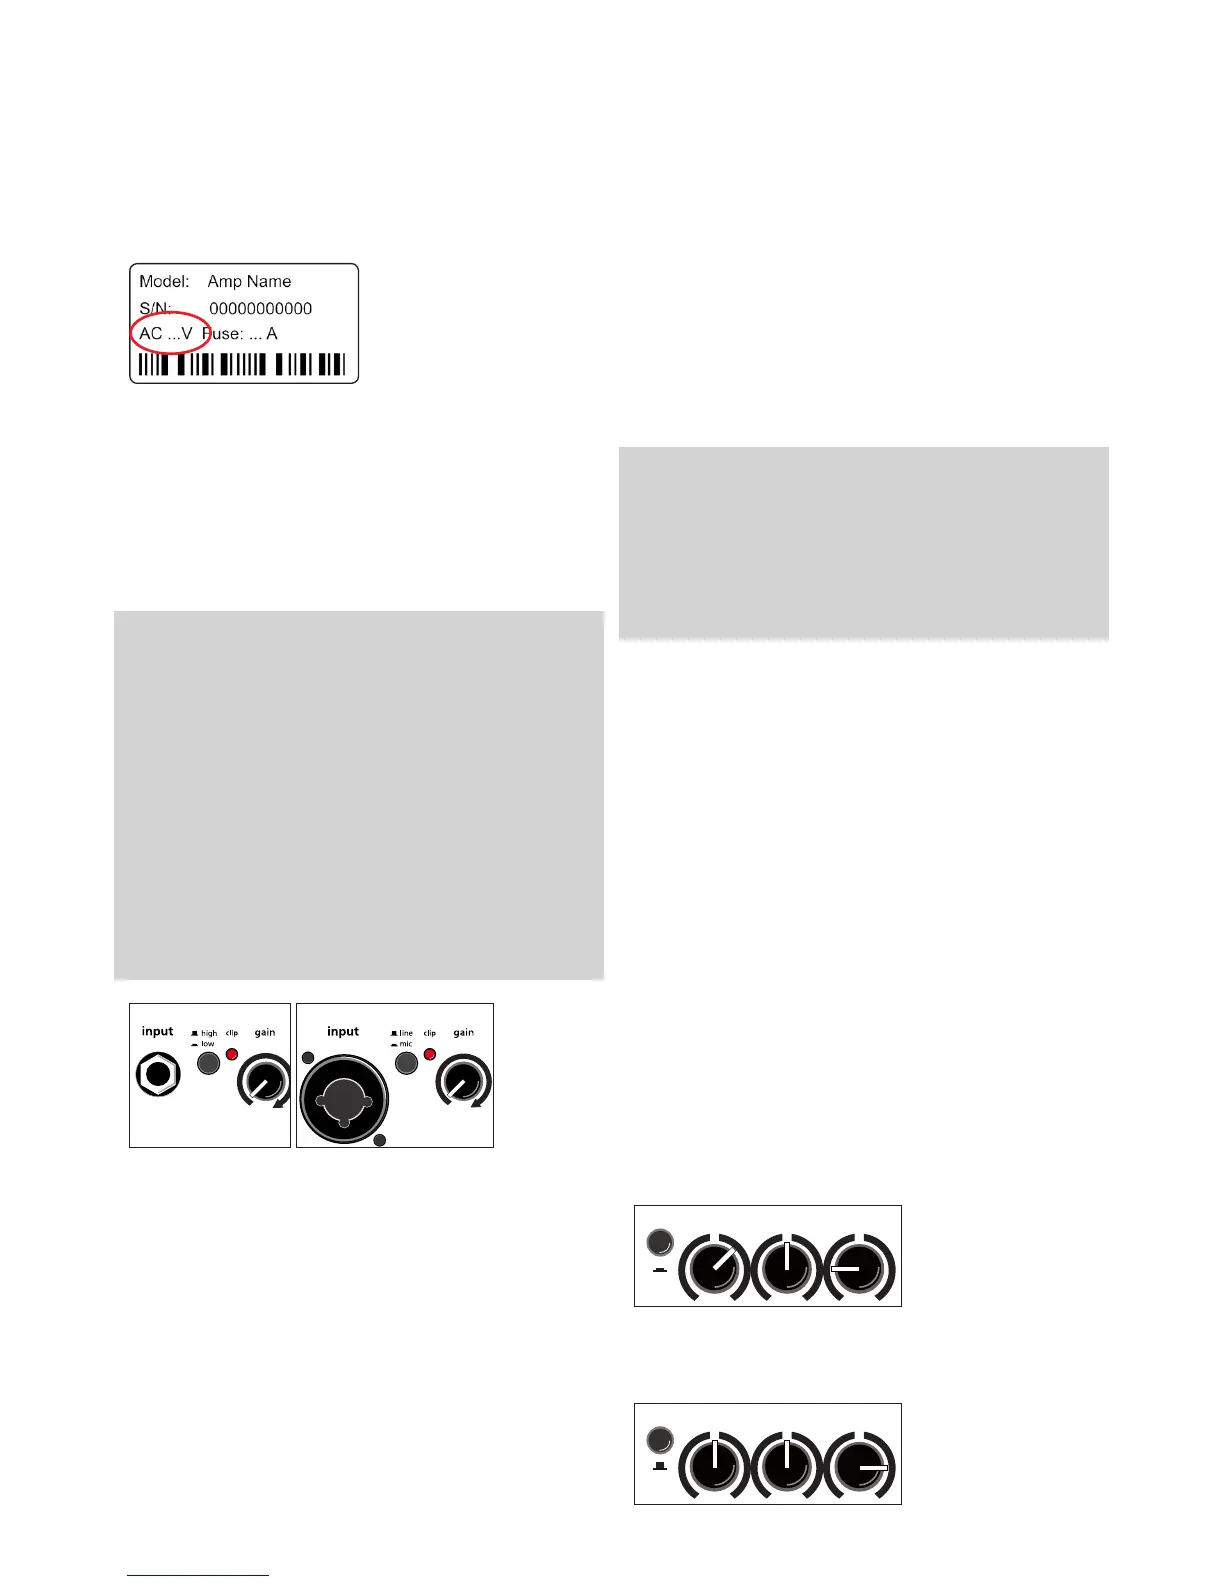
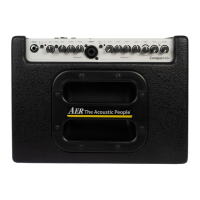
Before connecting to mains, please ensure that your
local mains voltage is suitable for the voltage of the
device (e.g. 120V in the USA, 230V in Europe). The
relevant specs and sa-
fety symbols are printed
on the rear side of the
unit.
Connect all cables ac-
cording to your application and switch the amplier
on. The green power control LED indicates operati-
onal readiness.
4.2 Level adjustment
First ensure, that the master level control is zeroed
(over to far left), so that when you are setting the
sound level, the signal passes through the elect-
ronics only and does not reach the loudspeaker.
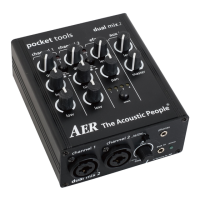
By pressing the high-/low- (attn.) resp. line-/mic-
switches you can adapt the amplier to your signal
sources (guitar pickups, microphone etc).
Turn the gain control clockwise until the red clip
indicator ashes momentarily when playing with a
strong attack. Thus you make sure that your signal
source (e.g. instrument) provides the input-stage of
the amplier with the necessary input.
Note: Level adjustment
By setting the level correctly we mean the signal le-
vel in one or several devices in a signal chain is neit-
her too high nor too low. This applies equally to all
circuits in a complete circuit design (EQs, preamps
etc.)
Consequently, care must be taken that no part of the
circuit is overloaded or that distortion is unintentio-
nally added to the signal.
We have carefully designed the circuit to achieve this
objective whilst also providing controls for „manual“
intervention.
channel 1
The clip-LED indicates an overload. A short icker
is of no danger to AER devices. During operation a
short icker can be accepted, to be on the safe side
you should reduce the gain slightly to achieve an
optimal and distortion-free performance.
Finally set the desired overall volume level with the
master level control.
5. Functional characteristics
5.1 Equalization
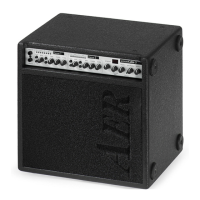
The triple-/dual-band equalizer of your Com-
pactMobile2 provides you with an active and high
quality sound interaction tool that supports the na-
tural tone of instruments and voice whilst simulta-
neously oering you the possibility of a controlled
accentuation.
With all controls in mid position the lters are set
to produce a very pleasing and natural sound im-
pression that you can „colour up“ by using the co-
lour lter with the eect of lowering the mids and
lifting the trebles. The tone becomes more open
and light and is especially suited for ngerpicking
techniques.
The equalization can support or soften the eect of
the colour lter and allows a dierentiated mids-
accentuation.
Note:
The active equalization of the CompactMobile2
eects the signal adjustment. If you spot an inten-
sied ickering of the clip indicator, level the sig-
nal level with the gain control (s. 4.2 Level adjust-
ment).
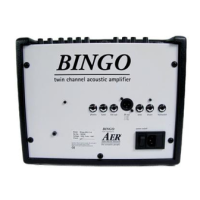
colour bass middle treble
A: with colour-lter (switch pressed)
reduce treble to soften possible sharpness
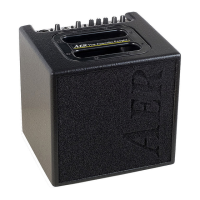
colour bass middle treble
B: without colour-lter (switch not pressed)
boost treble to brighten the sound