5
• Remove your new Laundry Pro 2.0 from its packaging
• Inspect the unit for any signs of shipping damage
Screws
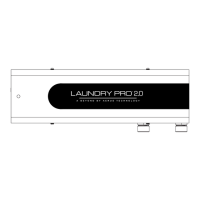
1. Remove the two (2) cover screws located on the bottom of the unit.
2. Remove the two (2) screws (not shown) along the top of the Laundry Pro 2.0.
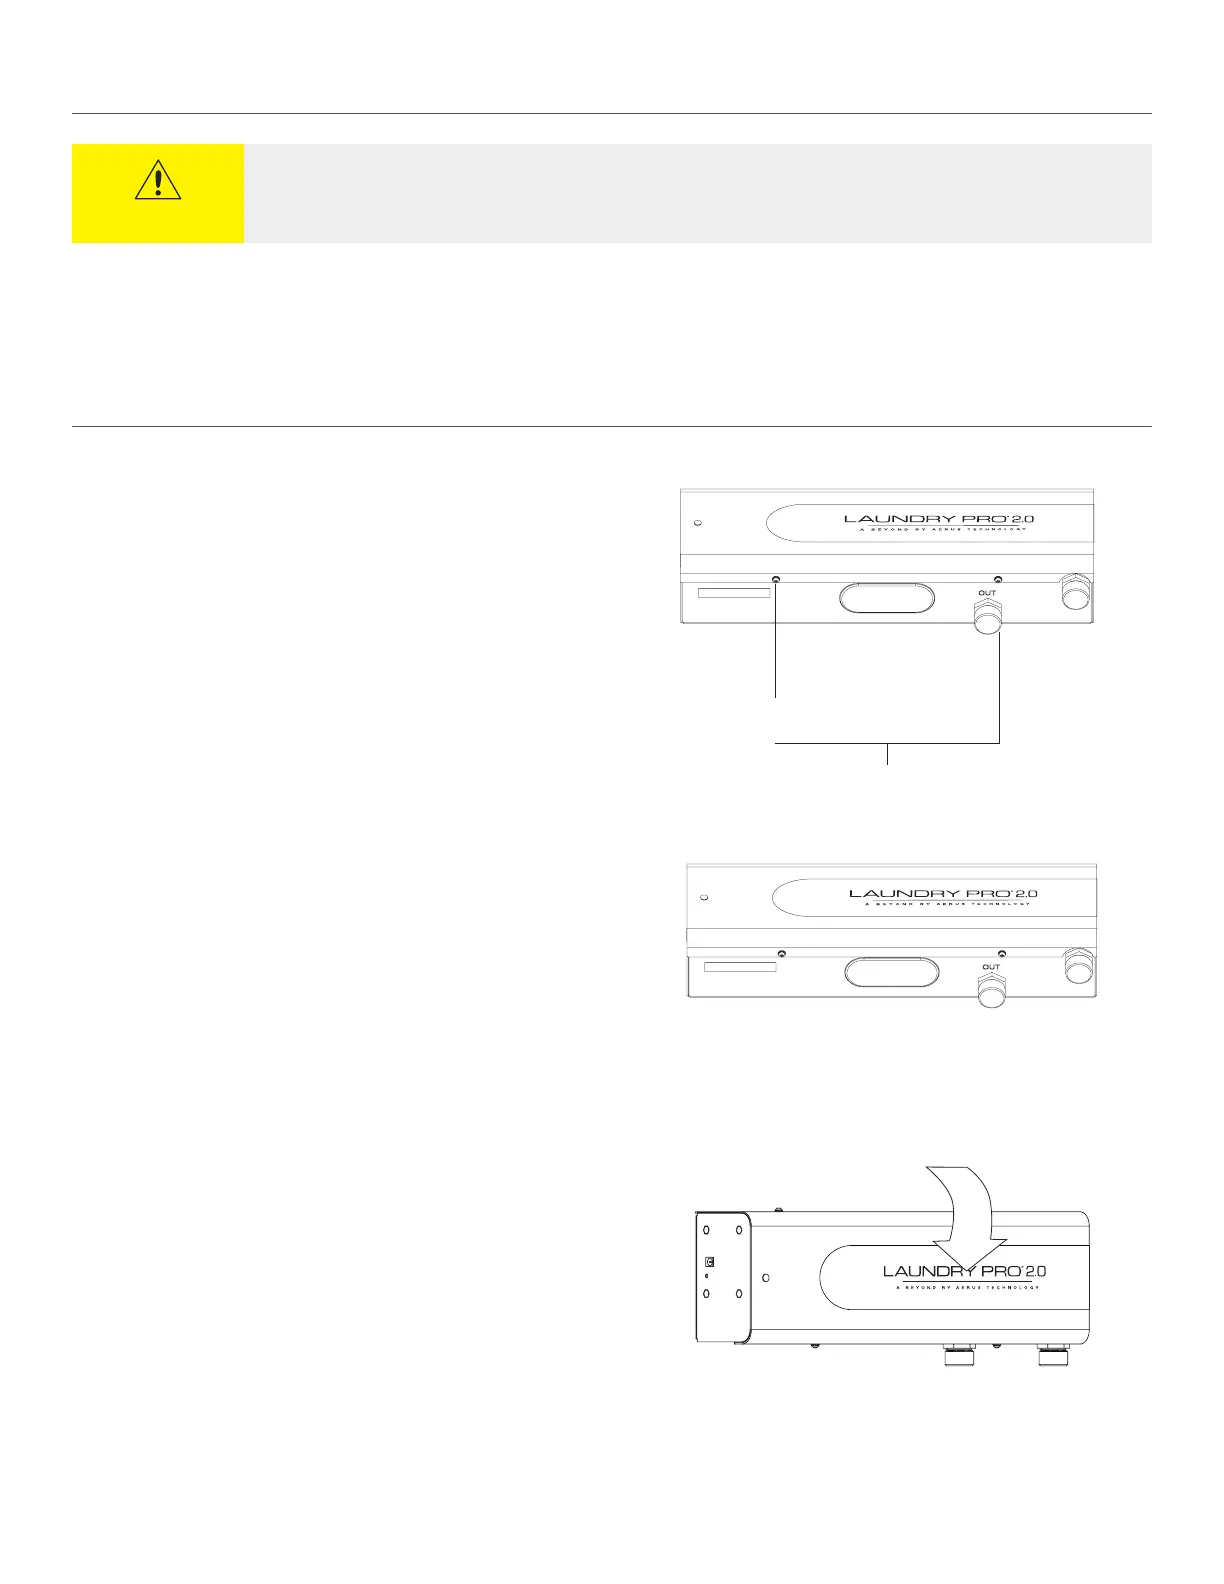
3. To remove the cover, pull the top away from the unit, then lift o the cover.
BEFORE YOU START
REMOVING COVER
CAUTION
Your Laundry Pro 2.0 unit was factory tested. It is normal for some residual water to still remain in the unit as a result of
these tests.