7
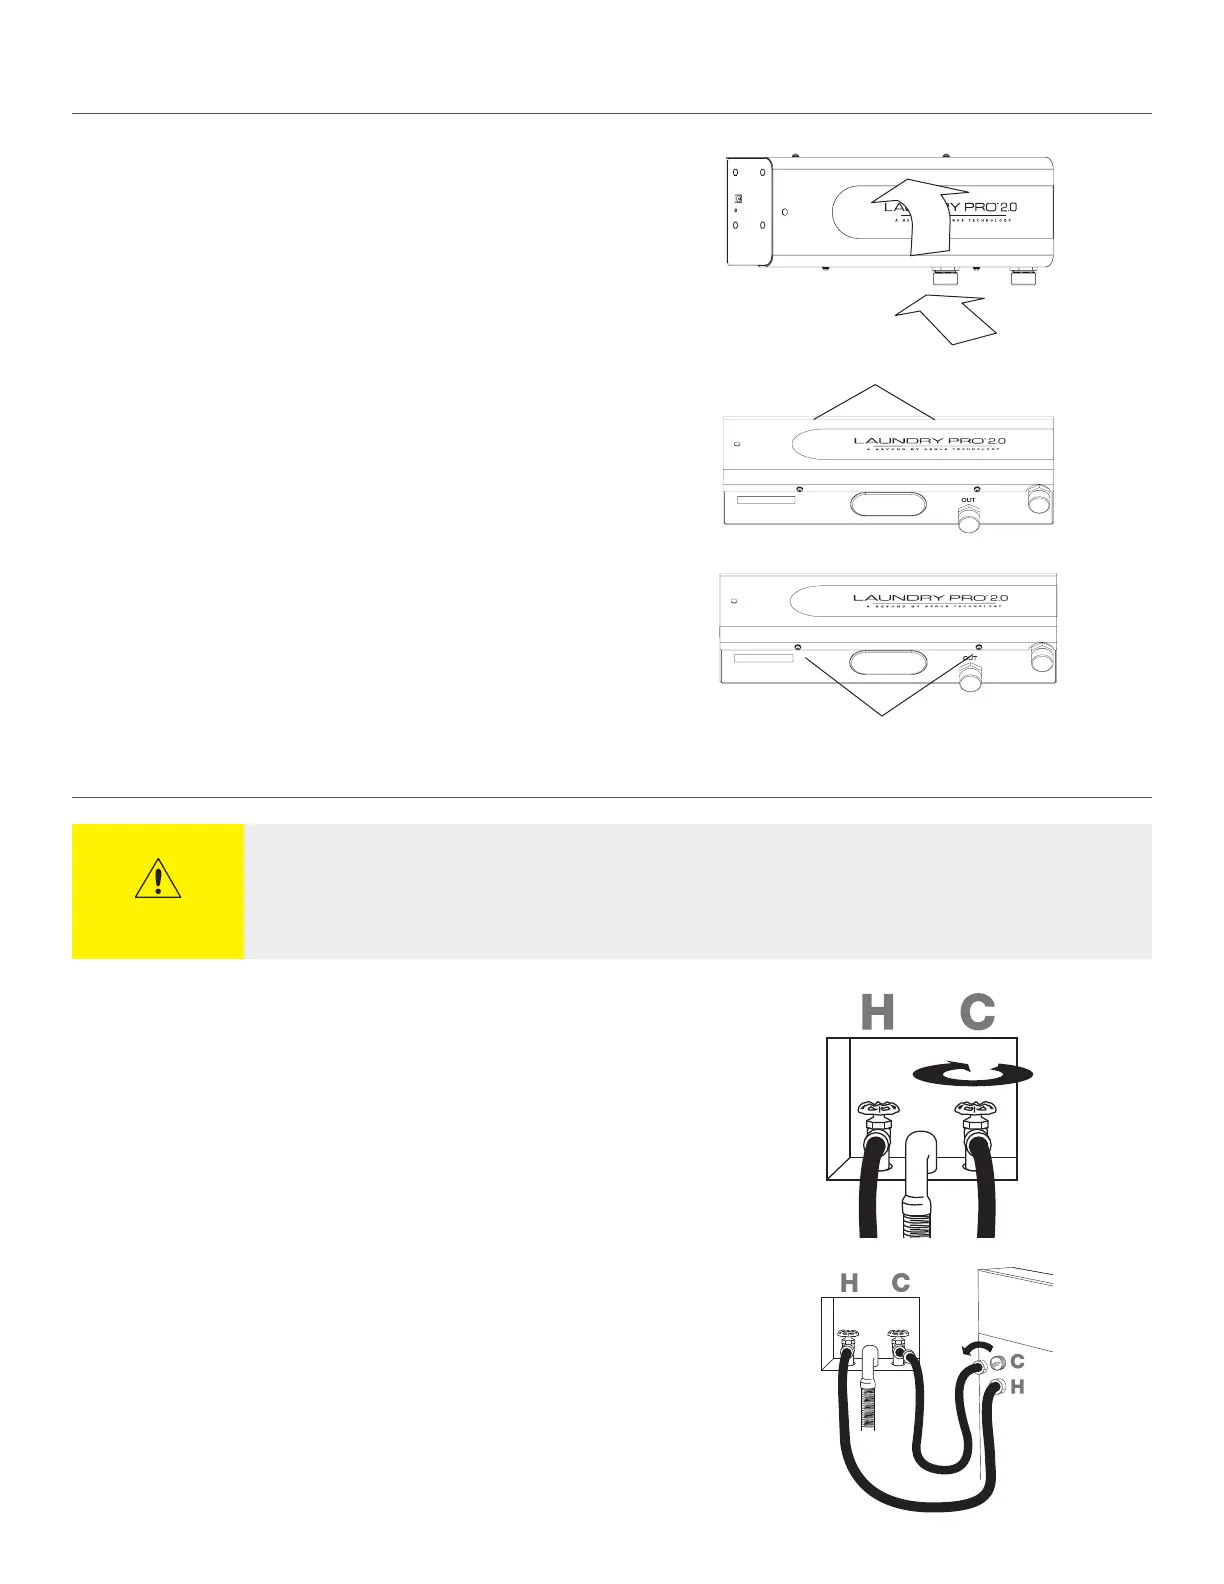
NOTE: Remove the two black caps from the hose connections before installing hoses.
1. Turn the cold water o by shutting o the cold water faucet.
NOTE: To help prevent water spray when disconnecting hoses, you can relieve
pressure in the water line by momentarily starting your washing machine.
2. Remove the cold water hose from the cold water inlet on the back of your washing
machine. Leave hot water hose attached.
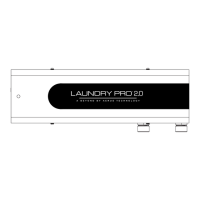
1. Return the Laundry Pro 2.0 cover to its original position, fitting the bottom in place
and tipping upward.
2. Secure with two (2) screws (not shown) along the top edge.
3. Put the two (2) remaining screws along the bottom edge and tighten.
Screws
Screws
REINSTALL THE COVER
CAUTION
• When connecting hoses to your Laundry Pro 2.0 start by hand tightening the hose connector(s); using adjustable pliers,
finish tightening hose connector(s); DO NOT remove or disconnect the hot water line from your washing machine or
water valve
• To ease hose installation and prevent cross threading, connect hose prior to mounting unit on wall
HOSE INSTALLATION