microAeth
®
MA Series MA200, MA300, MA350 Quick Start Guide
AethLabs
microAeth
®
MA Series MA200, MA300, MA350 Quick Start Guide
AethLabs
18 19
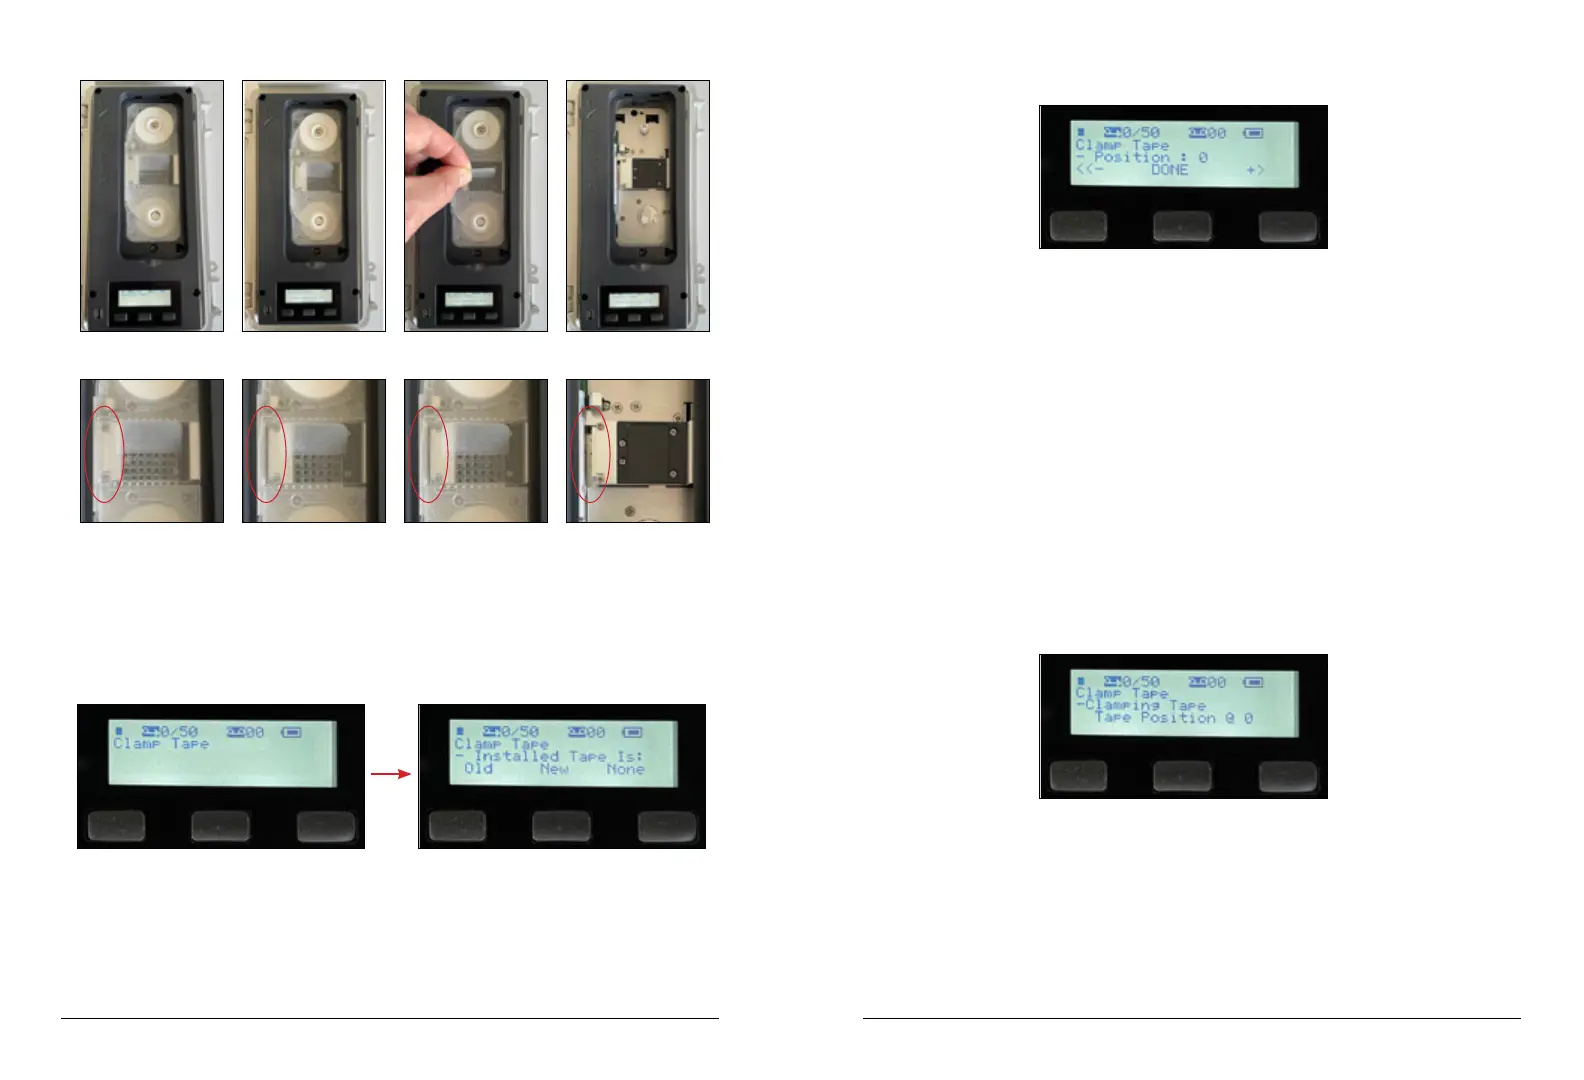
CLAMPED (Closed) RELEASED (Open) RELEASED (Open) RELEASED (Open)
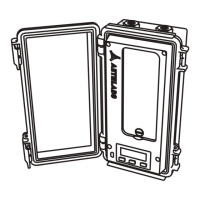
To install lter tape cartridge:
1) When inserting a cartridge into the instrument, make sure the optical head is open and
in the released location so that the lter can be installed. Use the release tape menu to
open the optical head if not already opened.
2) Insert a lter tape cartridge straight into the instrument, aligning the left and right holes
in the cartridge with the two white capstans in the instrument.
3) Make sure that the lter tape cartridge is fully inserted and sits at in the instrument.
4) Scroll through menu options to ‘Clamp Tape’.
5) Press the center button to select the ‘Clamp Tape’ option and enter the sub menu.
‘-Installed Tape Is:’ and ‘Old’, ‘New’, ‘None’ options will be displayed on the screen
OLD) If installing an Old tape cartirdge that has been partially used before, press the left
button that is under the on-screen ‘Old’ option.
NEW) If installing a New tape cartridge that has never been used before, press the
center button that is under the on-screen ‘New’ option.
NONE) If reinstalling the same tape cartridge that was previously installed (no change to
the tape cartridge was made - the tape cartridge was not removed after the tape clamp
was released), press the right button that is under the on-screen ‘None’ option
6-OLD) If ‘Old’ was selected by pressing the left button, ‘- Position : <xx>’ and ‘<<-’,
‘Done’, and ‘+>’ options will be displayed on screen where <xx> is the current tape
position value of the tape cartridge being installed.
7-OLD) Use the left button under the on-screen ‘<<-’ option and the right button under
the on-screen ‘+>’ option to decrease or increase the current tape position value that is
displayed on-screen.
8-OLD) When the correct tape position value is displayed on-scrren, press the center
button under the ‘DONE’ option.
9-OLD) ‘-Clamping Tape’ and ‘Tape Position @ <xx>’ will be displayed on the screen
where <xx> is the current tape position. The optical head will move to its clamped position
and stop in about 6 seconds.
10-NEW) If ‘New’ was selected by pressing the center button, ‘-Clamping Tape’ and ‘Tape
Position @ 0’ will be displayed on-screen since the tape cartridge is new and has never
been used before. The optical head of the instrument will move to its clamped position
and stop in about 6 seconds.
11-NONE) If ‘None’ was selected by pressing the right button, ‘-Clamping Tape’ and ‘Tape
Position @ <xx>’ where <xx> is the tape position value of the previouly installed tape
cartridge will be displayed on-screen since no change to the tape cartridge was made (the
tape cartridge was not removed after the tape clamp was released). The optical head of
the instrument will move to its clamped position and stop in about 6 seconds.
12) Conrm that the lter tape cartridge is clamped by the optical head.
13) If the lter tape cartridge is correctly installed, replace the lter tape cartridge door to
its closed position and completely screw the at head slotted screw(s) in place. Once the
door is in its closed and locked position, the instrument is ready for further use.
 Loading...