microAeth
®
MA Series MA200, MA300, MA350 Quick Start Guide
AethLabs
microAeth
®
MA Series MA200, MA300, MA350 Quick Start Guide
AethLabs
16 17
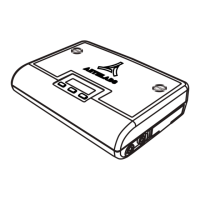
During Sampling:
When the instrument is sampling and making measurements the standard status
indications are displayed on line one. Line two displays ‘Press Center to Stop’ informing
the user to press the center button to stop sampling and measurements. Line three
displays <XX> Target <FFF.FF> where <XX> equals DS when sampling in DualSpot mode
or SS when sampling in SingleSpot mode and where <FFF.FF> equals the current user
selected target ow rate. Line four displays ‘SAMPLING’
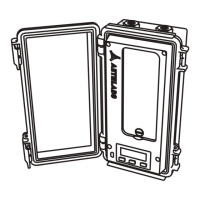
Operating Parameters:
To change the Timebase, Flow Rate, or Tape Advance (Adv.) ATN (more options available
on screen and all settings available in microAeth Manager):
1) Scroll through the menu options to the Change <setting>
2) Press the center button to select the setting to adjust and enter the sub menu.
3) Use the left or right buttons to scroll through value options (value options vary
depending on which setting being adjusted).
Press ‘OK’ to select current value and
return to the top menu level
Decrease value Increase value
4) Press the center button, ‘OK’ to select the current value option. Once selected, the
value is saved and the user interface returns to the top menu level.
IMPORTANT: When adjusting Adv. ATN, the lowest wavelength light source enabled will
typically trigger the attenuation (ATN) tape advance.
Filter Tape Cartridge Removal and Installation
The MA200 uses the MA200 Filter Tape Cartridge (MAFT-L17) with 17 sampling locations.
The MA300 and MA350 use the MA300/MA350 Filter Tape Cartridge (MAFT-L85) with 85
sampling locations.
Important: When removing a lter tape cartridge, please record the current sampling
location of the lter tape cartridge that is displayed on the LCD screen so this can be
tracked and entered when the tape cartridge is installed again. Do not rewind the lter
tape cartridge, or use previously sampled lter tape sampling locations.
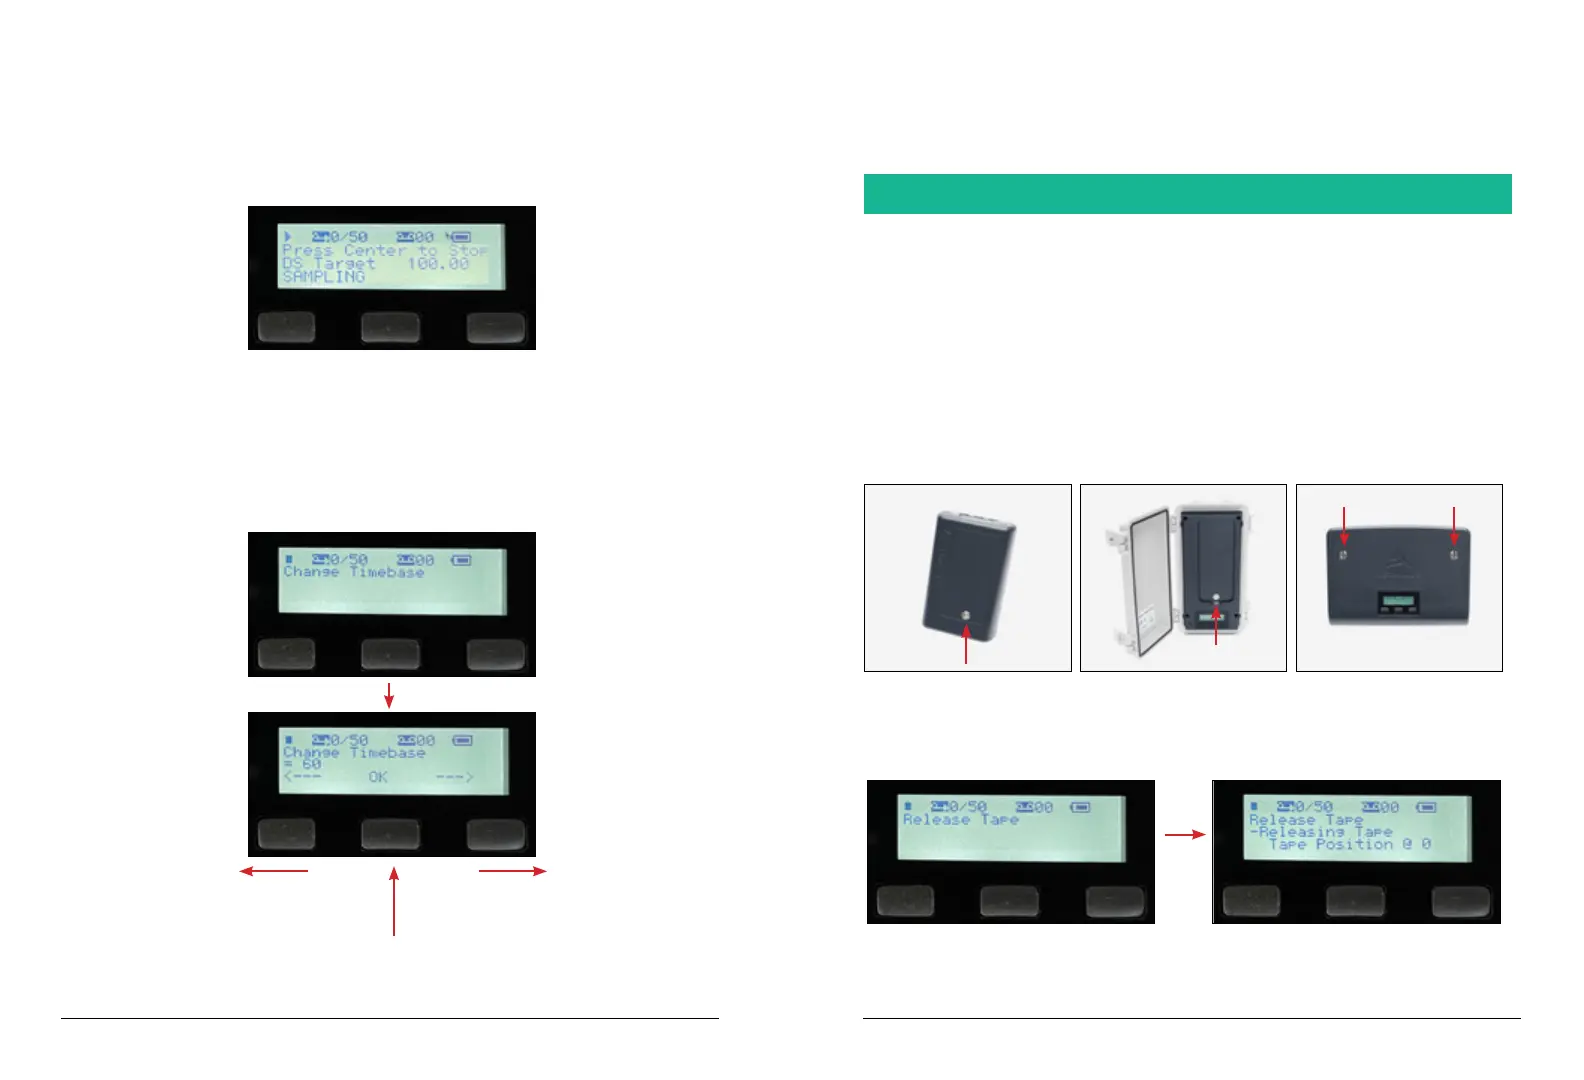
To remove lter tape cartridge:
1) Make sure that the microAeth is not sampling.
2) Unscrew the at head slotted screw(s) in the lter tape cartridge door until it is
completely free of its mating threaded hole and remove the door.
3) Scroll through menu options to ‘Release Tape’. Press the center button to select the
‘Release Tape’ option.
4) ‘-Releasing Tape’ and ‘Tape Position @ <xx>’ will be displayed on the screen where
<xx> is the current tape position. Record the tape position number. The optical head of
the instrument will move to its open position and stop in about 6 seconds.
5) Once the optical head stops moving, use the pull tab in the center of the lter tape
cartridge to remove the cartridge straight out of the instrument.
 Loading...