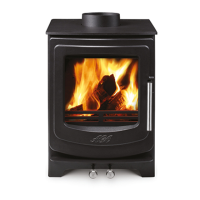
26 AGA Ellesmere Standard Gas Stove
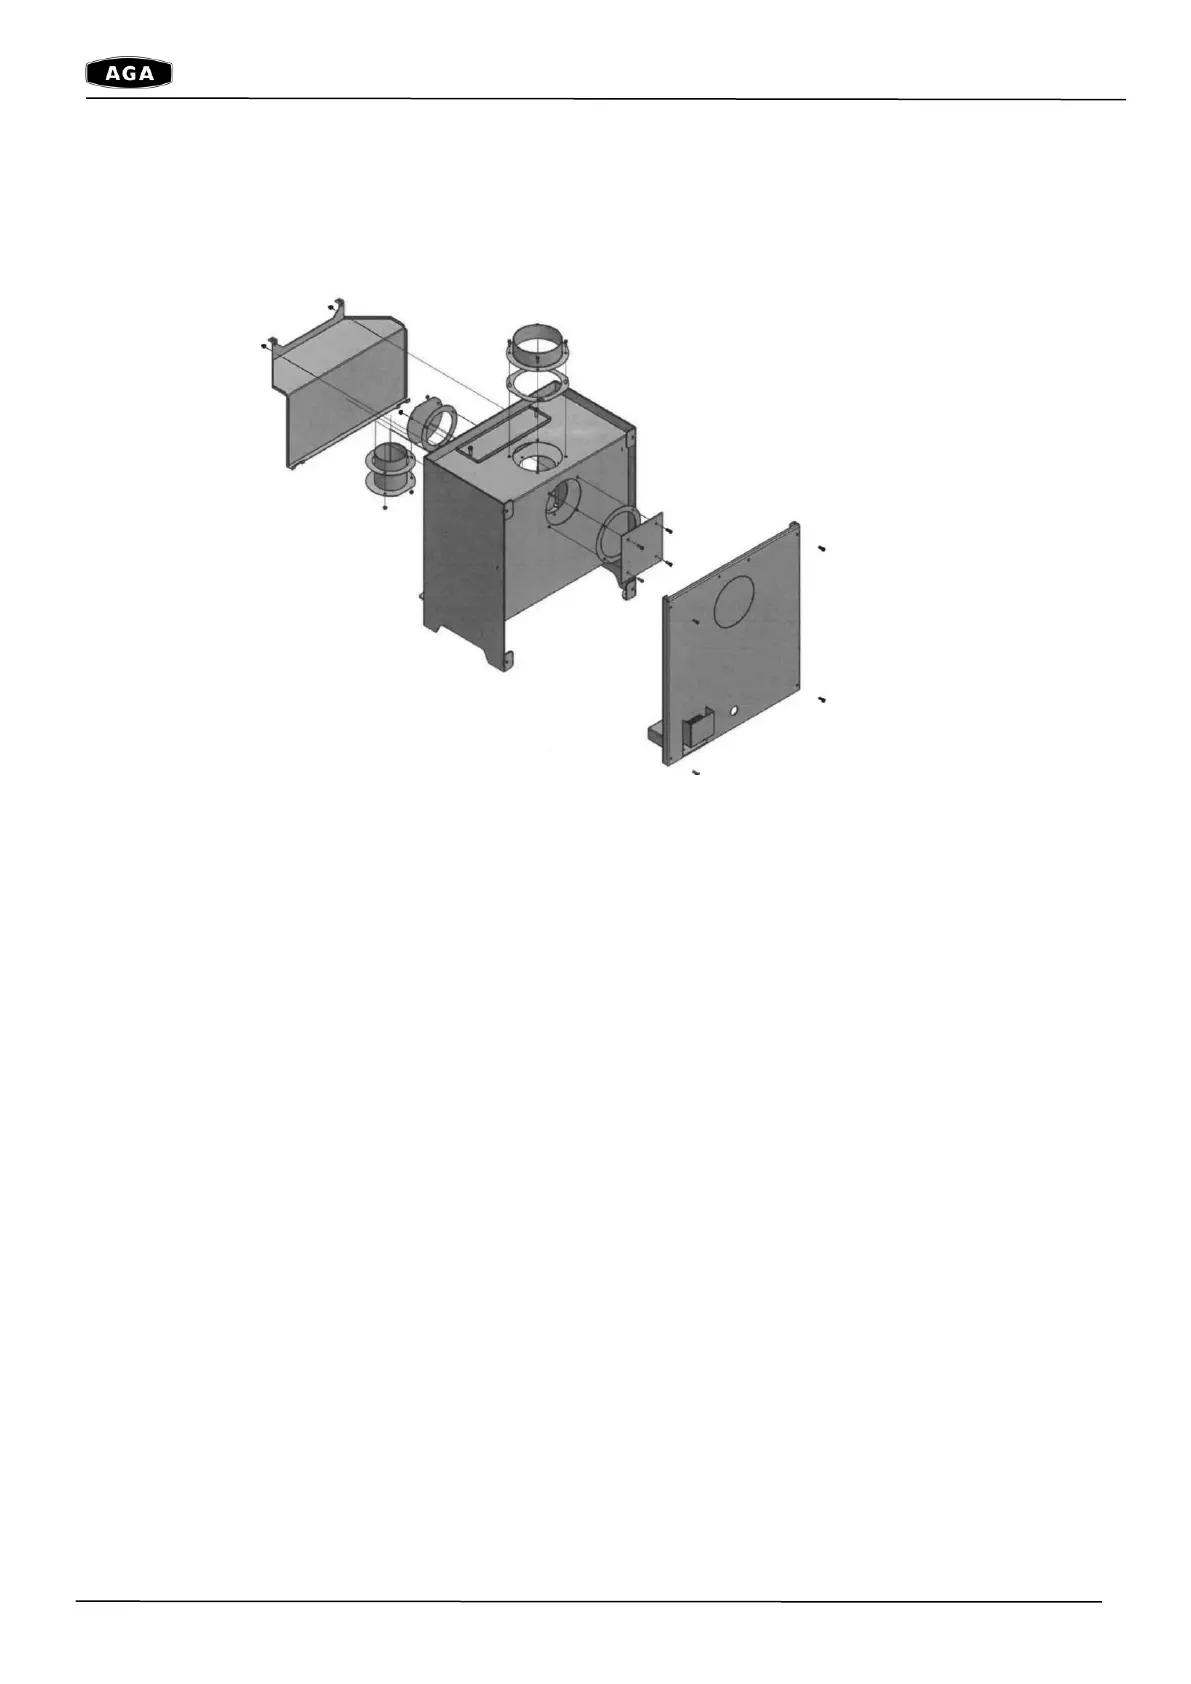
Fitting the Flue to the stove for a Top Exit Configuration (Vertical Flue)
1 - Lift off lid and store in a safe place.
2 - The air inlet flue collar and gasket (150mm diameter) can now be accessed from the top of the fire
(M5 x 16mm cap screws x QTY 4)
3 - Unscrew M5 flange screws (QTY x 6) remove front glass and frame and store in a safe place
4 - Unscrew M5 flange nuts (QTY x 2) from the inside at the top of the fire and carefully remove the heat
shield replace this inner heat shield once you have completed step 8 – this must be replaced back
into the firebox on completion
5 - The exhaust flue collar & gasket (100mm diameter) can be accessed from the inside top of the fire
(M5 flange nuts QTY x 3)
6 - The exhaust blanking plate & gasket can be accessed from the inside rear of the fire (M5 flange nuts
QTY x 3)
7 - Unscrew M5 cap screws (QTY x 4) and remove back panel and store in a safe place
8 - The air inlet blanking plate and gasket can be accessed from the rear of the fire (M5 cap screws QTY
x4)
9 – Refit the parts as per the following steps in reverse for the above make sure the firebox is air tight on
all of the seals for the 2 x flue collars and front glass
Please note the stove is supplied with the air inlet and exhaust outlet blanking plates fitted to the
rear of the stove. So the 2 x flue collars (supplied loose) would be fitted to the top of the stove for
a vertical flue kit to be installed