Chapter 2 Quick Start
To Prepare the Power Supply for Use
23
2
To Prepare the Power Supply for Use
The following steps help you verify that the power supply is ready for use.
1 Check the list of supplied items.
Verify that you have received the following items with your power supply. If
anything is missing, contact your nearest Agilent Technologies Sales Office.
One power cord for your location.
One User’s Guide.
This Service Guide.
Certificate of Calibration.
2 Verify that the correct power-line voltage setting is selected and that
the correct power-line fuse is installed.
The line voltage is set to 100, 115 or 230 Vac from the factory according to the
input power option selected when you ordered the power supply. Change the
voltage setting if it is not correct for your location (see the next page for
detailed information). For 100 or 115 Vac operation, the correct fuse is 6.3 AT
(Agilent part number 2110-1030) and for 230 Vac operation, the correct fuse is
3.15 AT (Agilent part number 2110-1031).
3 Connect the power cord and turn on the power supply.
A power-on self-test occurs automatically when you turn on the power supply.
The front-panel display will light up while the power supply performs its
power-on self- test. After performing the self-test, the power supply will go into
the power-on / reset state; the output is disabled (the
OFF annunciator turns
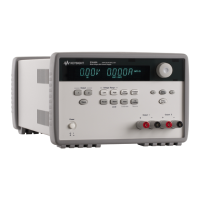
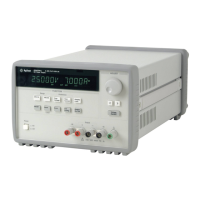
on); the 8V/20A* or 25V/7A** range is selected (the
8V* or 25V** annunciator
turns on); the knob is selected for voltage control.
Notice that the
OVP and OCP annunciators also turn on.
4 Enable the outputs.
Press key to enable the outputs. The
OFF annunciator turns off and the
8V* or 25**, OVP, OCP, and CV annunciators are lit. The flashing digit can be
adjusted by turning the knob. Notice that the display is in the meter mode.
‘‘Meter mode’’ means that the display shows the actual output voltage and
current.
Power
Output
On/Off
Output
On/Off
*For Agilent E3633A Model **For Agilent E3634A Model
 Loading...