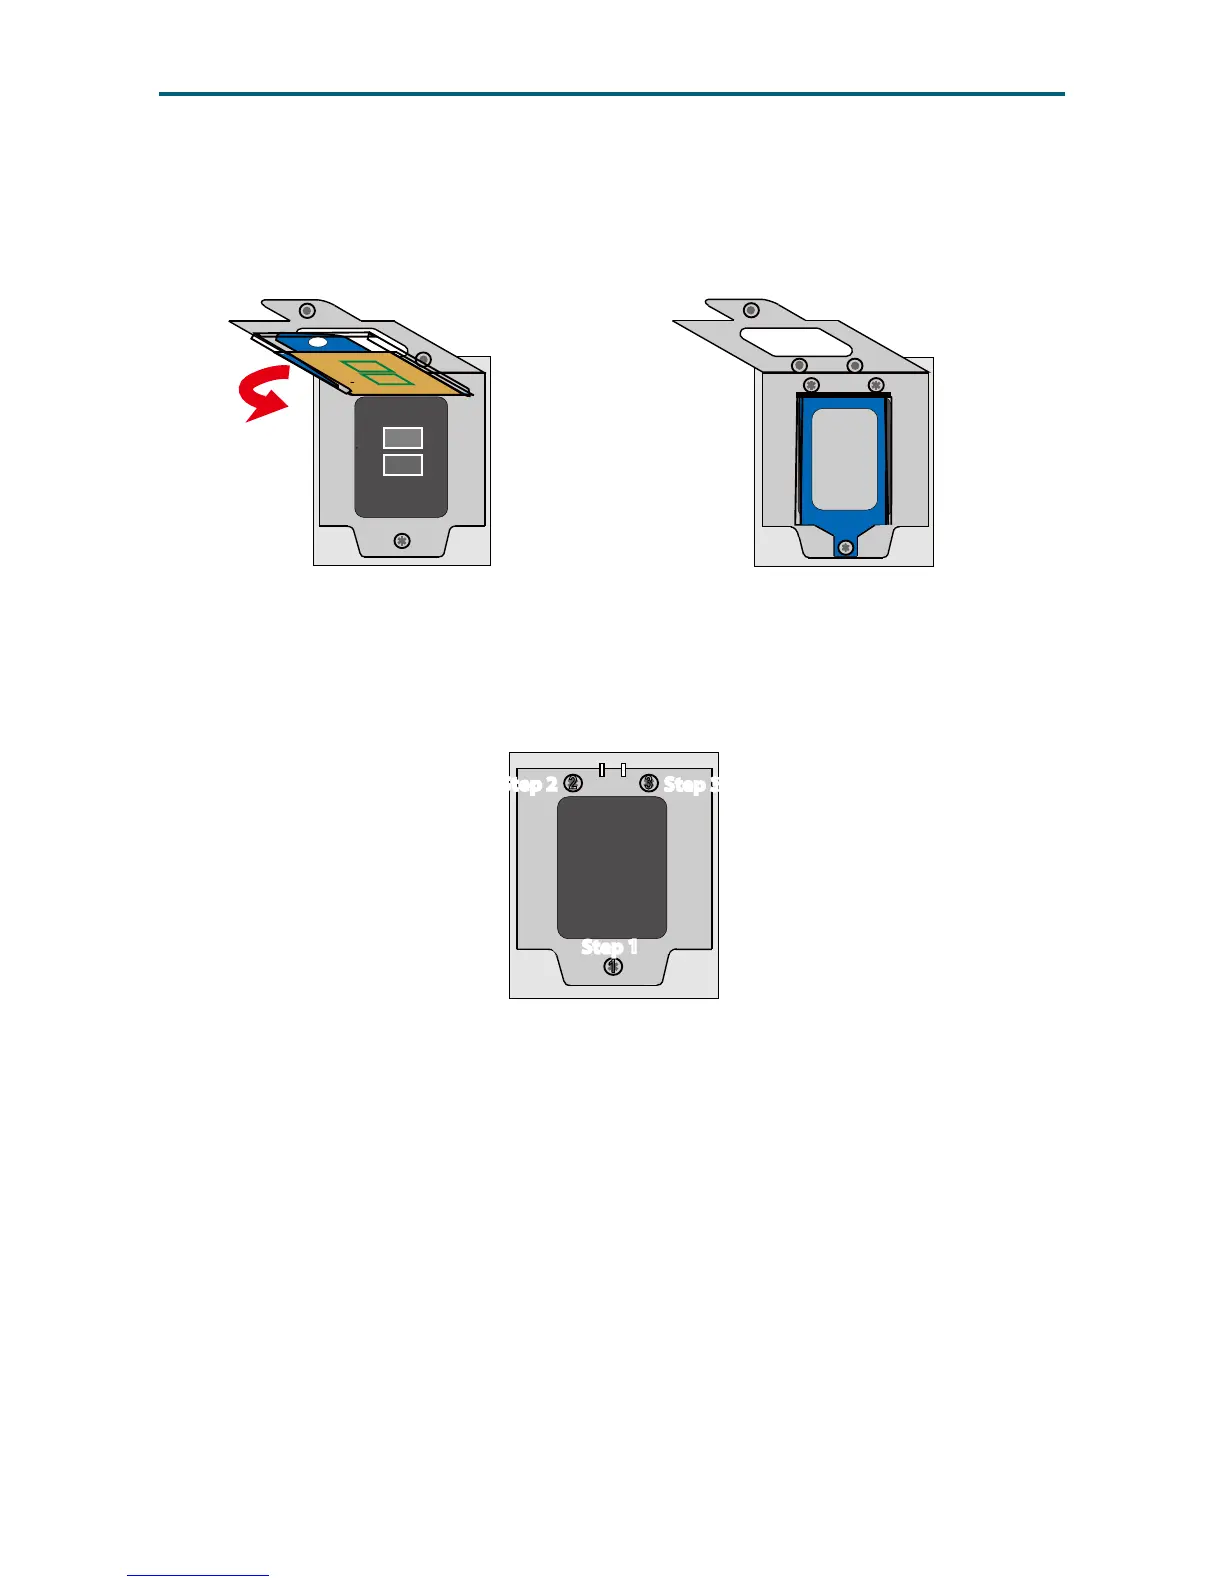
Step 5 Close the carrier frame with the CPU package as demonstated in gure 7.
Check if the frame is properly installed as demonstrated in gure 8.
Step 6 Close the load plate and fasten the screws in the order 1→2→3
to complete installation as demonstrated in gure 9.
Step 7 Apply thermal grease/paste on top of the CPU assembly.
Step 8 Secure the heatsink on top of the processor assembly to complete installation.
Front
Front
Figure 7 Close carrier frame Figure 8 Verify installation
Figure 9 Close load plate
3