3
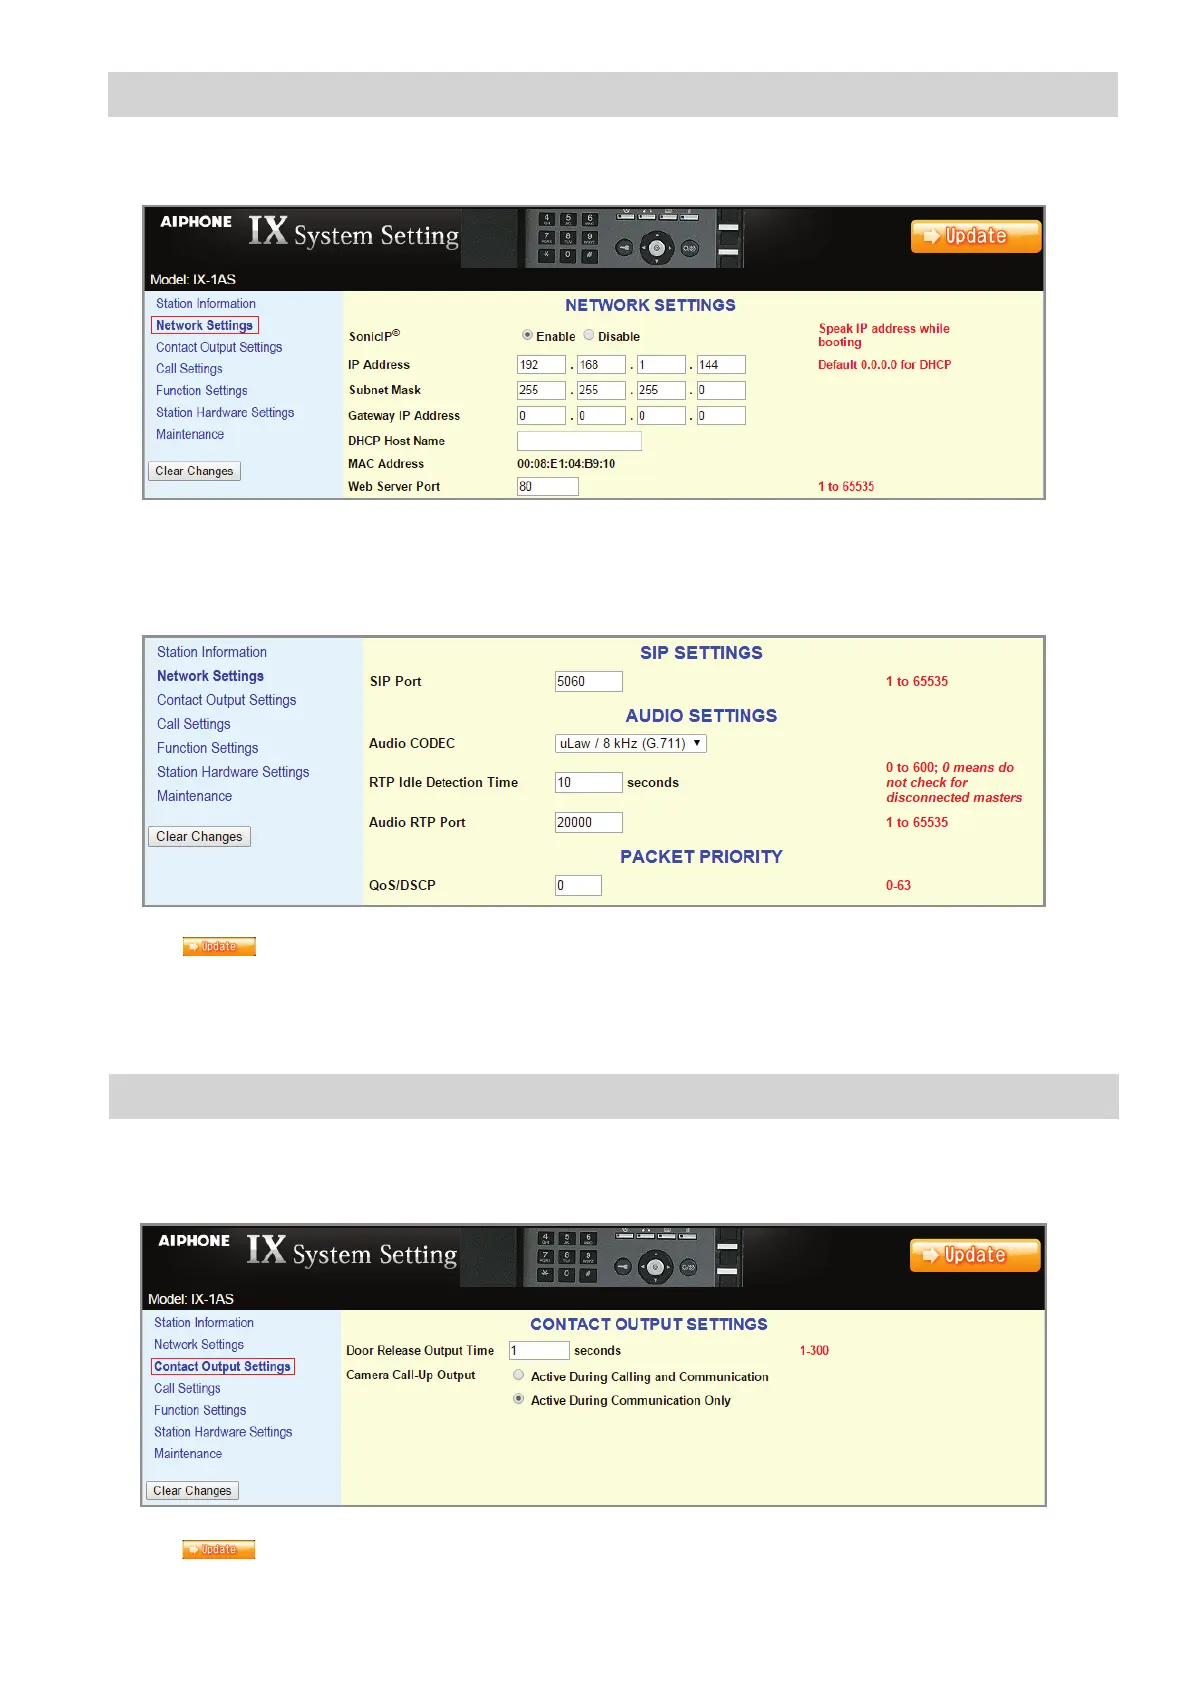
Step 3: Network Settings
Step 4: Contact Output Settings (optional)
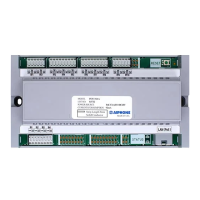
Select Network Settings from the menu on the left. Enter a unique IP Address*, Subnet Mask, and Gateway IP Address for
the adaptor. Consult with your IT department for the appropriate addresses to be assigned.
There are additional settings on the Network Settings page that can be adjusted: SIP Settings, Audio Settings, and Packet
Priority. The default settings will work in most cases. Adjust as necessary.
Click the
button to update any Network Setting changes and restart the adaptor.
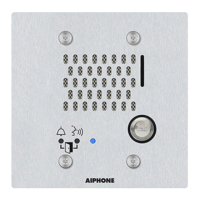
The IX-1AS has two built-in contact outputs: one for Door Release and one for Camera Call-Up. Select Contact Output Settings
from the menu on the left. From this screen, adjust the door release output time (1-300 seconds). When using the Camera Call-
Up relay, select the appropriate radio button for when the relay is to trigger: Calling and Communication or Communication Only.
Click the button to update any Contact Output Setting changes and restart the adaptor.
* If changes are made to the IP address, the web browser will need to be redirected to the new IP address after updating.
 Loading...