4 | IX-1AS Installation & Programming Guide
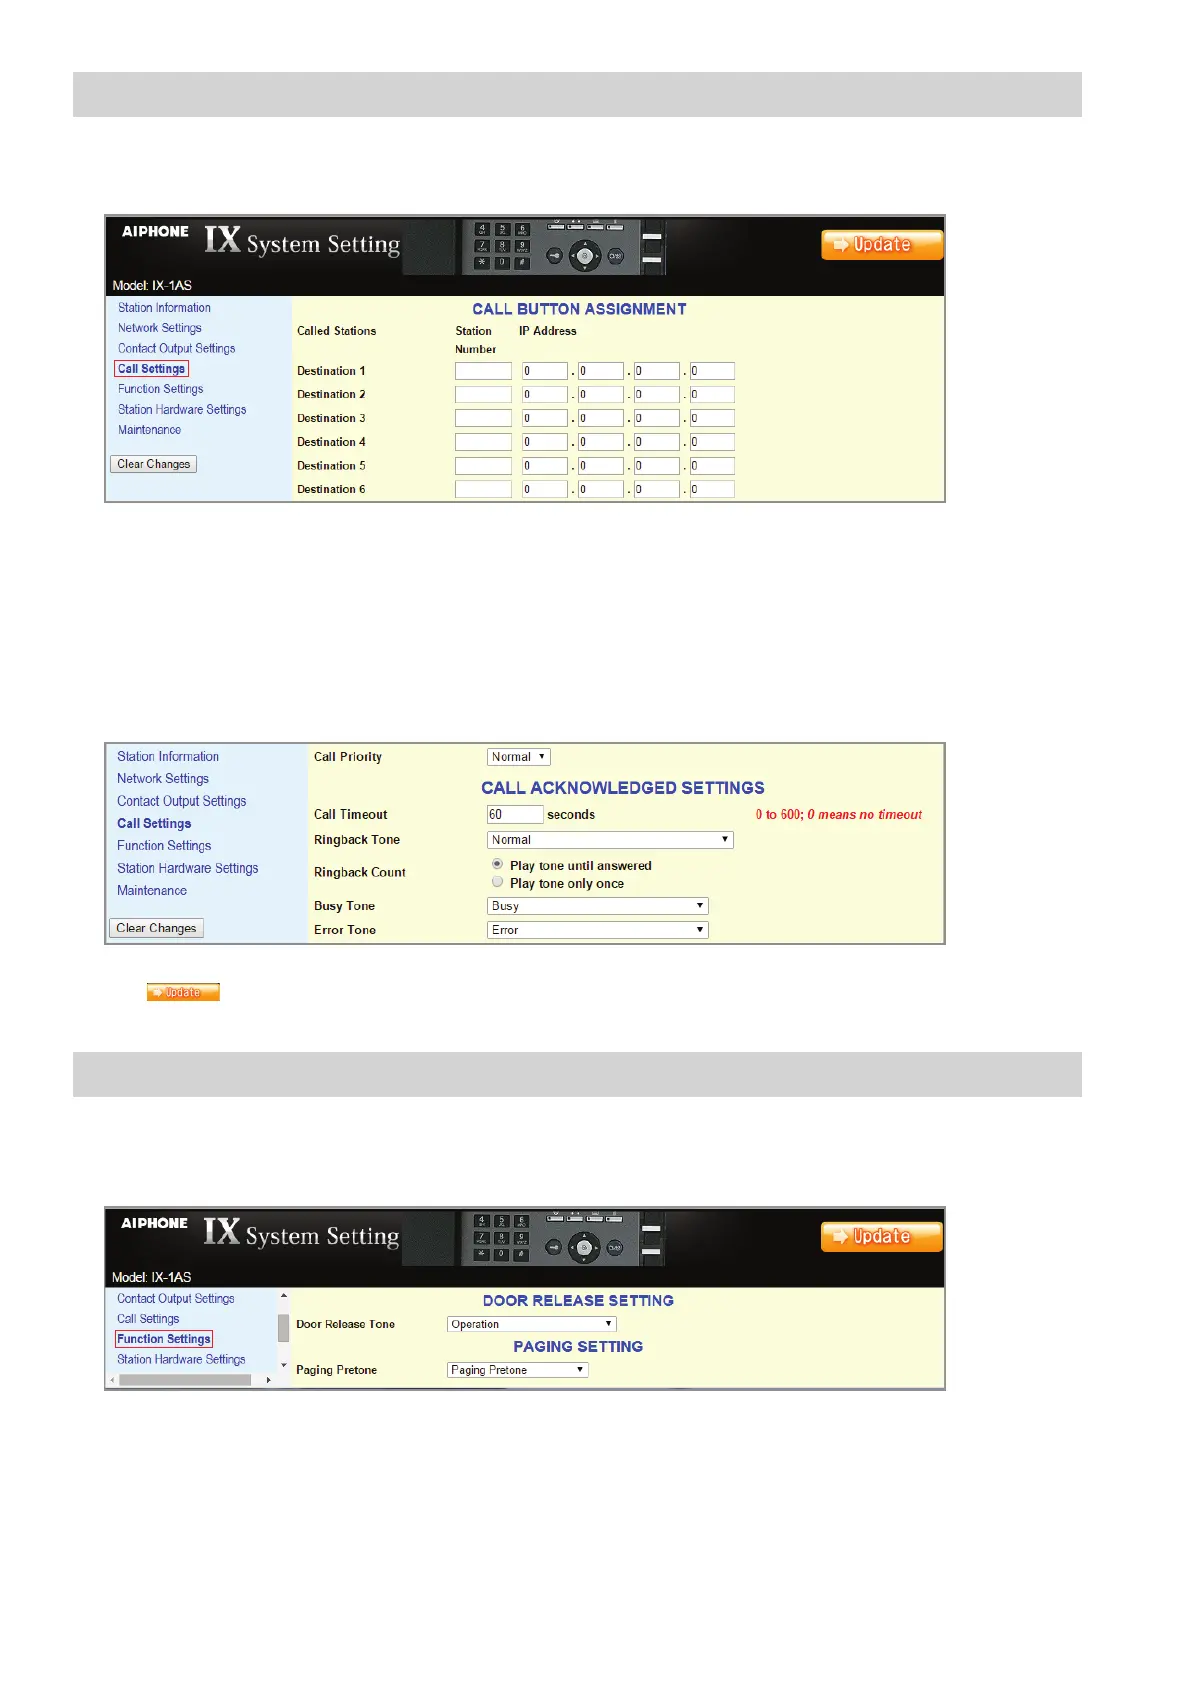
Step 5: Call Settings
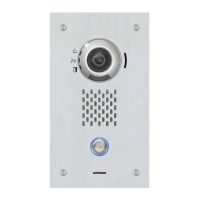
Select Call Settings from the menu on the left. From this screen, enter the station number and IP address of the master(s)
that this door station needs to call. A maximum of 20 master stations can be entered (example: 101@192.168.1.165). These
station numbers and IP Addresses must match what is assigned to the IX-MV / IX-MV7 master(s) in IX Support Tool.
The adaptor will work with the following settings left at default. Adjust as neccessary.
From the Call Settings screen, select the call priority (Normal, Priority, Urgent) for this door station.
Enter the Call Timeout value, the length of time that the door will call in for (0-600 seconds, 0 = innite).
Select the Ringback Tone heard at the door from the appropriate drop down menu.
Click on the preferred Ringback Count radio button (until answered, only once).
Select the Busy Tone from the drop down menu that will be heard when calling a master that is currently in use.
Select the Error tone from the drop down menu that will be heard when an error occurs during calling.
Click the
button to update the Call Setting changes and restart the adaptor.
Step 6: Function Settings (optional)
Select Function Settings from the menu on the left. From the Door Release Tone drop down menu, select the tone that will
be heard at the door station when the door release contact is activated. From the Paging Pretone drop down menu, select the
pretone that will be heard at the door prior to any paging announcement.
 Loading...