Do you have a question about the Airmar DT800 and is the answer not in the manual?
General safety rules for installation, including personal protection and handling.
Importance of intact, lubricated O-rings for watertight seals.
How to ensure a watertight seal and check for leaks.
Warnings for stainless steel in metal hulls and plastic housings.
Precautions for handling the transducer cable and orientation.
Recommendations for housing materials based on hull type to prevent corrosion.
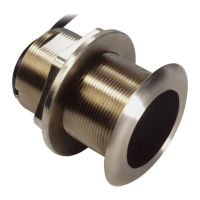
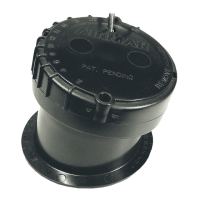
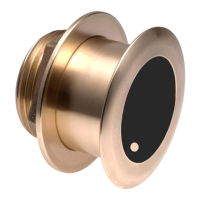
Specifies the 0° transducer model for hull deadrise 0-7°.
Specifies the 12° transducer model for hull deadrise 8-15°.
Specifies the 20° transducer model for hull deadrise 16-24°.
Factors for choosing a mounting location, ensuring smooth water flow and no obstructions.
Specific mounting advice for displacement, planing, outboard, inboard, and sailboat hulls.
How and where to apply water-based anti-fouling paint for optimal performance.
Step-by-step instructions for drilling holes through the hull for installation.
Applying marine sealant to ensure a watertight seal and proper bedding.
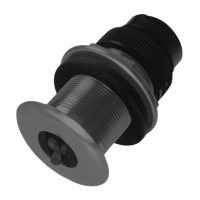
Detailed steps for inserting and securing the transducer housing in the hull.
Specific instructions for installing in housings that do not have a valve.
Guidelines for routing the transducer cable and connecting it to the instrument.
How to check for leaks after installation and what to do if found.
Steps for preparing a cored fiberglass hull to prevent water seepage and crushing.
Explanation of the self-closing valve's operation and its limitations.
Instructions for using the blanking plug for protection and maintenance.
Methods for cleaning the transducer insert to maintain performance.
Procedure for winterizing the transducer to prevent damage from freezing.
Details on how to order replacement transducers and parts.
| Frequency | 235 kHz |
|---|---|
| RMS Power | 100 W |
| Depth/Temperature | Yes |
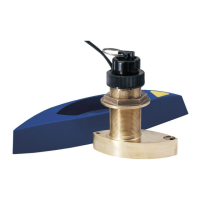
| Mounting Style | Thru-Hull |
| Cable Length | 6 m (20 ft) |
| Depth Range | Up to 100 m (330 ft) |
| Material | Bronze |
| Weight | 0.5 kg |
| Power | 100 W |
| Operating Voltage | 12-24V DC |