AirSpeed 1000 Installation Guide
DUG01289 Airspan Commercial and Internal Use 23
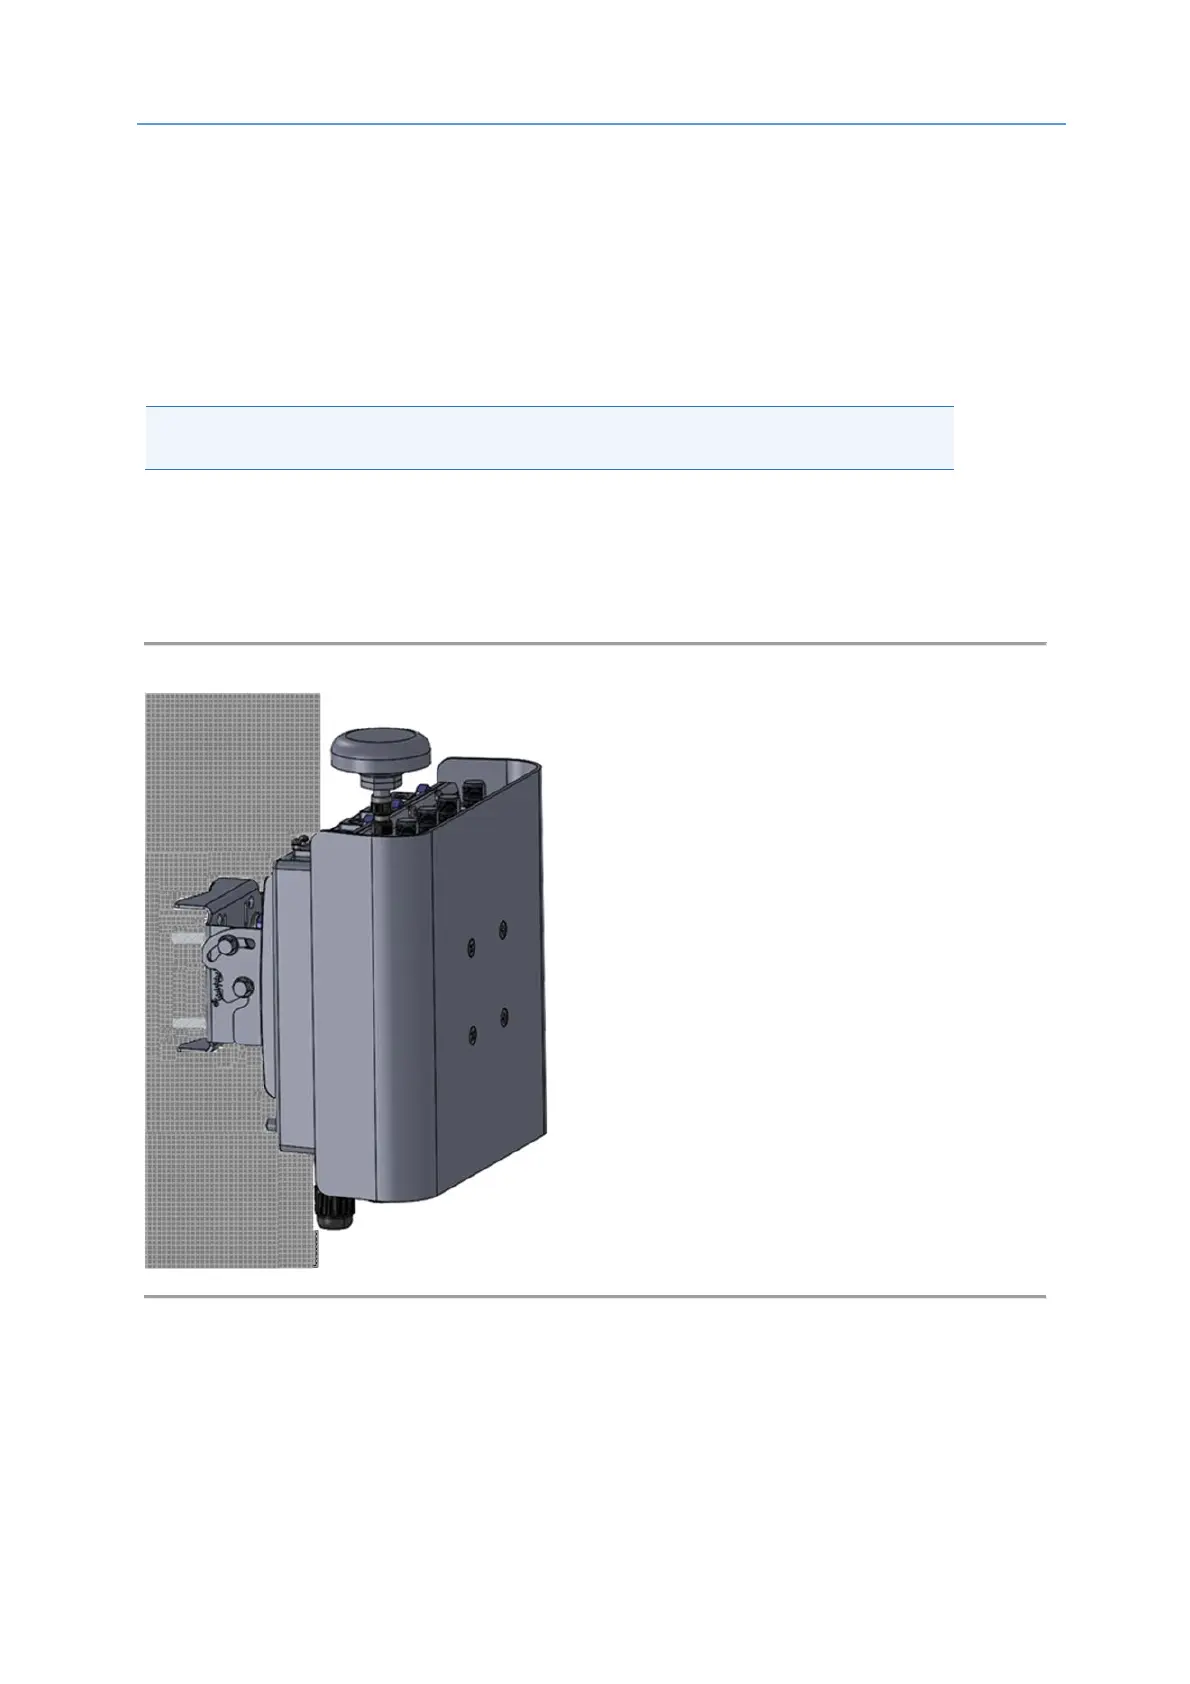
4.3 Wall Mount Assembly
The following describes the wall mounting procedure:
1. Select the location on the wall to mount the AirSpeed 1000 mounting bracket.
2. Assemble the 2 SEMS screws (M8 x 20) into the lower threaded holes on the mounting
(base) bracket, do not tighten.
3. Position the mounting (base) bracket onto the wall at the required height using screws and
appropriate wall anchors (not provided) and tighten in place.
Note: Wall plugs (x4) and necessary hardware are not supplied by Airspan and are the
responsibility of the installer. Use appropriate wall plugs according to field conditions.
4. Carefully align and position the unit so that the screws (1 on each side) fit into the notched
grooves provided on the back bracket (pre-assembled on the unit) and hand tighten. Insert
the M8 screws, washers and nuts (supplied) and fasten the back bracket (pre-assembled on
the unit) to the mounting bracket.
5. Adjust the unit so that the GPS is positioned upright. Check and tighten all fixing screws.
Figure 9: AirSpeed on Wall